How to Add Logos of the Week
Published On: July 24, 2023/Last Updated August 9, 2023
Adding logos of the week is a 2 step process. The first step is to Save and Upload the Logos to WDSGallery. The second step is to email the QA and Logo team the logos and logo information. The process is outlined below:
Logos of the Week are HIGH priority and should be completed by the assigned due date.
Add logos to WDSGallery:
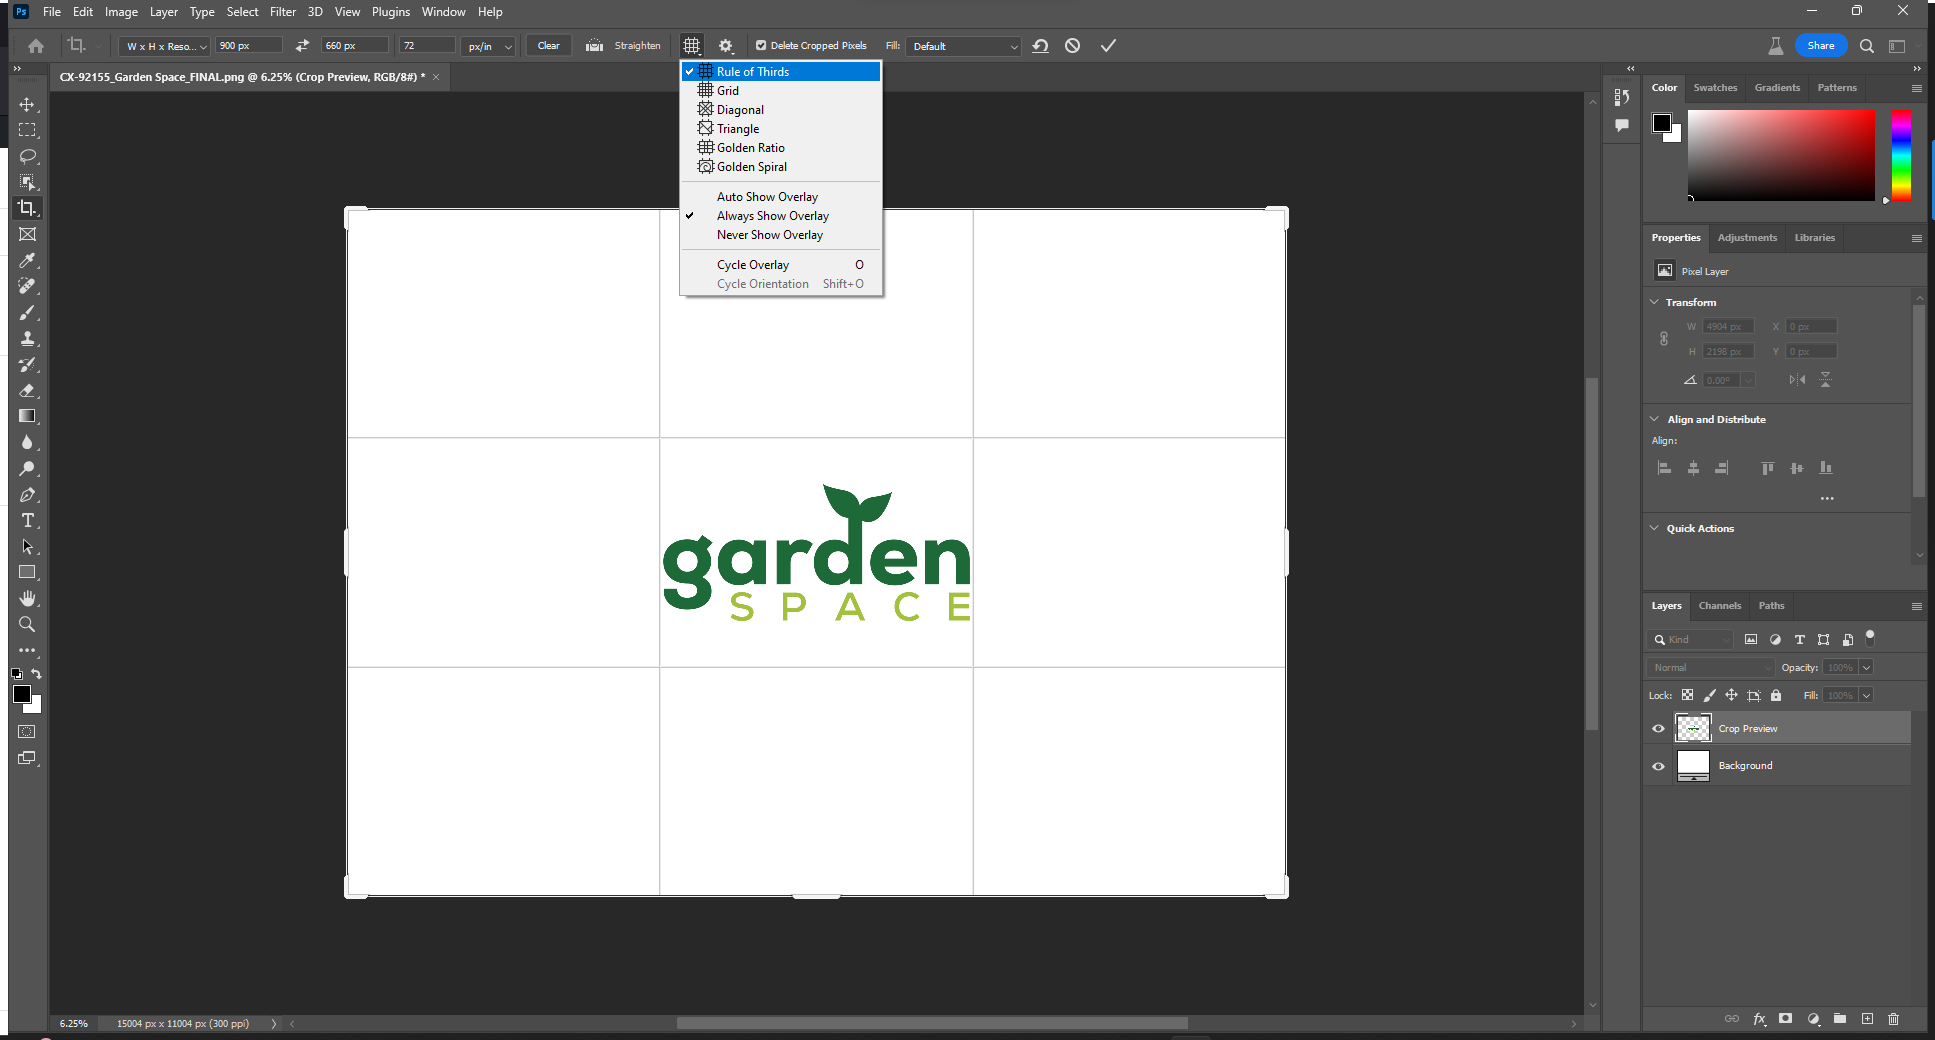
- Open each logo, as provided in the assigned Jira ticket, in Photoshop and crop it to 900px X 660px, keeping the logo centered
(Select the Crop Tool and match the settings from the screenshot below. Drag the corner of the Crop Tool to contain the image in the center rectangle as seen in the example below.)
- Save a copy of the new logo and give it a new name
(Be sure to keep the original image as these will be later emailed to the QA team.) - Login to WDSGallery
(If you have not been given an account yet, please reach out to a B2 for account access.) - Go to the WDSGallery Dashboard > Logos > Add New
- Add the Title and Featured Image
- Select the matching Logo type
Use the following links to see examples of the different logo types: Abstract, Banner, Monogram, Symbolic, Wordmark - Select the Market that matches the Jira ticket information
(This will typically be US Market) - Select the Logo Industries that match the corresponding Jira ticket information
Email QA:
- Create a new email
To: Kevin Johnston
Cc: Aaron S Goldberg; Lindsay Howick; Jason T Cullen; Kassi Gonzalez; Lauren Hanks; Amanda Hopkins; Claire DePree - Attach the full size Logo images (not the cropped images that were added to the gallery)
- Copy and paste the template below in a the email and add all of the information for each logo
Business Name:
Website Specialist:
Logo Specialist:
Gallery Link:
Business Name:
Website Specialist:
Logo Specialist:
Gallery Link:
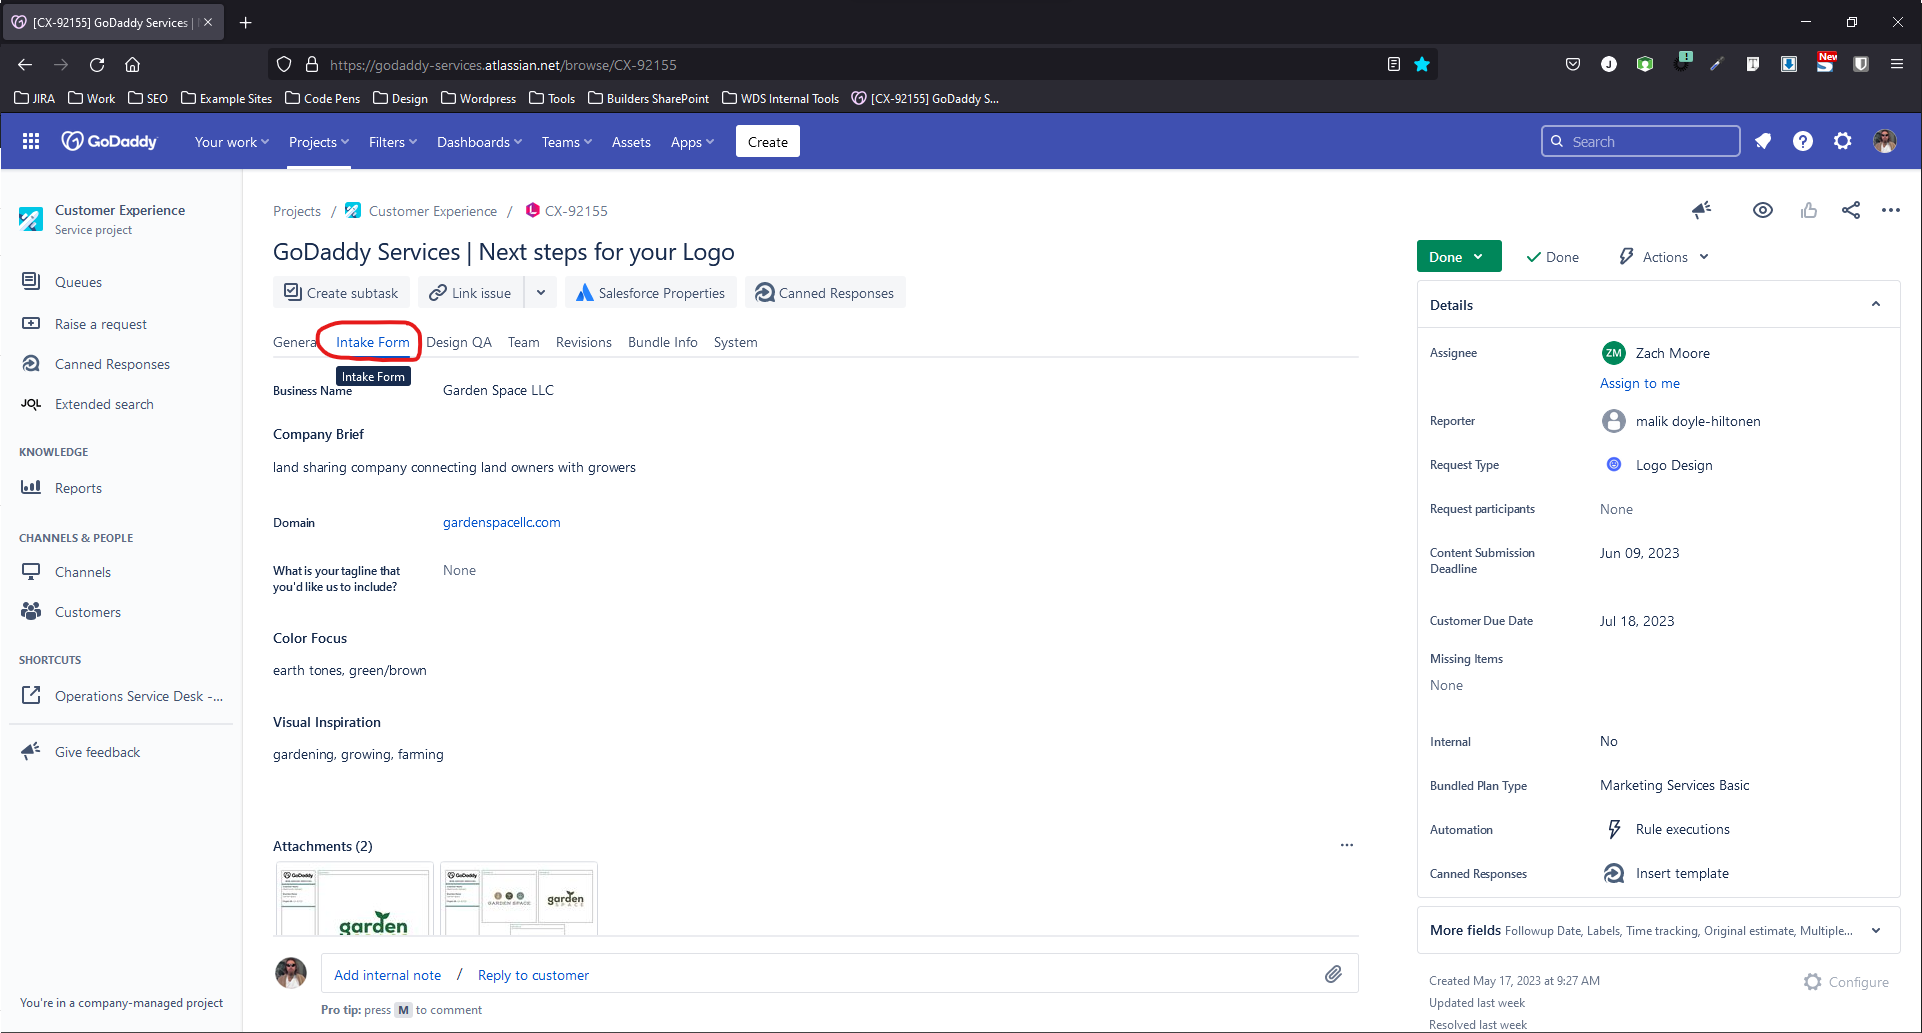
All of the above information about the logo can be found in the supplied Jira ticket instructions or under the Intake Form tab.