
Listings Plugins
Learn about the difference between our two approved real estate listings plugins, when to use which, important links & publicly accessible plugin documentation. Find information on MLS embeds & our approved plugin for Job Listings.

iHomeFinder Listings
Plan Type(s): Premium, Woo | Plugin Name: The Optima Express + MarketBoost IDX Plugin from iHomefinder | [ Registration Key Required ]
Plugin Details:
Adds responsive IDX real estate search and MLS property listings to WordPress and provides seamless integration with idx via iHomefinder.
Customer will need to pay for an iHomeFinder Optima monthly fee on top of our site build cost (billed through iHomeFinder). You can enter a registration code for an existing paid account that should be provided to you by the customer.
When to use iHF:
Use this plugin only if the Customer has an iHomefinder account or is willing to get one, if they have an existing MLS with listings or are willing to get one and they are sure this is the correct option for them.
An iHomefinder account is required to activate this plugin. Customer needs to have this set up / registered in order for it to work. If the customer does not have an iHomeFinder account or doesn't plan on setting one up, then they should probably consider a different listings plugin.
When NOT to use iHF:
Do NOT proceed with this plugin as an option if the customer does not have an iHomefinder account, they're not sure about getting one, and want to be able to enter listings manually.
Getting Started in iHF:
Optima - Power Agent:
Click here for current Pricing
*This will be billed through iHomefinderSee the IDX’s the plugin supports: Click Here
If your IDX is not here, you can follow this process to add it: Click Here
*It normally takes about two weeks to have an IDX addedFind the Reg. Key:
Sign up for a free trial or sign up for an IDX account in your MLS (this provides you with a paid account with access to to listings in your MLS.
Enter the registration key.
If you already have a trial account or a paid account, click here to learn how to locate your registration key
Demo videos and publicly accessible info from plugin resources:
Details and publicly accessible info from plugin documentation:
- Basic Search
- Map Search (If included in your package)
- Advanced Search
- Property Organizer Login
- Email Alerts Sign Up
- Featured Listings
- List of Saved Searches (toppicks)
- Contact Form
- Home Valuation Form
- Supplemental Listings
- Sold Featured Listings
IMPress Listings
Plan Type(s): Premium, Woo | Plugin Name: IMPress Listings (Formerly WP Listings) | [ No Registration Key Required ]
Plugin Details:
A fully responsive listing management system. IMPress Listings allows you to manually add each of your listings to your website. You have to add listings and fill out taxonomies in order for items to show up when the shortcode/widget is placed.
Note: IMPress Listings adds important new features to what was already a great plugin (WP Listings). The plugin now allows MLS integration through the use of the IMPress for IDX Broker plugin BUT this isn't an approved plugin.
When to use IMPress:
Use this plugin if the customer wants a free option/doesn't want to pay for a platform like Optima. Also the customer MUST be comfortable with entering listings manually and updating them manually. Since they aren't synced to an MLS, they won't auto-adjust.
When NOT to use IMPress:
Do NOT proceed with this plugin as an option if the customer has an existing MLS that they want synced to the site automatically and if they are not comfortable with manual entering/updating of listings.
Demo videos and publicly accessible info from plugin resources:
Details and publicly accessible info from plugin documentation:
- Status (Active, Sold, Pending, For Rent, Reduced, New)
- Property Types (Residential, Condo, Townhome, Commercial)
- Location
- Features
Use the taxonomy creation tool to create your own way of classifying listings (i.e. bedrooms, bathrooms, locations, price ranges) and use those taxonomies to allow users to search for listings. Then, reorder the taxonomies as needed.
Find listings by taxonomy using filters in the WordPress admin.
Single listings display the custom data automatically with no need to insert shortcodes to display listing data. If it's entered, it will display on the page.
Don’t want to show the price on a listing? Check a box and the price is hidden. That simple.
Supported property fields:
- Price
- Address
- Country
- MLS Number
- Year Built
- Floors
- Square Feet
- Lot Square Feet
- Bedrooms
- Bathrooms
- Half Baths
- Garage
- Pool
- Open House date and time
- Photo gallery
- Video or virtual tour
- Map
- and more!
IDX Broker
Plan Type(s): Premium, Woo | Plugin Name: IMPress for IDX Broker | [ API Key Required ]
Note: This plugin is not included in PWS Features as it is NOT a plugin we offer. However, this plugin is ONLY approved for customers upgrading to our WordPress Plans from GoCentral, who already use this feature on their GoCentral site, and wish to maintain the same functions.
Plugin Details:
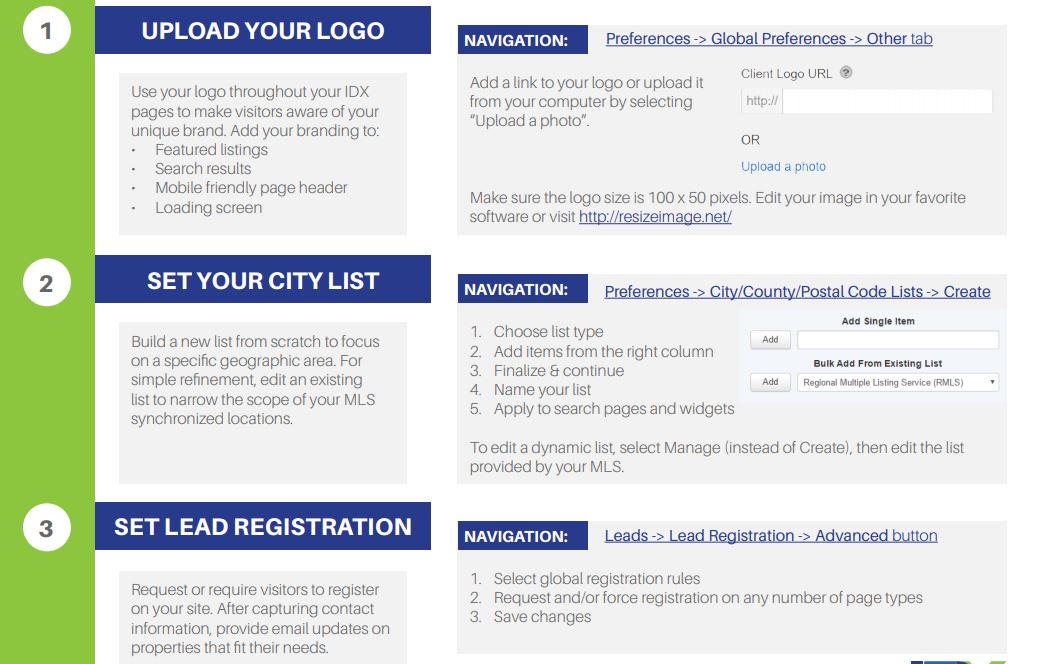
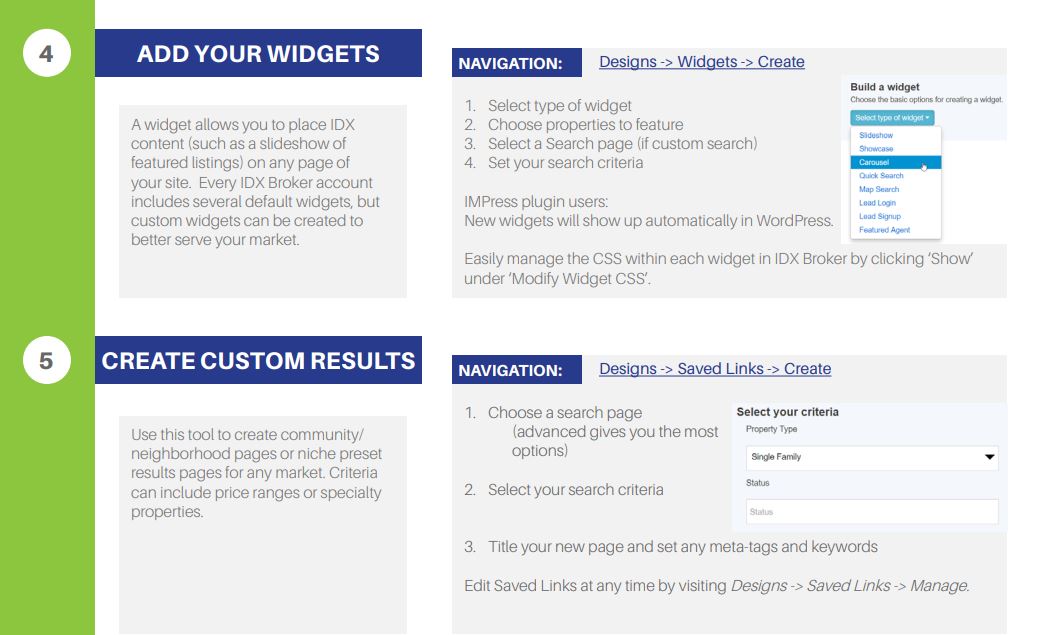
IMPress for IDX Broker is part of the IMPress family of plugins. Your IDX Broker-enabled account provides this plugin with access to your MLS data feed.
When to use IDX Broker:
We will ONLY use this plugin for customers upgrading from GoCentral to WordPress who have an existing IDX Broker account.
GoCentral Customers that use this feature already have their API key set up and just need to provide us with that.When NOT to use IDX Broker:
We will NOT be using this plugin for any new customers who don't already use this function on their existing GoCentral plan.
Demo videos and publicly accessible info from plugin resources:
Details and publicly accessible info from plugin knowledgebase:
MLS Embed
Plan Type(s): Standard, Premium, Woo | Plugin Name: No plugin required | [ Embed Code Required ]
Most of the time embeds like these use "iframes" and embedding them creates a window looking into a site that already exists somewhere else. We can change the size of the window, but we cant paint over the window to change the outlook of what lies on the other side.
Details:
Many IDX's will provide you with an embed code. If provided, we can simply add this to a page on a site using an html module.
We have no control over what this embed looks like, what listings or items come through, or what colors and sizes the items are.
When to use an embed:
This option depends on IF the IDX you use provides the option to embed their MLS. The customer will have provided us with their embed code before asking us to embed it. The customer's MUST have an existing MLS and their listings platform MUST provide them with the option to embed.
When NOT to use an embed:
Do NOT proceed with this option if the customer doesn't have an existing MLS, if their MLS doesn't support embeds, if the customer wants to manually enter items via their WordPress site, or control the styling/appearance of items within the embed.
Job Listings
Plan Type(s): Premium, Woo | Plugin Name: WP Job Manager | [ No Registration Key Required ]
Plugin Details:
WP Job Manager is a lightweight job listing plugin for adding job-board like functionality to your WordPress site.
Add, manage, and categorize job listings using the familiar WordPress UI. Searchable & filterable ajax powered job listings added to your pages via shortcodes. Frontend forms for guests and registered users to submit & manage job listings.
This is a free simple plugin but it does have a WooCommerce addon option for paid listings, however the customer would need a WooCommerce platform for this and the addon its not PWS approved, so they would have to configure that on their own.
When to use Job Manager:
Use this plugin when customers need a very basic but customizable database to manually list their jobs.
When NOT to use Job Manager:
Do NOT proceed with this plugin if the customer is trying to replicate a site like monster.com or indeed, with high-level interaction/commenting/auto updates of listings. Do NOT offer this plugin as something that can allow paid listings unless the customer is comfortable with configuring that option on their own and if they have a WooCommerce platform type.
Details and publicly accessible info from plugin documentation:
The job listings tab contains the following settings:
- Listings per page – Controls how many job listings should be shown per page when using the [jobs] shortcode
- Filled positions – If checked, filled positions will no longer be visible when using the [jobs] shortcode
- Hide expired listings – If checked, expired job listings are not searchable.
- Hide Expired Listings Content – If checked, the content within expired listings will be hidden.
- Categories – If checked, job categories will be enabled. These are used to group jobs by category and are also visible on the frontend job submission form if enabled.
- Multi-select Categories – If enabled, the category select box will default to a multiselect on the [jobs] shortcode.
- Category Filter Type – Determines the logic used to display jobs when selecting multiple categories.
- Types – Choose whether you want to enable types.
- Multi-select Listing Types – If enabled, each job can have more than one type.
- Date Format – Choose how you want the published date for jobs to be displayed on the front-end.
- Google Maps API Key – Enter your Google Maps API key (you can acquire one here). Google requires an API key to retrieve location information for job listings.
The job submission tab shows options regarding the job submission process in WP Job Manager:
- Account required – If left unchecked, non-logged in users will be able to submit job listings without creating an account.
- Account creation – If checked, non-logged in users will be able to create an account by entering their email address on the job submission form. This is optional depending on the settings below.
- Account Username – If enabled, a username will be generated from the first part of the user email address. Otherwise, a username field will be shown.
- Account Password – When enabled, an email will be sent to the new user with their username and a link to set their password. If disabled, a password field will be shown and the new user’s email address won’t be verified.
- Account Role – If you enable registration on your job submission form, choose a role for the newly registered users. This defaults to Employer.
- Moderate New Listings – If enabled, new submissions will be inactive, pending admin approval. Only once approved by an admin (published) will they be visible on the frontend.
- Allow Pending Edits – If enabled, submissions awaiting admin approval can be edited by the user.
- Listing duration – How many days listings are live before expiring. Can be left blank to never expire. Published jobs will automatically be set to expire based on this setting. Please note that WC Paid Listings can override this setting.
- Application Method – Choose the contact method for listings.