
Welcome

Premium WP
WS Resource - Intake Form Side-by-Side
Don’t forget your call disclosure on outbound calls: “your call may be recorded and retained for quality and training purposes”
Validate Account Once you said the call disclosure, you need to have the customer validate in the GoDaddy account to proceed with the consultation.
Before launching screenshare, make sure you've disabled autofill from your brower settings!
Greet
"Thank you for taking the time to speak with me, I am very excited to be helping you with your website today! Welcome to our team!"
* Set timeframe for appointment
Details About The Company
"Why don’t we start with you telling me a bit about your business and what we are building for you..." (see tips)
Set Expectations
"This is going to be great! Before we get started with our design consultation I just wanted to let you know how this process works and what your plan includes. Once I review everything, if you have any questions or didn’t catch something, I’d be more than happy to review again or clarify for you."
Your Plan Includes: 10 Pages, 50 images

1. Design Consultation
To start we are going to do a design consultation. This should take us anywhere from 45-60 minutes and will help me get a better understanding of what we are going to create for you. I will need you to be in front of a computer so we can screen share.

2. Gather Content
At the end of our consult you will receive an email with the notes from the consultation. If there’s additional information we need for the initial build of the site I will include those items in the email and we can schedule a time for us to finalize your content.

3. Build Website
Once we have all your content, the initial build of your site can take up to 10 business days

4. Make Refinements
After you see your draft we will work together to gather any changes to finalize your website.
This can take up to 5 business days.
5. Then it’s time to Launch!
You will have FULL access to your site at any given time once the build is complete.
That’s not all though, once your site is built you have two options for having changes completed in the future:
- You will get access to our training portal to assist you with “do it yourself” changes to your new site (think of it like getting your keys to your new car).
- Care/Updates: Let customer know that they will have access to the request form online 24/7 post build OR if a customer without Care wants us to make updates we offer that service to PWS customers at $50/half hour.
Pulse Check
"Do you have any questions before we get started with the consultation?" --- Start Consultation!
Plan Specs

Plan Specs
Plan Includes | Process Scope | Time-frame Expectations

Plan Includes
Discuss Page Limitation, site components & other plan details (copy-writing is included)
Pages & Site Components:
| Site Element | Premium WP Scope |
|---|---|
| Pages | 10 -- (blog posts to be included in page count) |
| Images | 50 |
| Form Fields | 50 |
| Links/Embeds | 25 |
| Text: Words/Page | 2000 -- (w/exception of legal docs, judged by mgmt) |
Other Plan Details:
| Site Extras | Premium WP Includes |
|---|---|
| Email Plan? |  -- (o365 Essentials) -- (o365 Essentials) |
| Maintenance? |  |
| SSL? | |
| Video Tutorials | -- (24/7 video access) |
| Other Addons | Direct to sales team |
Time-frame Expectations
Discuss Initial Build Time-frame: Premium WP - Your site can take up to 10 business days
Discuss Revisions Time-frame: Your plan includes a round of revisions, the timeframe for completion is 5 business days
| Premium WP Build Type | Time-frame for Completion |
|---|---|
| New/Initial Build | Your site can take up to 10 business days |
| Revisions | All Revisions take 5 business days |
After-build Expectations
Discuss ability to purchase Update Minutes after build is complete: $100/hour
*Minutes are not a la carte, and are purchased in 30-minute increments of $50.00 per every 30 minutes.
Discuss Training Hub:
After your website is complete, you’ll have access to our online training hub, which includes video tutorials, training resources, and FAQ sheets about your new site. (view helpful tips)
Advise customer that they are able to access their site after build.
Any future changes can take up to 5 business days depending on how extensive the request is.
Pulse Check:
"Do you have any questions about any of the expectations that we just went over?
Let's start screen-sharing!"
The Basics

The Basics
About You | About Your Company | Business Contact Info
Details About The Business
Brief Description:
This should be a very short description of the site, around 320 characters or less, that summarizes your business. What would you want to see in the search results if you searched for your business online?
What is your mission/vision?:
A simple sentence stating the main goal of the company. Why you do what you do and what are you trying to accomplish.
For example: "Our company aims to _____ which improves _____ for our customers."
Local Areas You Serve:
Recognizable cities/towns that are within the local range of your services. If you're an online store, mention the areas you ship to. If you're not sure, if you have no specific areas, or if it simply doesn't apply, leave it blank.
What sets you apart from your competition?
Why should customers pick you over someone else in the same industry? What makes you stand out? This is important to put somewhere immediate on the site that catches a visitor's attention if they were skimming through businesses in the same category.
Pulse Check:
Do you have any questions before we get into the design portion of our consultation?
Branding

Branding
Logo | Color Scheme | Choosing Fonts
Logo
If you have a logo:
Provide us with the high quality logo image in .png, .jpg, .pdf, .psd, .ai or .eps format.
If it's a low quality image logo, and if it has a white background that we cannot easily remove, then it will affect how it looks on the header you choose. If your logo image is too small for us to correctly remove the background from, and you are looking for a transparent/translucent header type, maybe we could use your business name in text for now and you can have us update the logo when you get one.
If you don't have a logo:
If you don't have a logo yet and are looking to have one made, we offer a logo design service and we can point you in that direction. Until then, we can use your business name text in place of the logo image.
Color
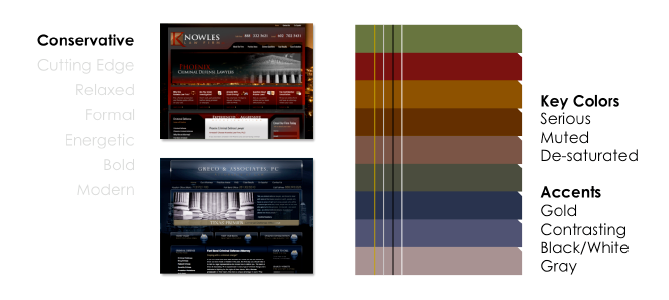
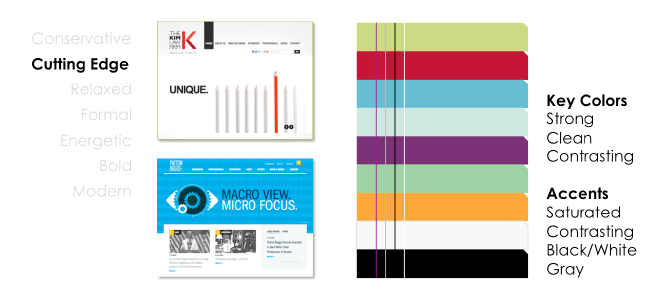
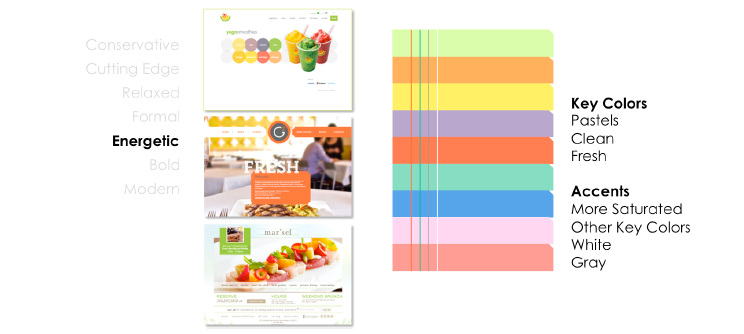
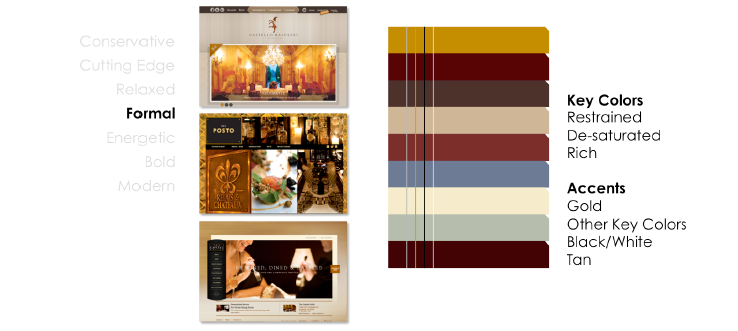
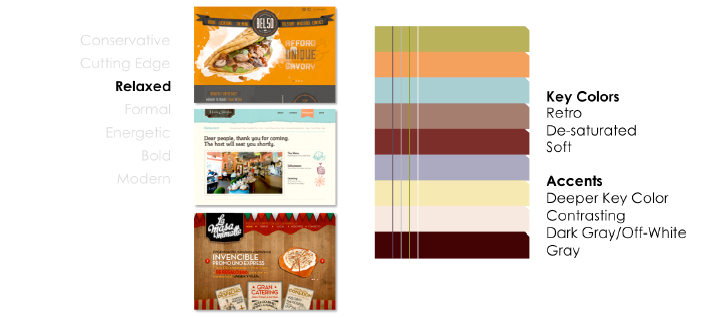
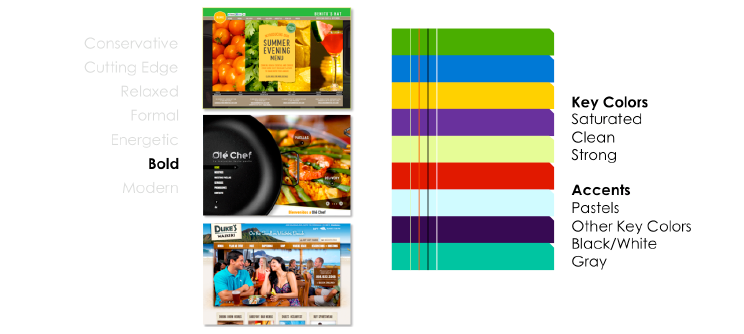
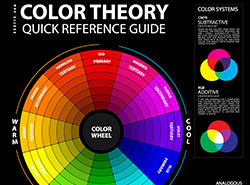
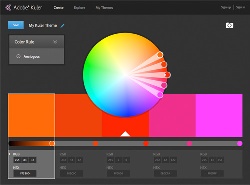
Discuss changing and provide suggestions (use Adobe Color when needed). Use this information when you are talking to your customers about what colors are appropriate for the look/feel they are going for (see tips):
Fonts
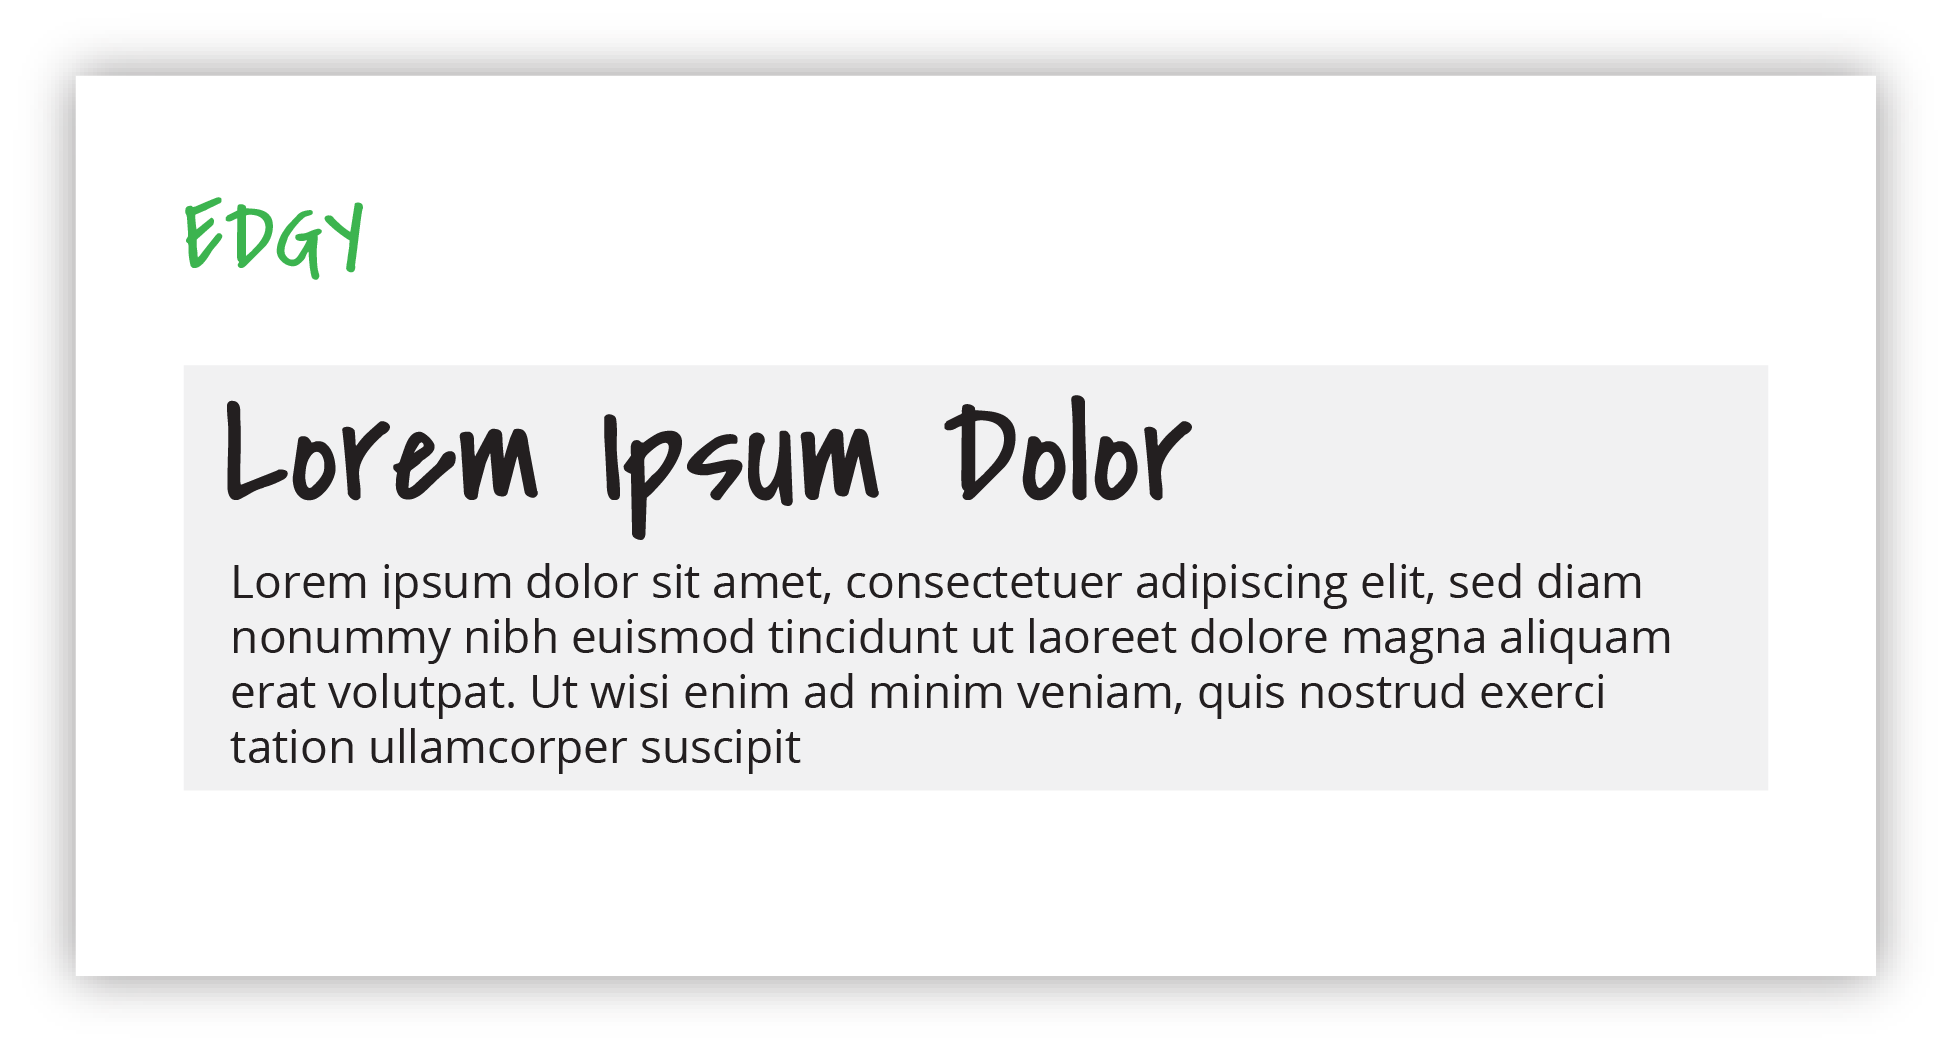
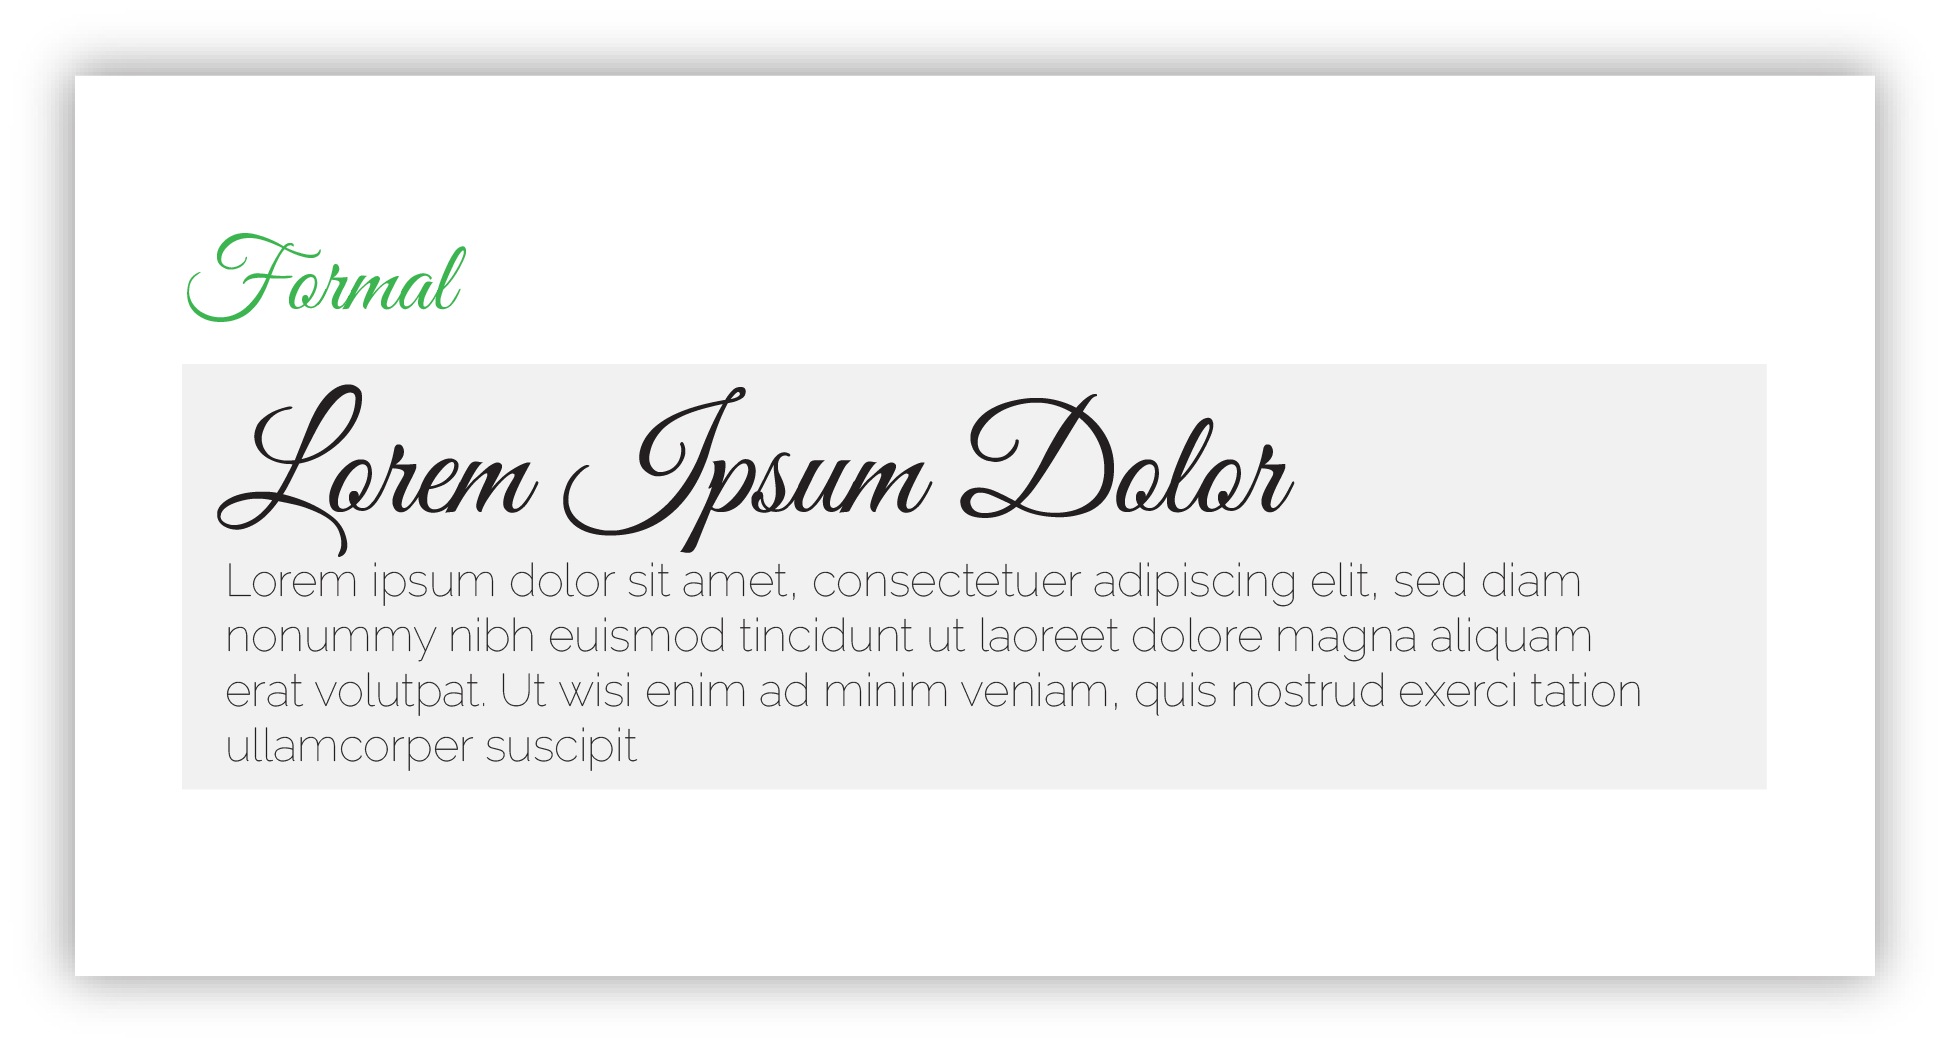
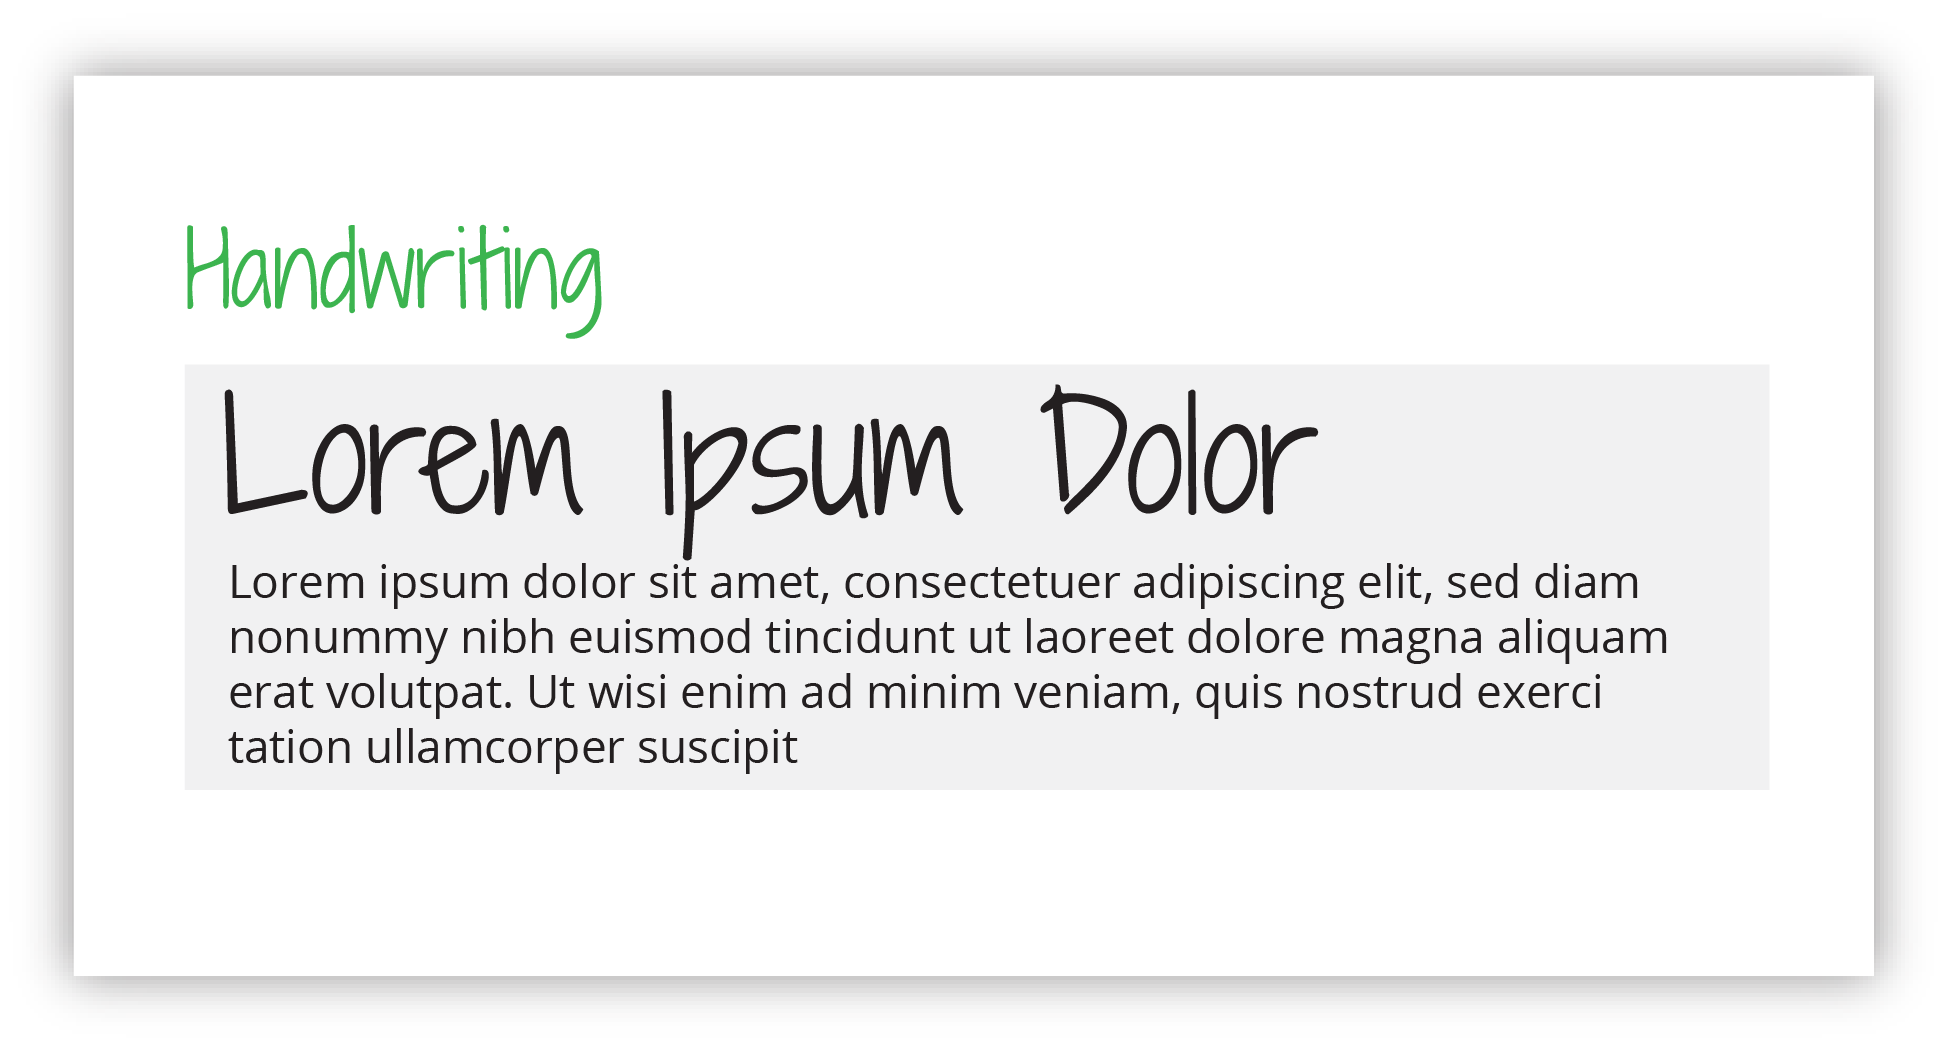
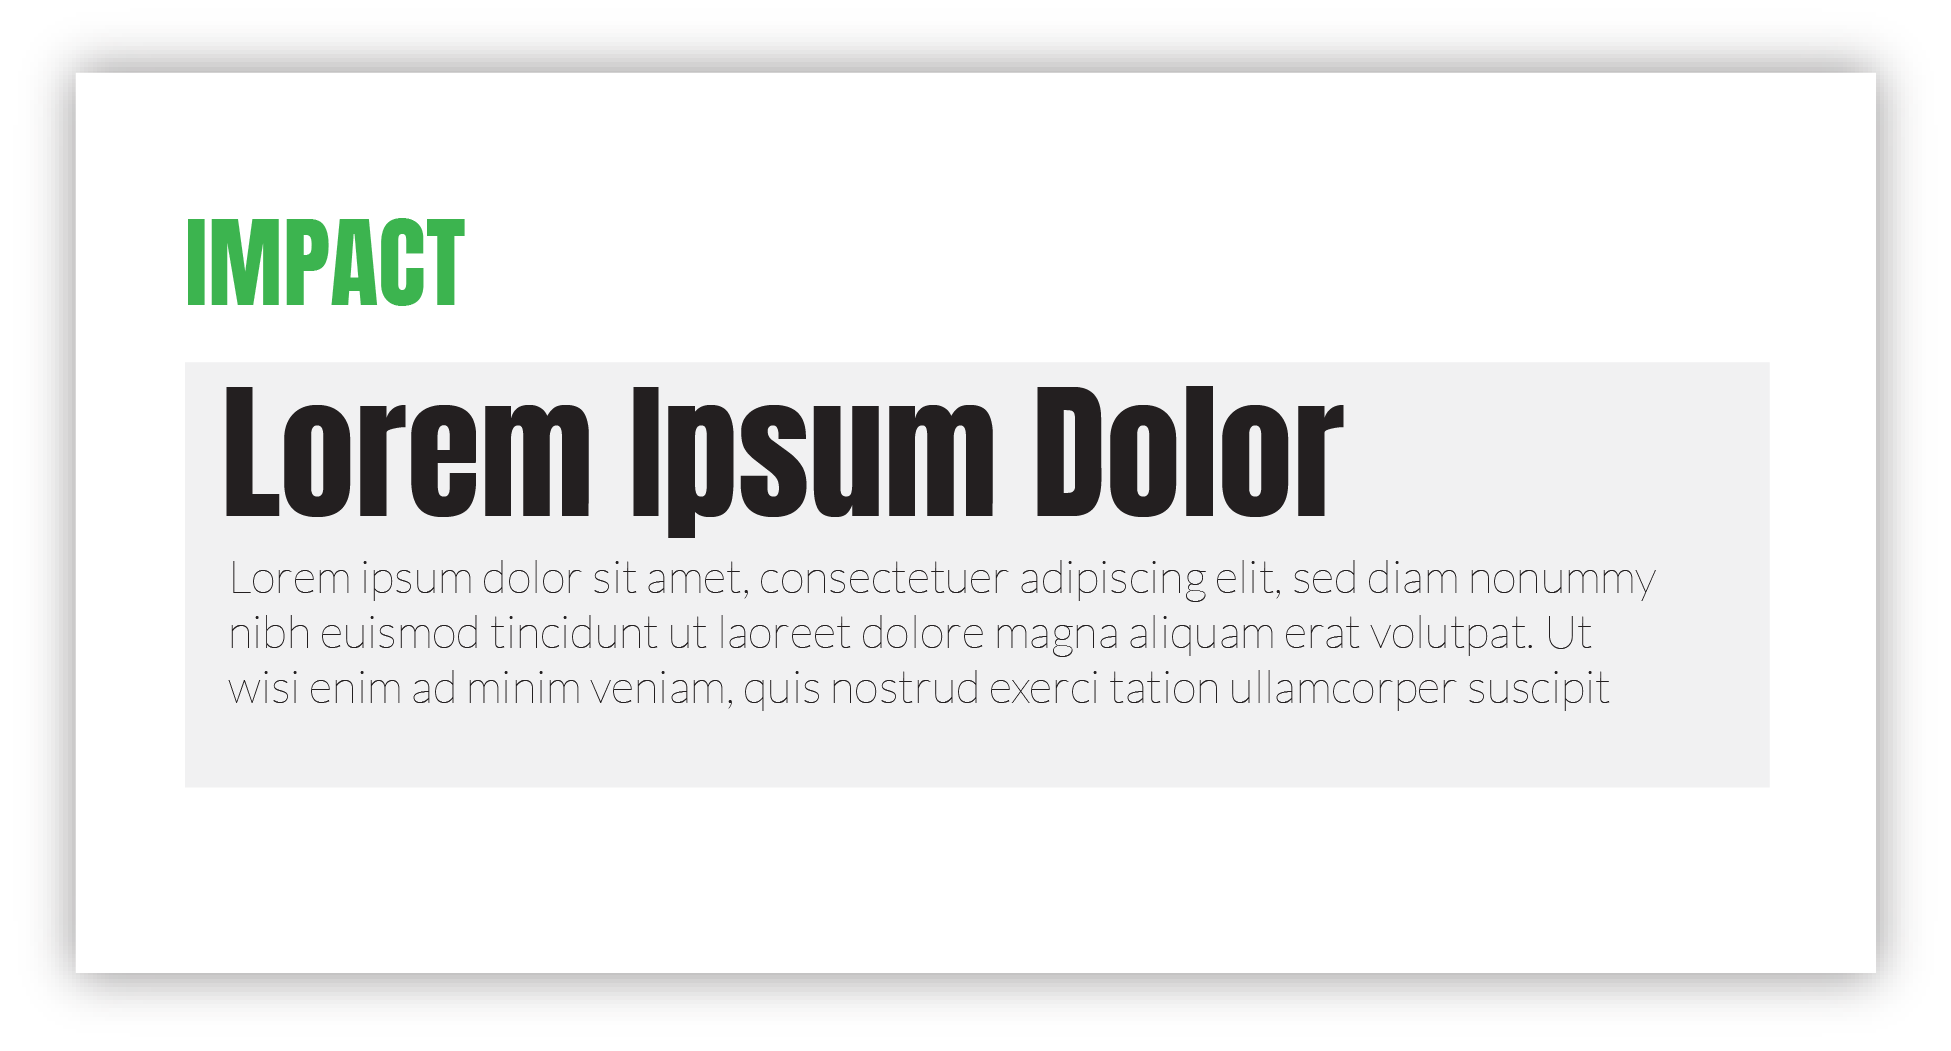
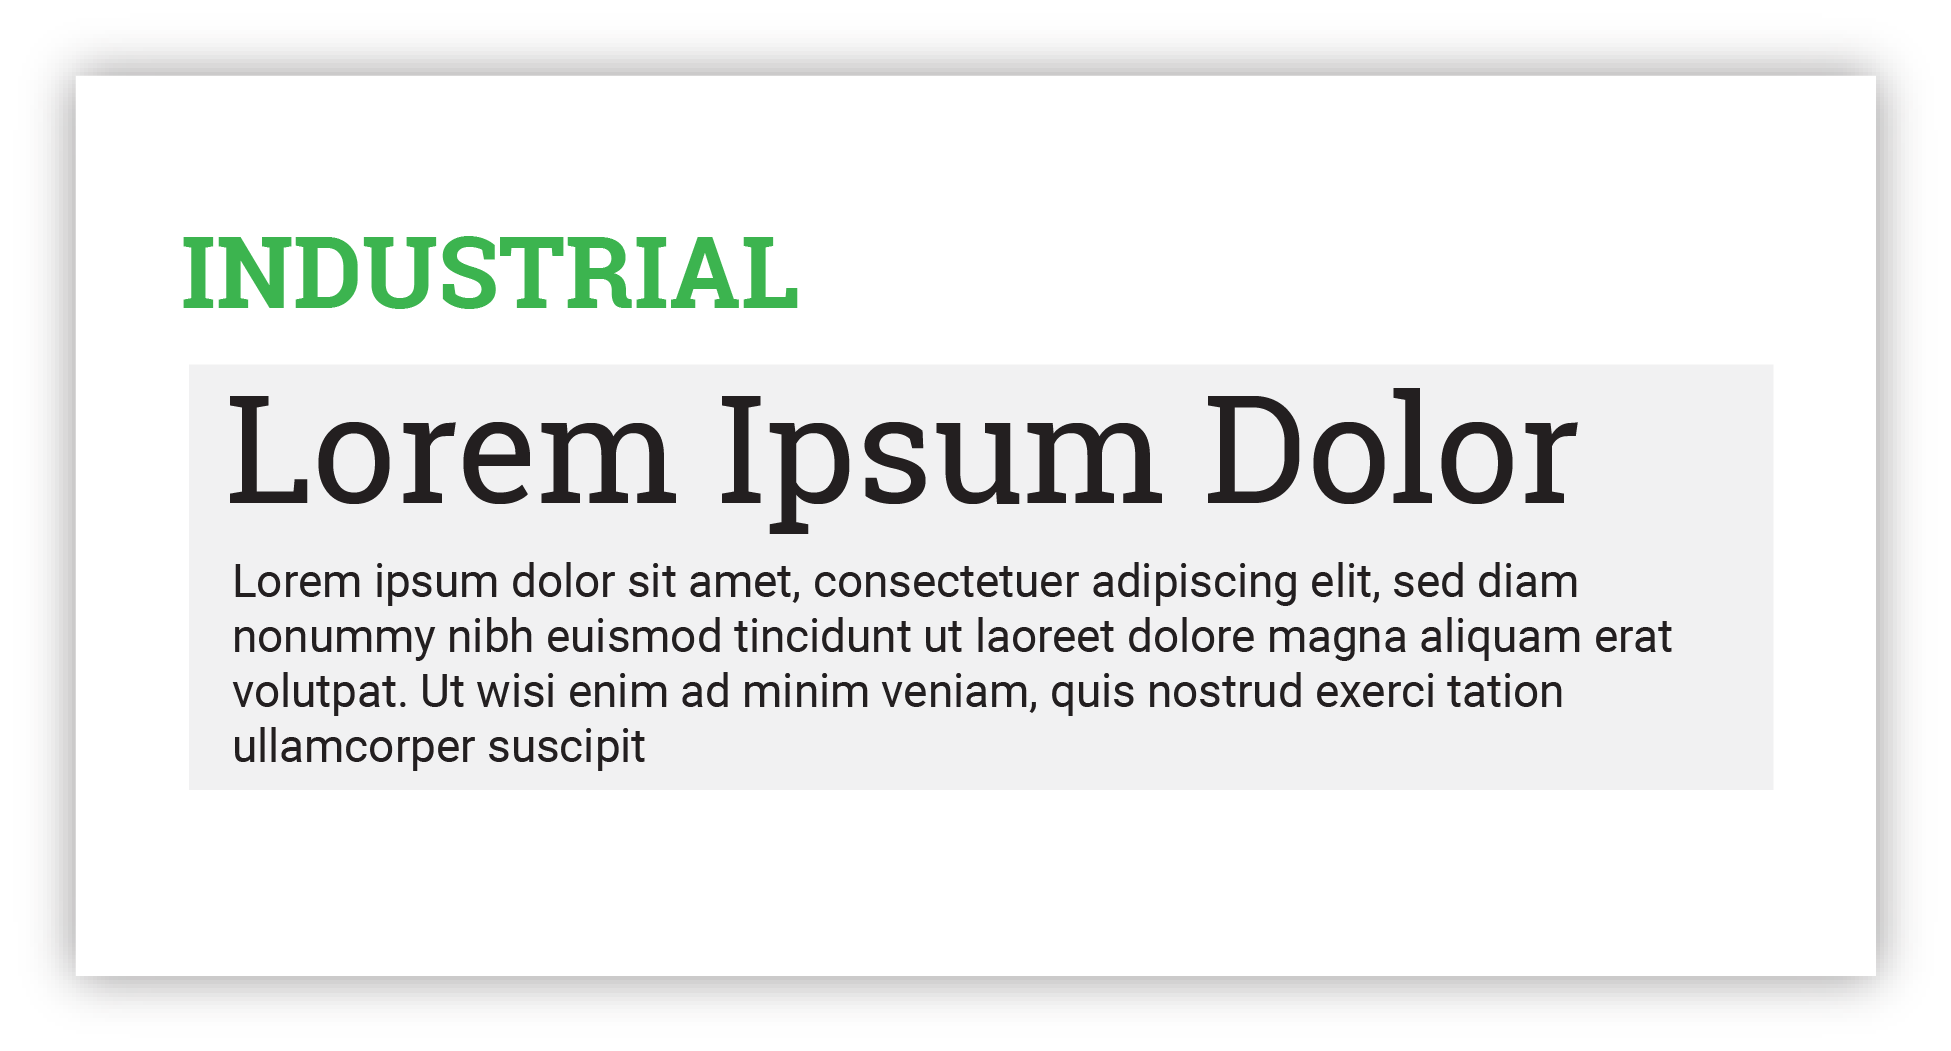
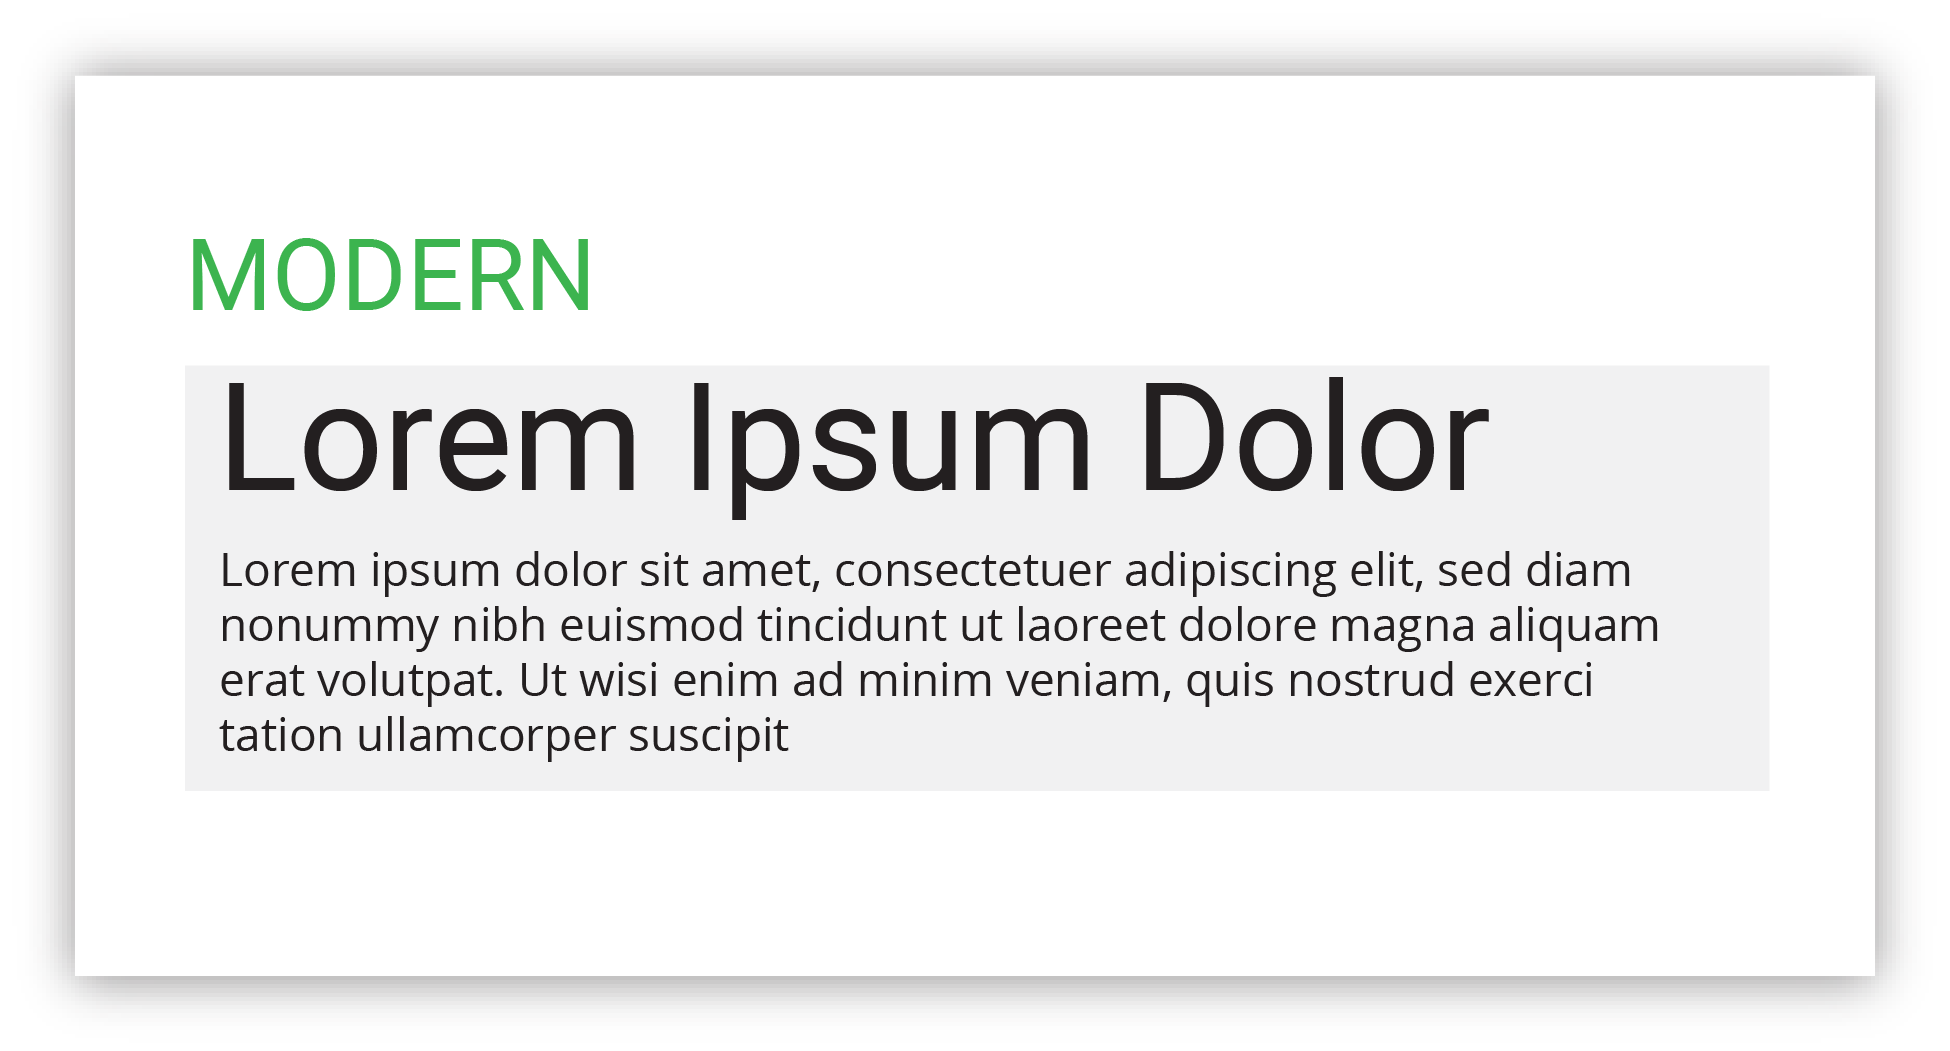
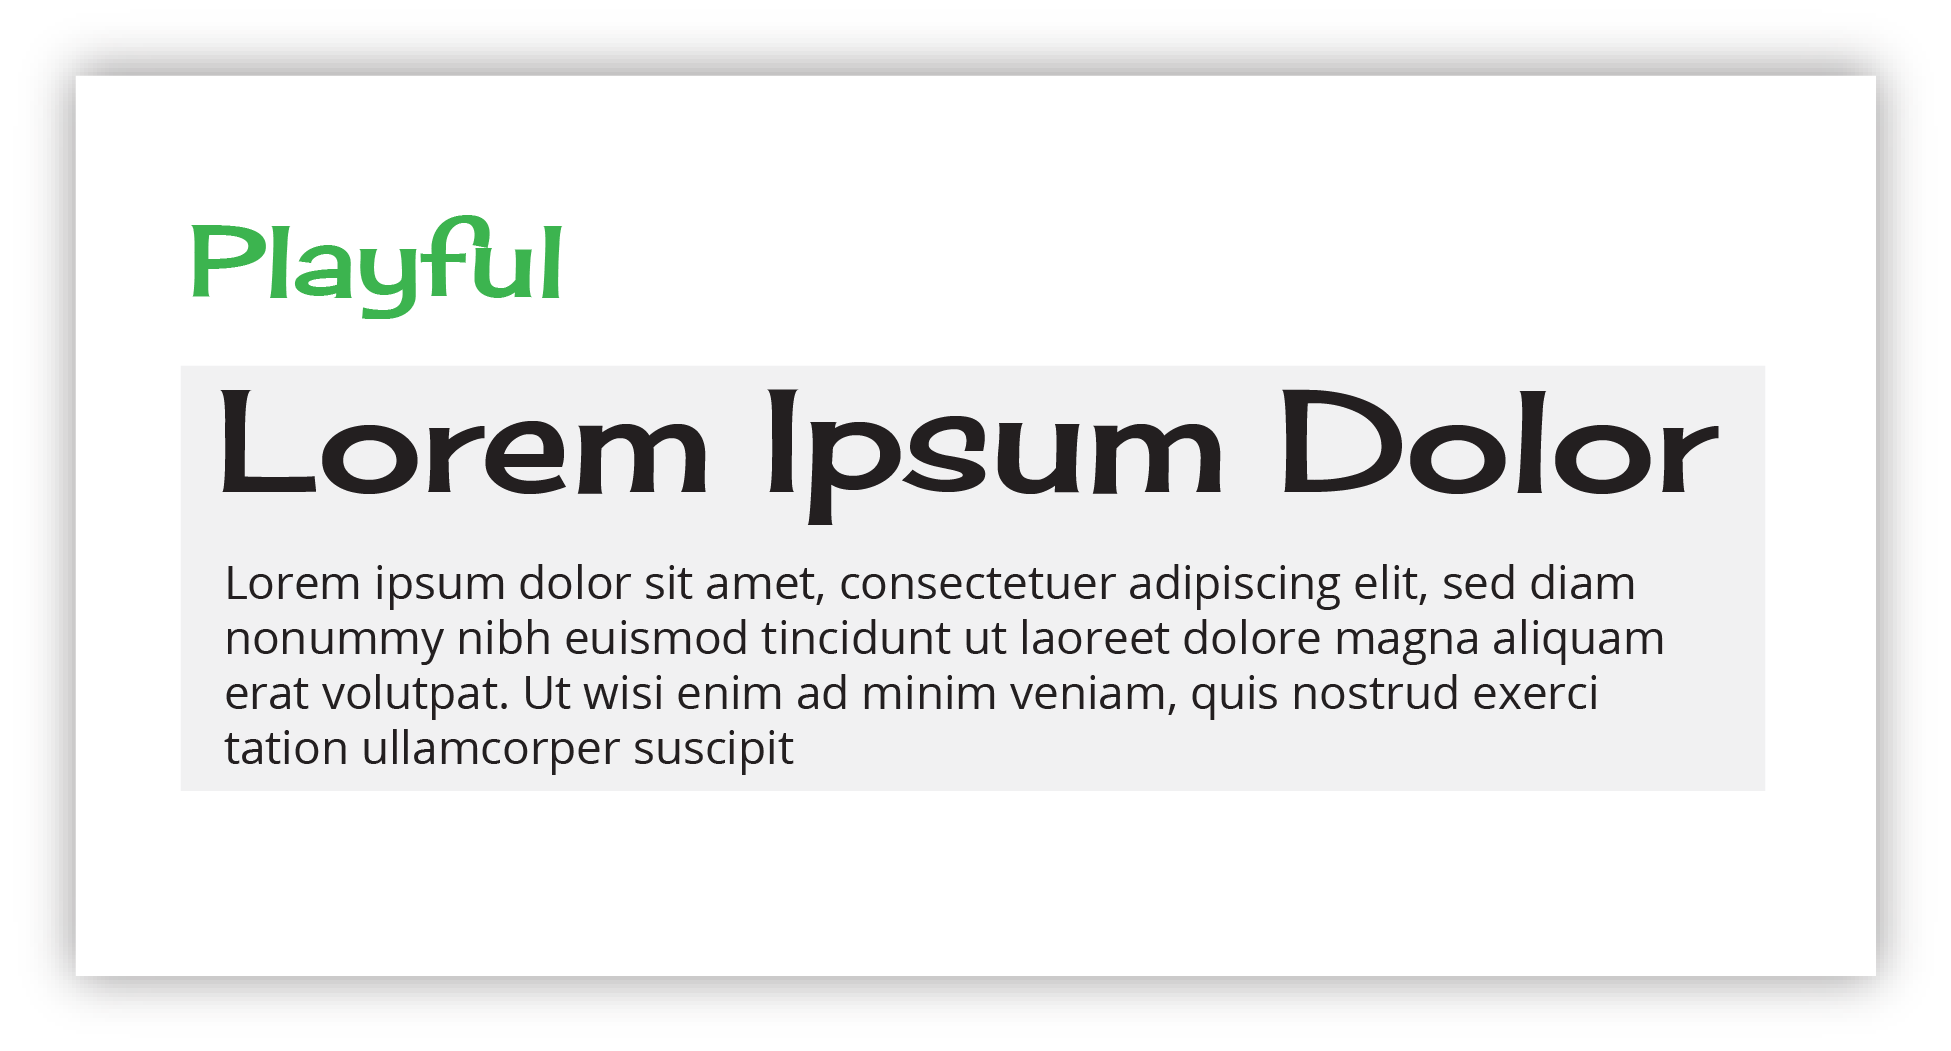
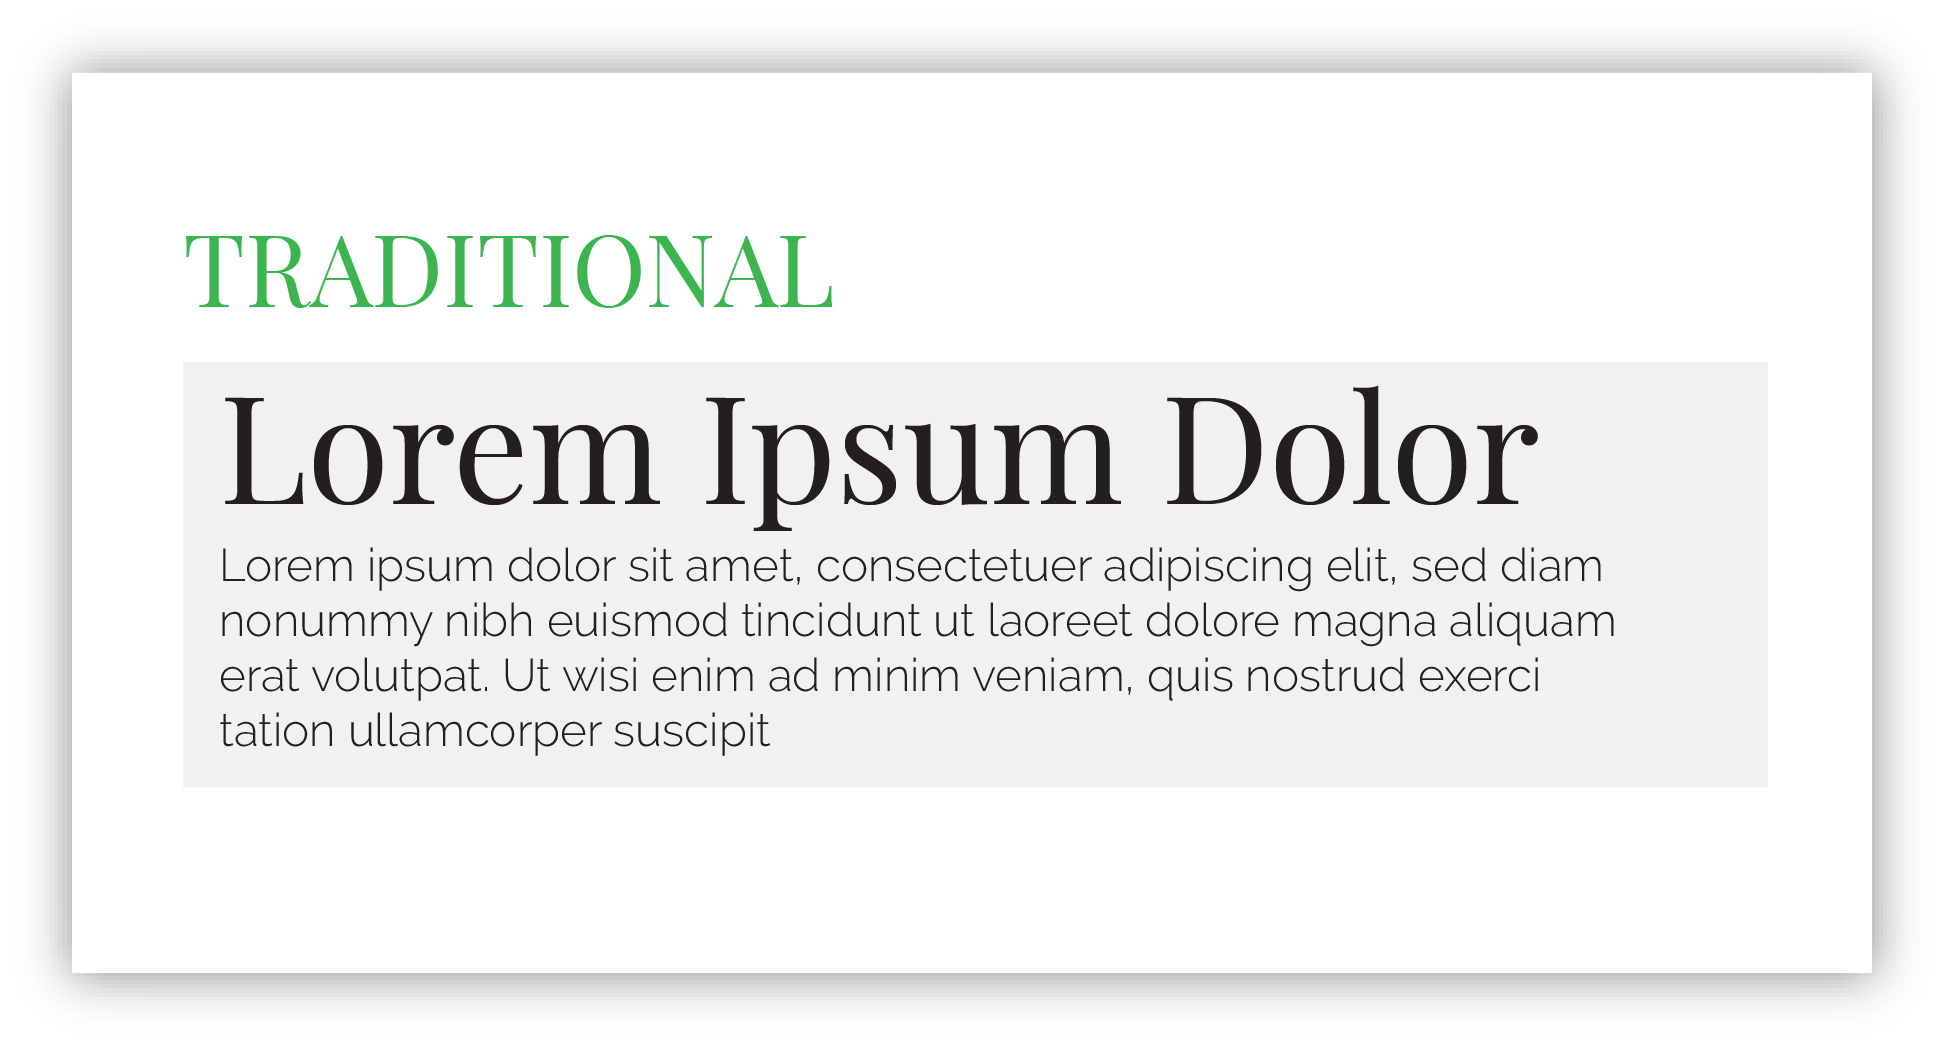
Below is a selection of the type of fonts designers will be choosing from to make up the font style.
Discuss changing and provide suggestions (use Google Fonts when needed & see tips for more info)
Site Elements
Site Elements
Header Style | Hero Style | Footer Style
Header Style
Review header options with the customer, review header for content, giving suggestions on elements to add, review header navigation (see tips)
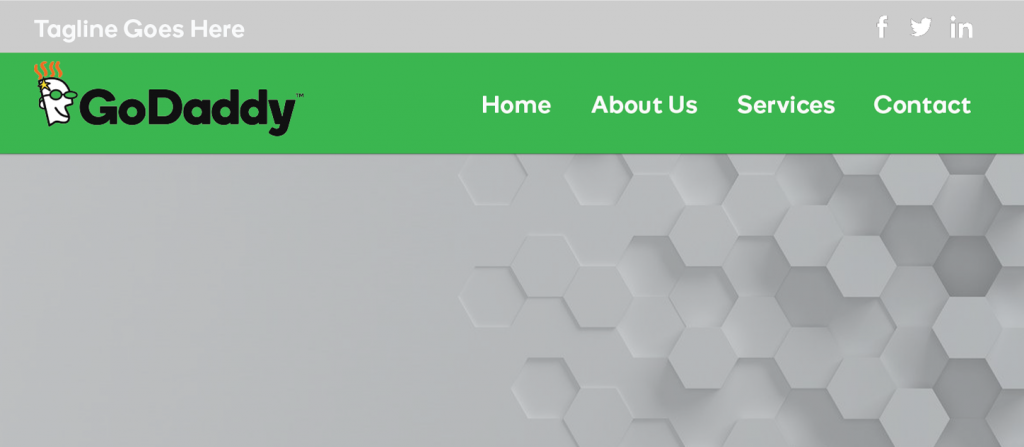
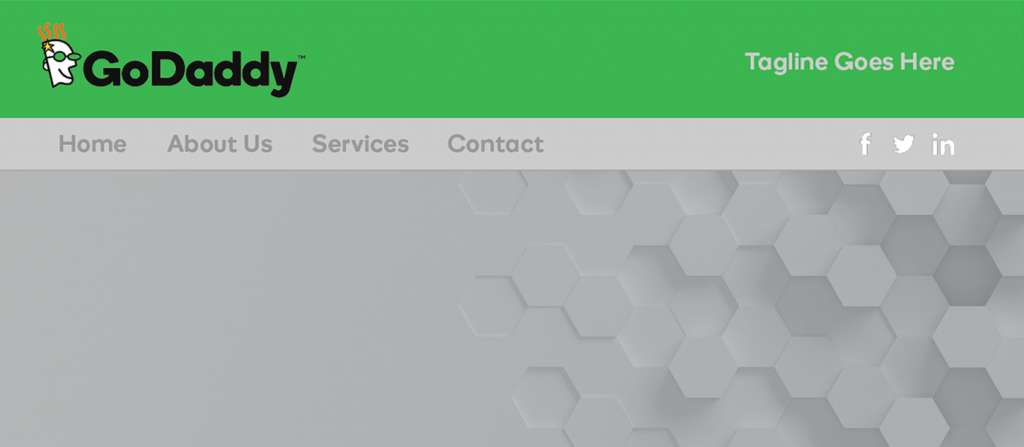
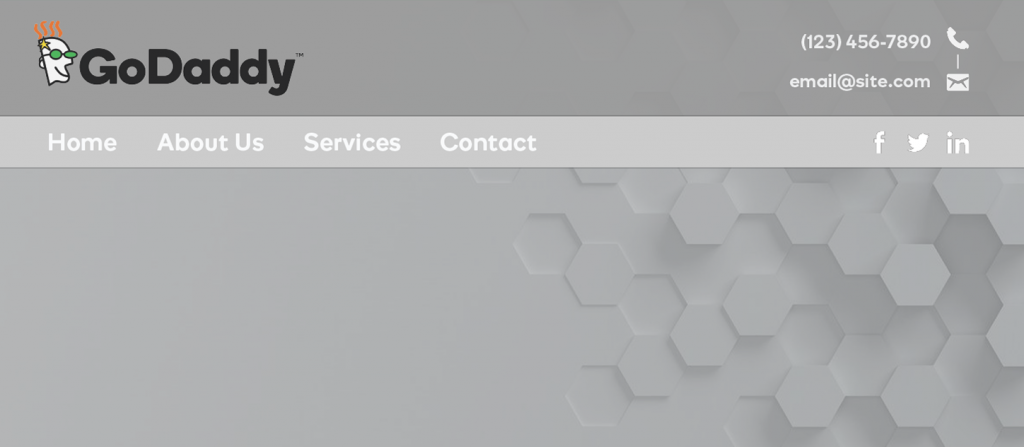
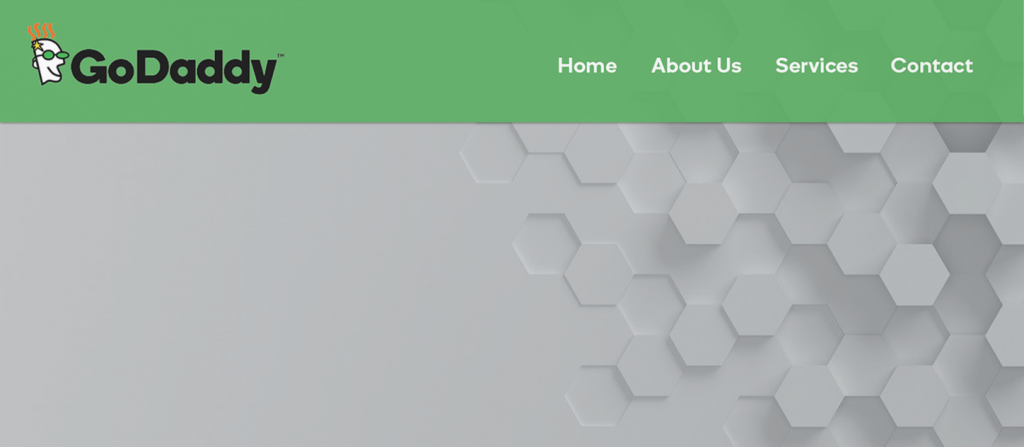
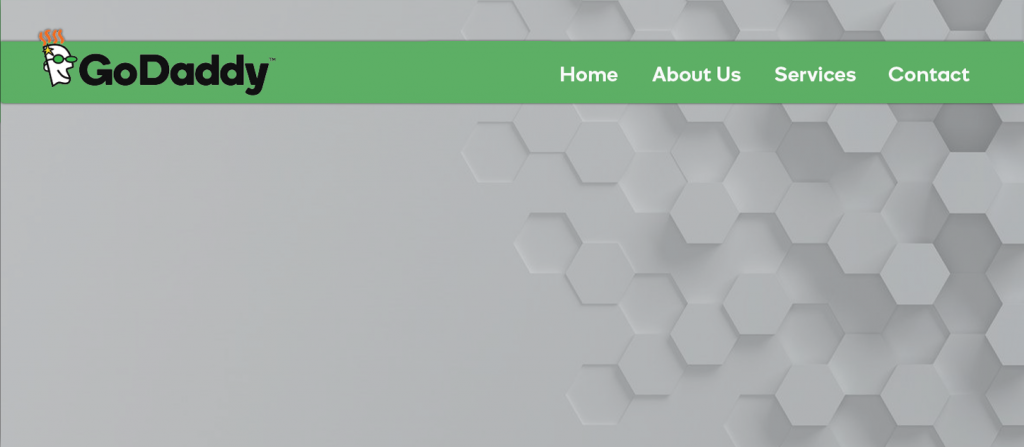
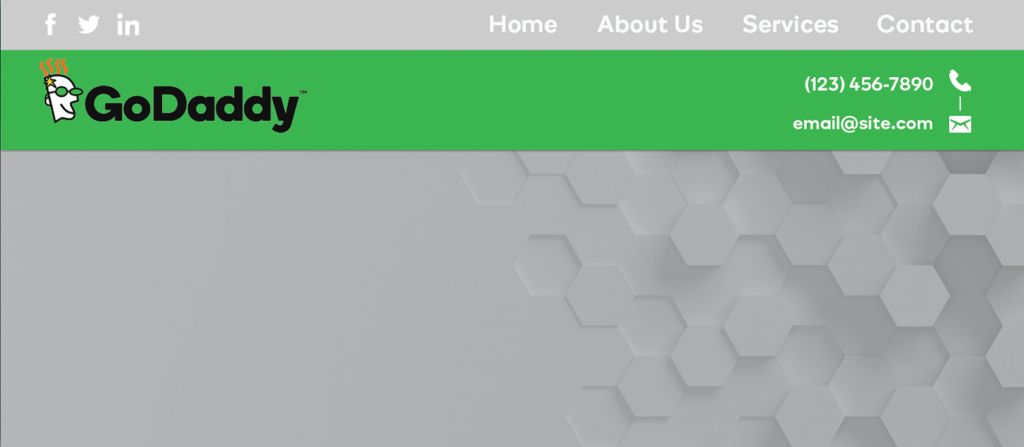
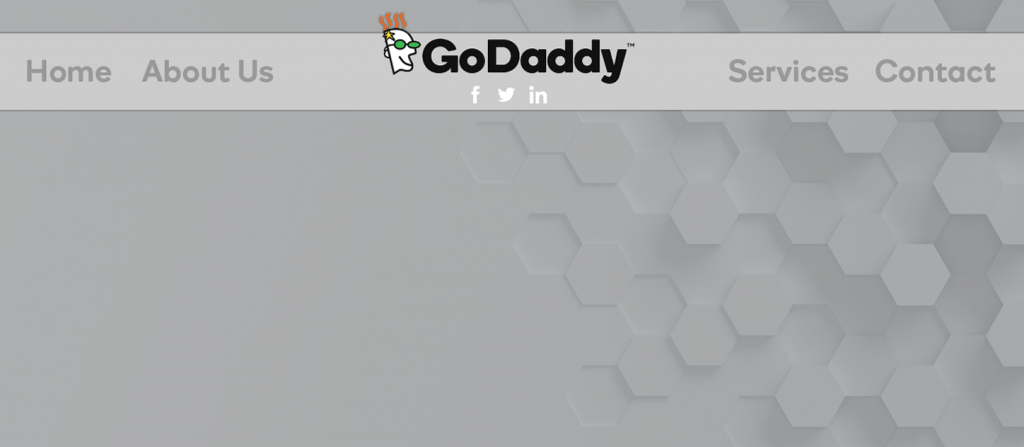
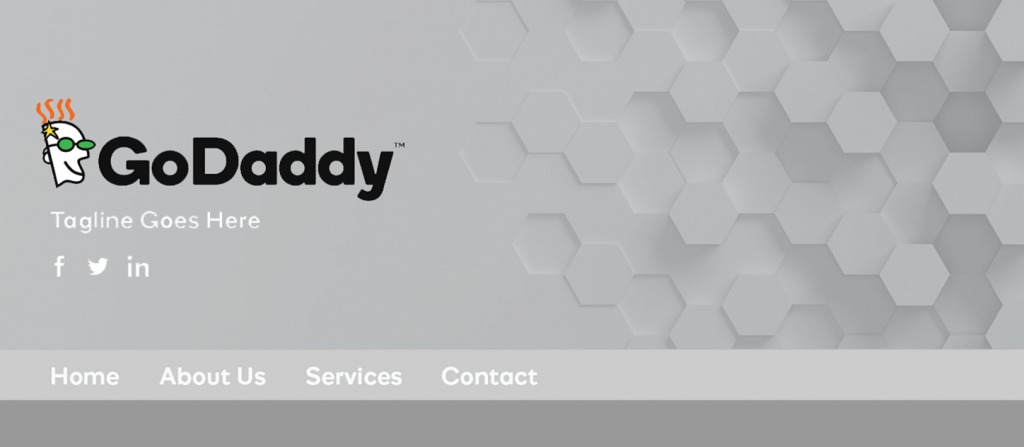
Options for sticky nav:
Sticky nav is available for all headers except Header 8 -- (sticky Navigation does not work on a mobile device)
AVOID using sticky nav on any header other than on headers 4 & 5 (possibly 7 if the information in the header is minimal enough)
AVOID using sticky nav if the customer plans on having anchor-links incorporated into their site without the necessary padding above and below the rows to accommodate the scrolling header.
Other Header-related Details:
Best for large (vertical) logo: Headers 5 & 7
Requires a logo to look good: Header 7,
Looks best with fixed width hero: Header 2
About Header Option 8:
- Avoid this header option for all builds unless the customer only wants ONE hero image used across the site
- Only use this header if the logo and header information is not going to be washed out by the hero image in the header (in very few scenarios does this header end up looking good after the build comes back)
- If the customer chooses header 8, but asks for different hero images on each page, chances are they want a transparent header overlaying the hero e.g. header 3 - use your design knowledge to leave notes for the builder or help the customer choose a header better tailored to their content.
- Do NOT use sticky nav with this header.
Hero Style
A "hero" is usually the first thing anyone sees when they arrive to a site's homepage. Heroes are meant to be eye catching, attention grabbing and interactive enough to where people feel intrigued to look further down the site.
Hero Placement:
- "Start Above Navigation" means the header (being completely transparent OR translucent) overlays the hero image
-- the hero starts at the very top of the screen behind the header. - "Start Below Navigation" means the header is set to a solid color and the hero image begins where the header ends.
*Hero on all header options can be Full Width or Content (Fixed) Width - but fixed width won't look good on headers that overlay the hero.

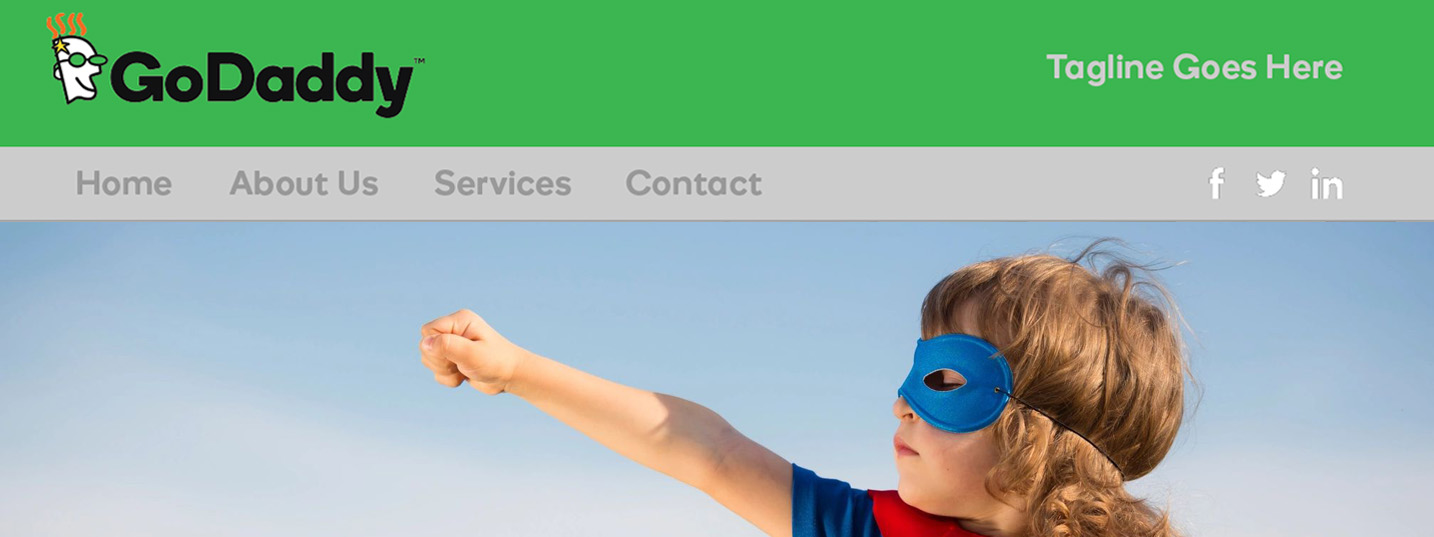
Hero Size
Choosing the right hero size depends on how big the images/videos provided by the customer are, and how much of these media files are required to be seen. In the case that the picture the customer wants isn’t large enough for a full height or full width hero, but they requested a large hero, present them with some alternatives.
- Pay Attention to aspect ratio - a vertical image can't fit in a landscape hero frame or else it will end up being low quality or being cut off
- Don't select a parallax hero type if the customer wants a certain part of their image to always show, use a static image instead
- If you are unsure if the image the customer sent in will work, or if you want to show the customer what will happen if they put an image in their hero, reference the background image tool to test it out
Full-Width Hero Alternatives
Here are some alternative options for customers who give us a hero image that doesn't fit:
- We can do a color/texture background instead and place the media file in the content body
- We can split the hero in half with a solid color background - place text on one side (column 1), and the hero image chosen on the other side (column 2)
- If they want a full width hero but don’t have an image to support it we can look in our stock galleries for a relevant image/video.
- We can do a full width hero with a blurred version of the hero image as the row background and the actual image smaller on top next to text.
**If the customer is indifferent to the layout and wants a specific media file, leave notes for builder discretion on the hero layout to make best use of the hero area.
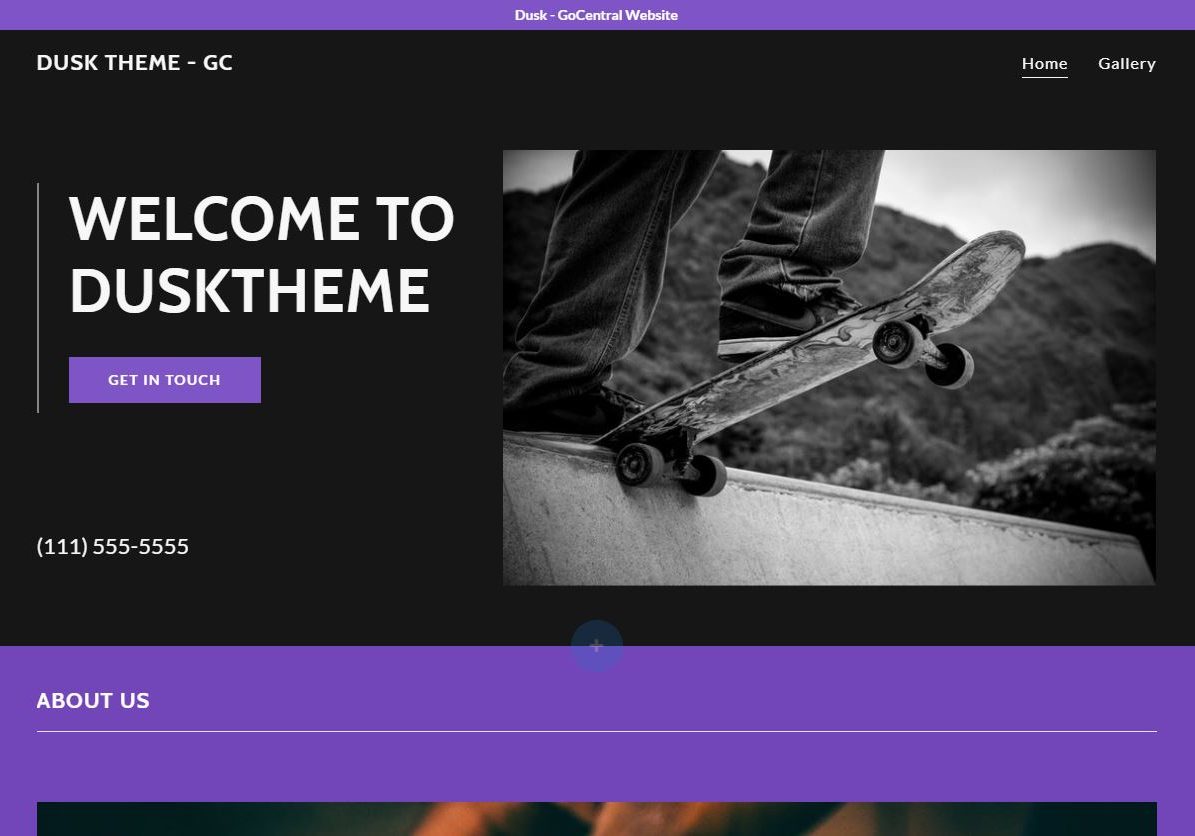
Examples of a Smaller Width/Poor Resolution Hero
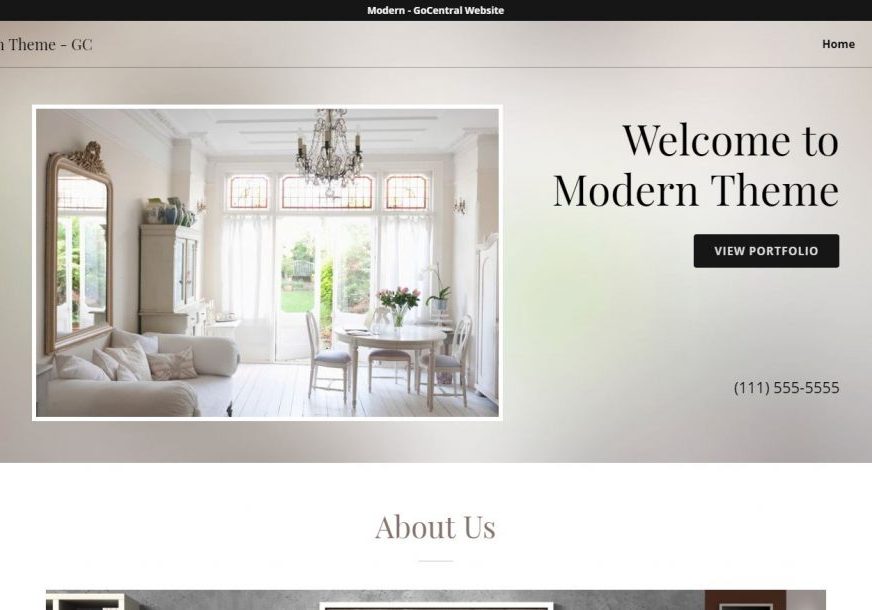
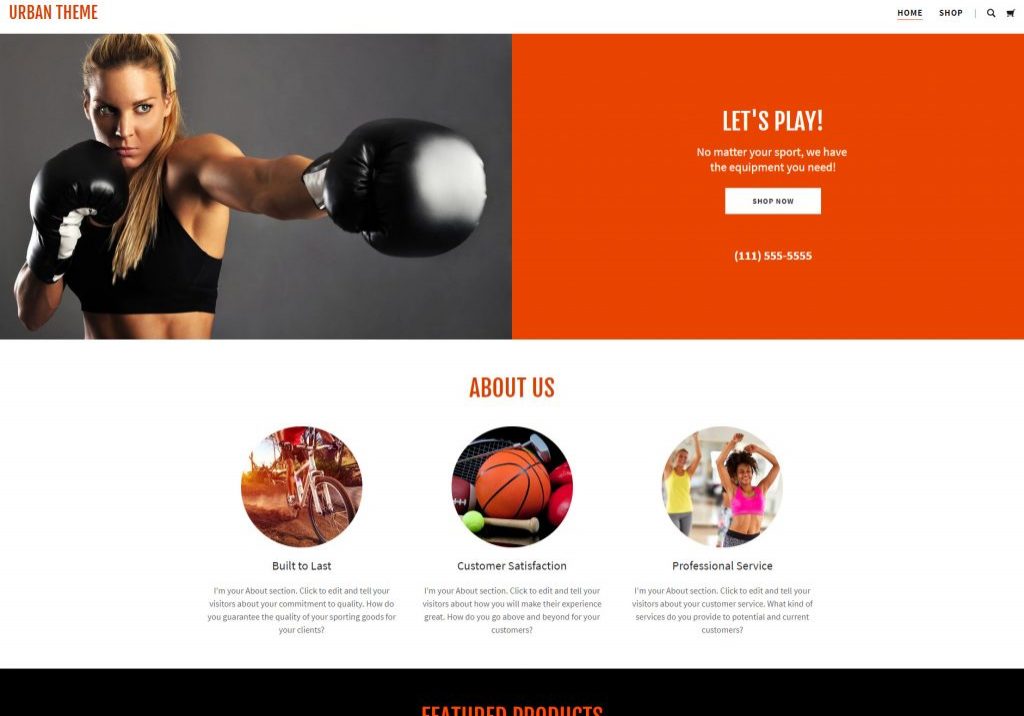
Have a small hero image or don't like the full width? Try a "blur" or "inset" option. This would look good for small/low-resolution hero banners that need to include an h1/description/cta, but may have text on the image already or get distorted when stretched across the screen.
Check out the images below for inspiration or to get an idea of what that might look like:
Footer Style
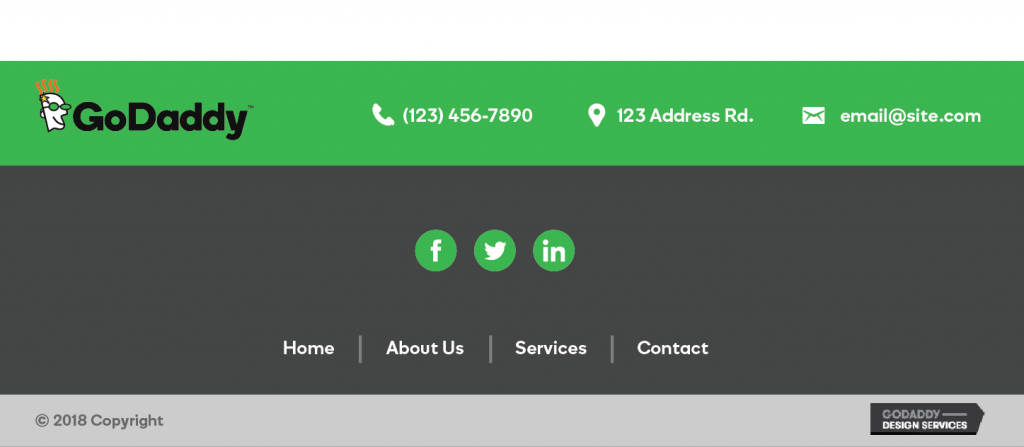
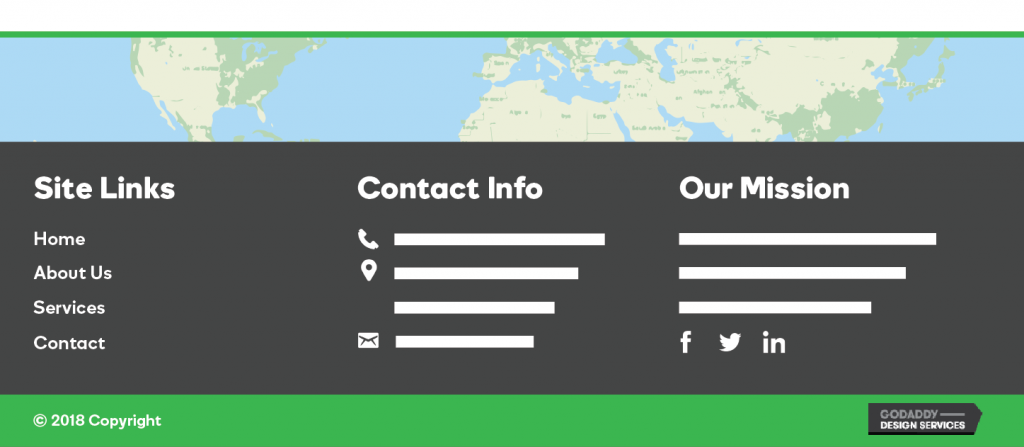
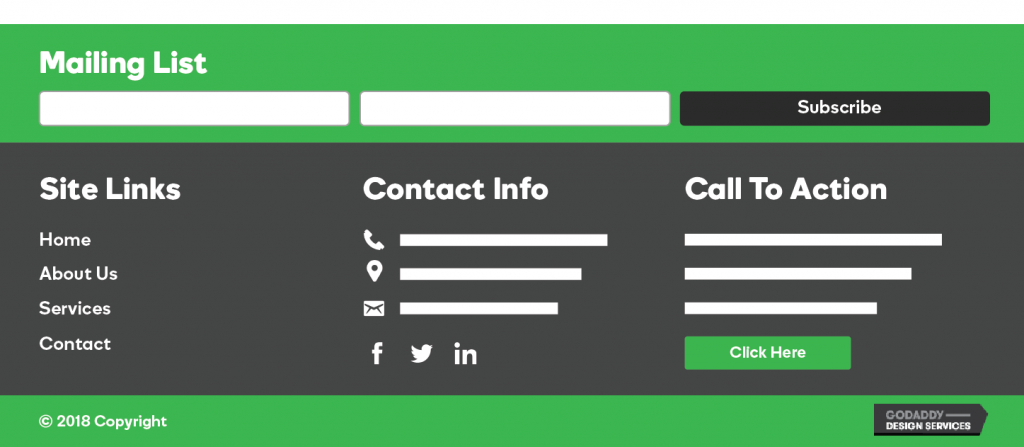
Review footer navigation, review footer for content, giving suggestions on elements to add
Call-to-Action
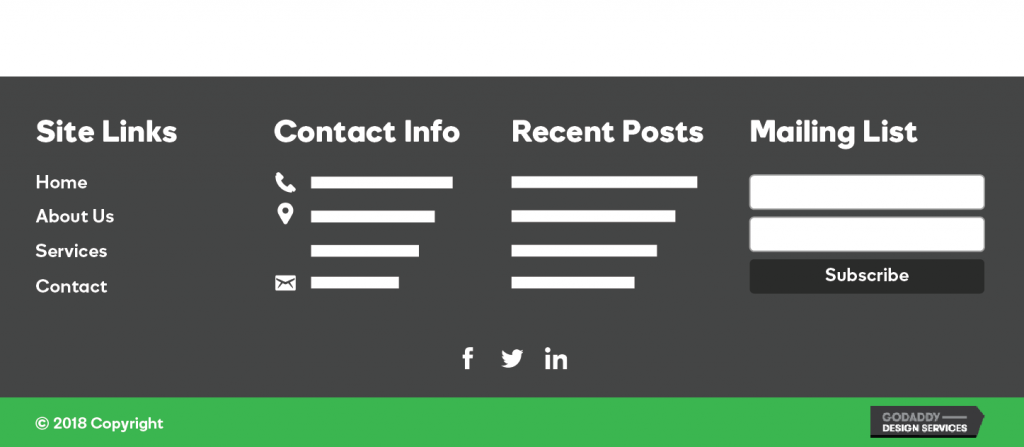
This footer layout is great for sites that would like a custom message along with a call-to-action button. It also features a mailing list form, but this row can be removed if unnecessary
Features: Mailing list subscribe form, simple menu, contact info, social icons, custom call-to-action text and linked button
Content
Content
Worksheets | Stock Images & Videos | Additional Features

Download Worksheets
Attempt to walk the customer through the worksheet. If the customer wants to review, or doesn't have time, you can send it.
Discuss Content
Review images, their size and quality. Offer to help with images/videos. Offer content writing if they need it and suggest content ideas (see tips). Attempt to take the customer to the URL. If they do not have time, or want to review it themselves, feel free to send them the link.


Discuss Content Writing
Each plan has complimentary content writing up to # pages included in their plan type. If customer opts in to content writing worksheet must be completed on the phone with the customer during the consultation, not emailed to customer after call.
If the site is “out of scope” (over 10+ pages…) then you should follow the normal “out of scope” process to receive an estimated delivery date.
Additional Features
Designs & Internactive Modules
When filling out the worksheet you can recommend for builders to use features or page templates that are found on:
**DO NOT Send customers to these sites or share screen with standard customers
Plugins & Site Function
Customers may require plugin functionality if their site serves a special purpose e.g. maybe they're in real estate, post job listings, take donations or require membership for password protected pages.
Based on their plan type, they are entitled to certain approved plugins to help them achieve their goals. Choose the appropriate featured as needed from our list of a approved plugins.

Pulse Check:
"Do you have any questions about any of the design elements, features, or content that we just went over?"
Recap & Next Steps
Consult Recap Email:
You are to send the “after consult recap email” once consultation is complete. We should advise the customer they are getting this email, and if they need to send anything they can reply to it without changing the subject line (see tips for more info).
Moving to Build: 69 Clipping that includes the scope of the build information (navigation, features) needs to be sent with every project that is sent to build.
Questions/ Concerns & Follow-Up: You are to engage in any questions the customer may have after consultation is complete, prior to ending the call (see tips for more info).
Schedule Revisions: Set up revisions call based on build time frame if TC is collected, if not schedule a follow up.
Notes: Leave call notes in addition to intake form.
“Do you have any remaining questions before we head into the next segment of the build process?”