Adjusting Global Site Settings Using WordPress Customizer
May 24, 2024 | jcullen
Introduction
In this video tutorial, we’re going to explore how to adjust global site settings such as fonts and colors through the WordPress Customizer.
Getting Started
Accessing the Customizer
- Ensure you are logged in to view the admin bar.
- Navigate to the “Customize” option.
- Open the Customizer in a new tab or window, or directly click to open.

Adjusting General Settings
Opening General Settings Tab
- Focus on commonly adjusted settings: background, accent color, headings, text, and buttons.

Adjusting Text and Fonts
- Set and change the global color for text.
- Change the font style and properties like size and line height for body text.
- Example of changing text color and reverting changes.

Adjusting Headings
- Change color, font, and size of headings.
- Select fonts from a dropdown menu and preview the appearance.

Changing Accent Colors
- Adjust colors for links and buttons that use global accent settings.

Button Customization
- Adjust global button settings including color, font, weight, size, and borders.
- Note on module-specific button settings.
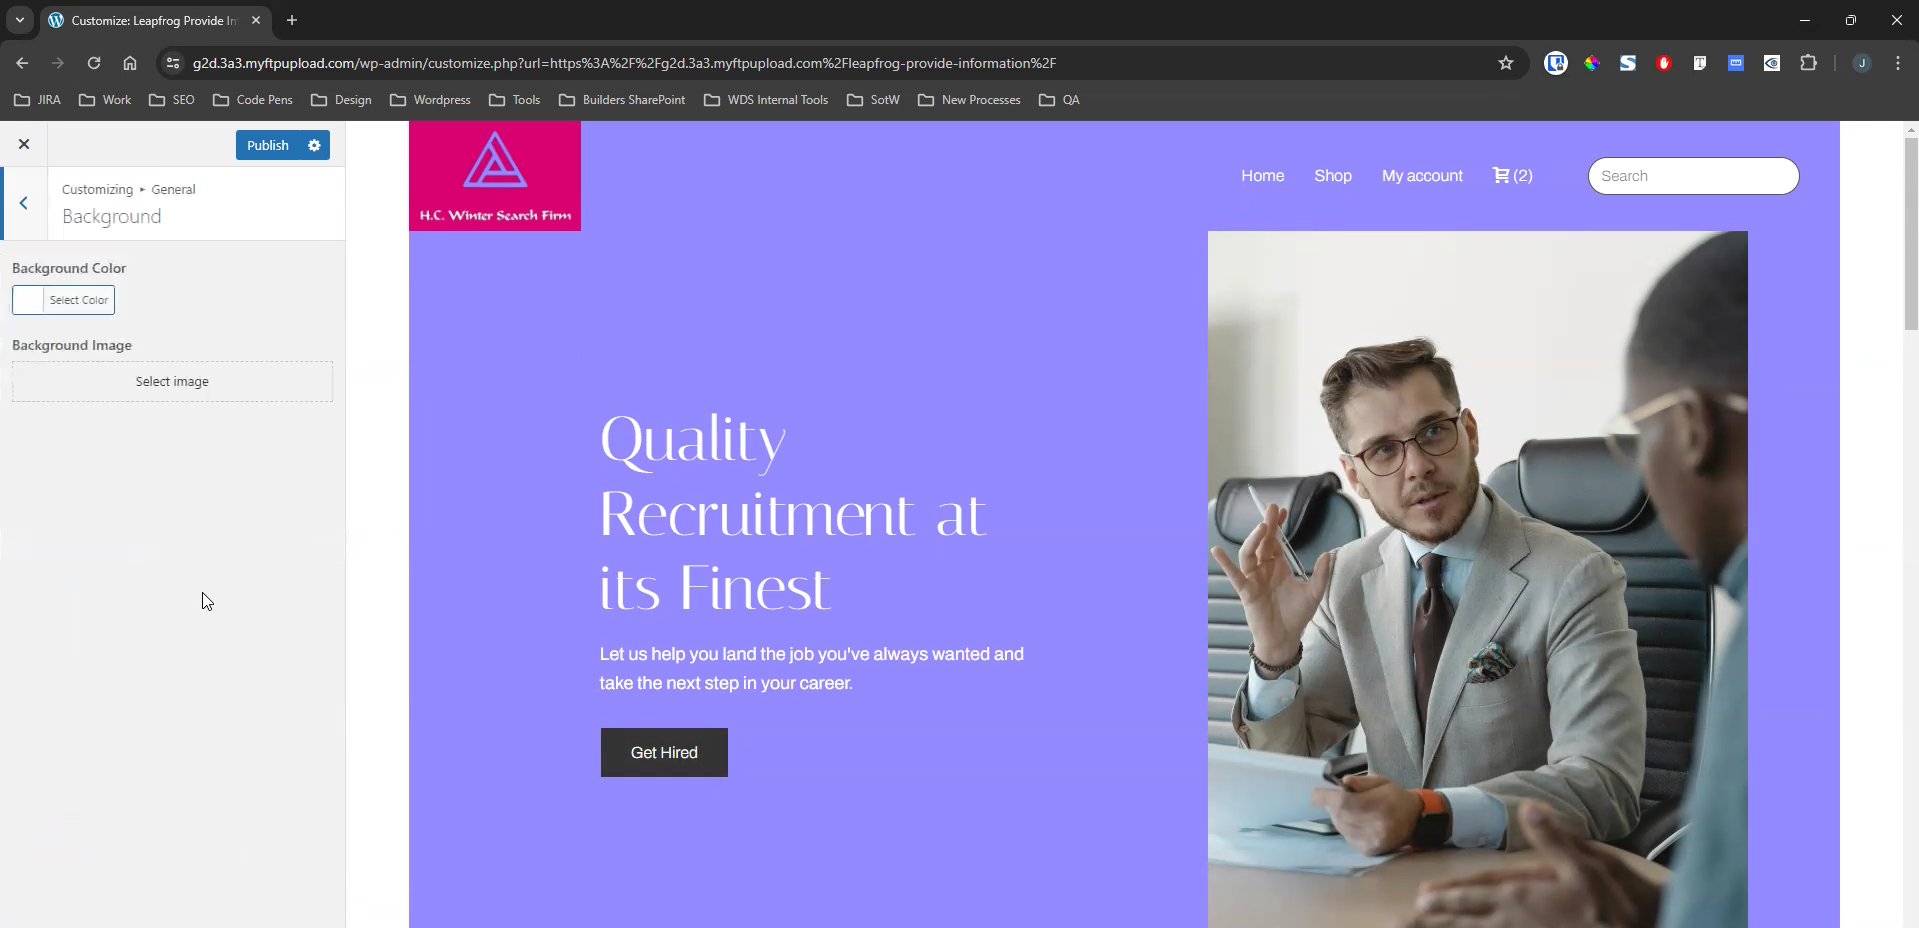
Background Settings
- Adjust general background colors for the header and footer.
- Mention of separate settings for body background colors.
Adjusting Content Settings
Opening Content Settings Tab
- Focus on commonly adjusted settings: background, accent color, headings, text, and buttons.

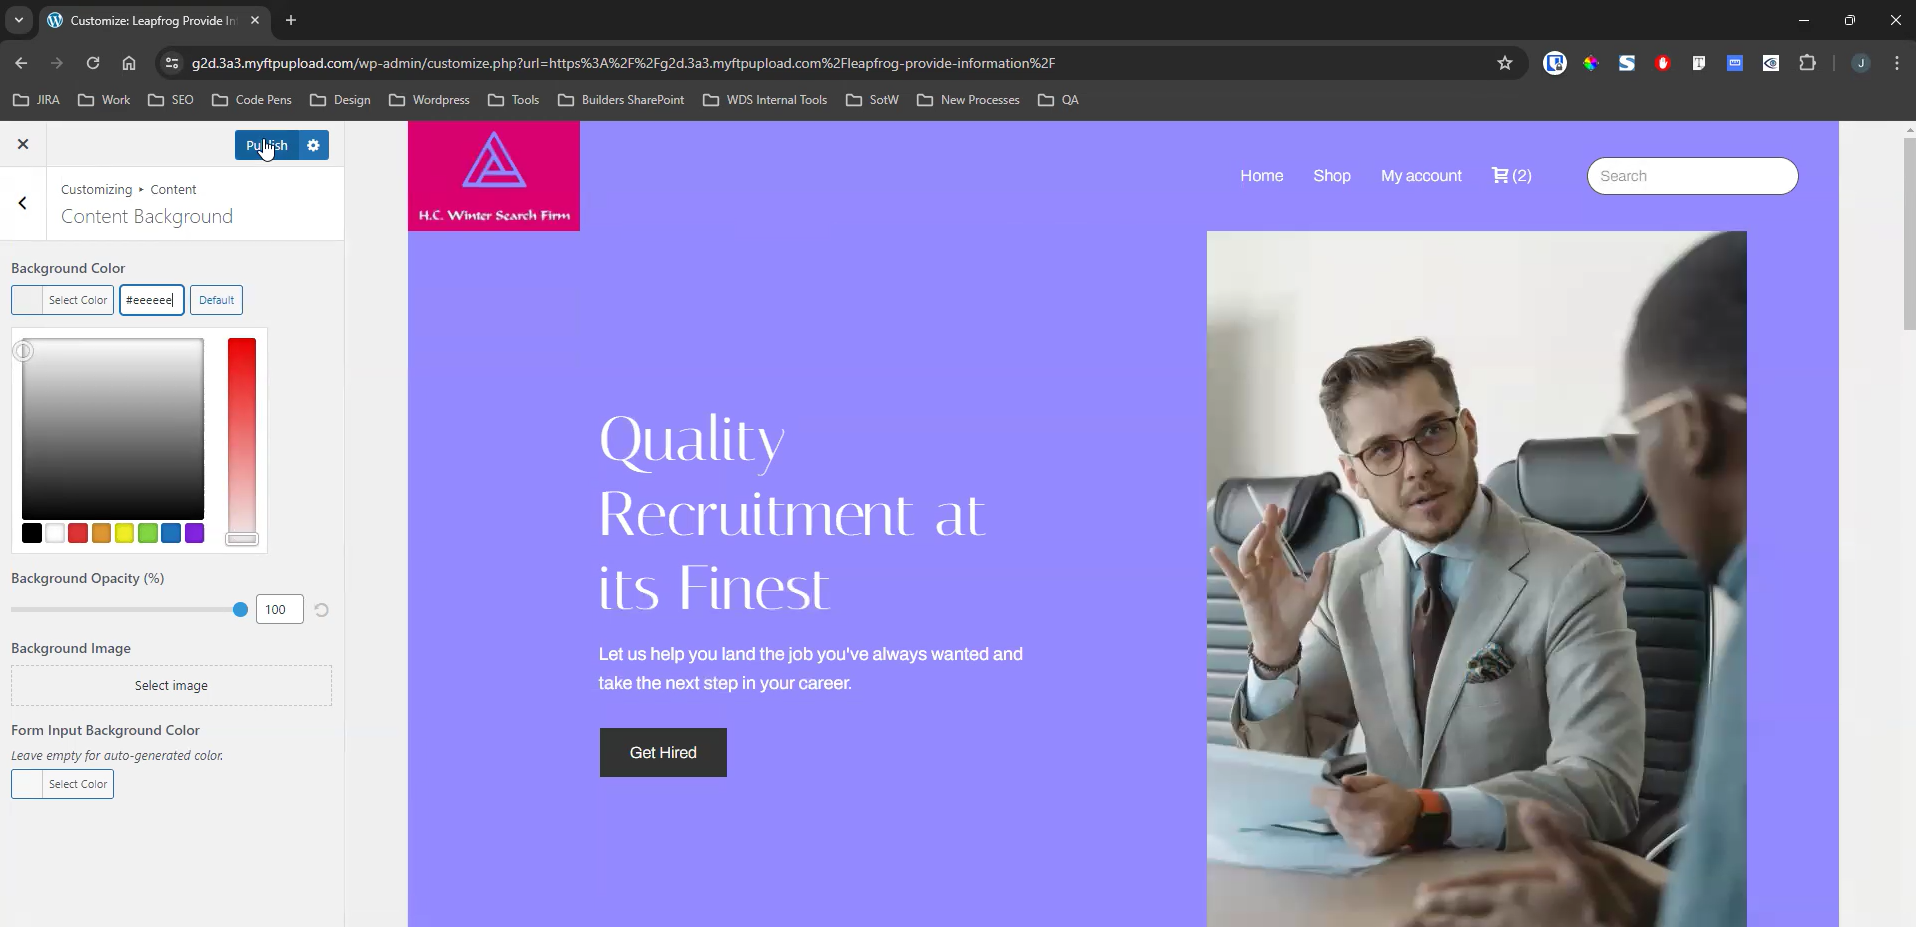
Adjusting Content Background
- Choose the Content Background option to change the background color for all pages in the content area

Finalizing Changes
Publishing Changes
- Click on “Publish” to save and apply changes site-wide.
Exiting the Customizer
- Use the exit button to leave the Customizer and return to the previously accessed page.
