Payments Setup Guide
Setting up Payments in WooCommerce can be broken down into 2 steps:
- Payment Gateway Setup
- Configuring Payment Methods
Resources:
How to use this guide:
We’ve provided the Payments Setup Guide as an easier way to walk customers through the shipping process.
Each step in the process has a main GET STARTED guide followed by additional troubleshooting steps as needed.
Please advise the customer that we can only help with guiding them where to activate and configure the proper settings, but cannot make recommendations on which Gateway to choose.
Payment Gateways
GET STARTED: Choosing a payment gateway
What is a payment gateway?
Think of payment gateways like a credit card reader in a brick-and-mortar store, but designed for online transactions. They securely send the transaction data from the online store to the payment processor, which then transmits the information to the customer’s issuing bank for validation.
The Payment Gateways we support can be found here and will require configuration from the customer.
Activate an approved gateway:
Go to Dashboard > WooCommerce > Extensions to get stated with selecting and setting up an approved gateway.
The Guides for each one can be found on Features which will link to the proper setup and configuration. Otherwise, if the customer has already chosen and setup their own gateway proceed to the step below: Configuring Payment Methods.
NOTE: If the customer is using an unapproved Payment Gateway the will be responsible for installing and setting up the plugin on their as we will not support the 3rd party plugin.
Configuring Payment Methods
GET STARTED: Configuring payment methods
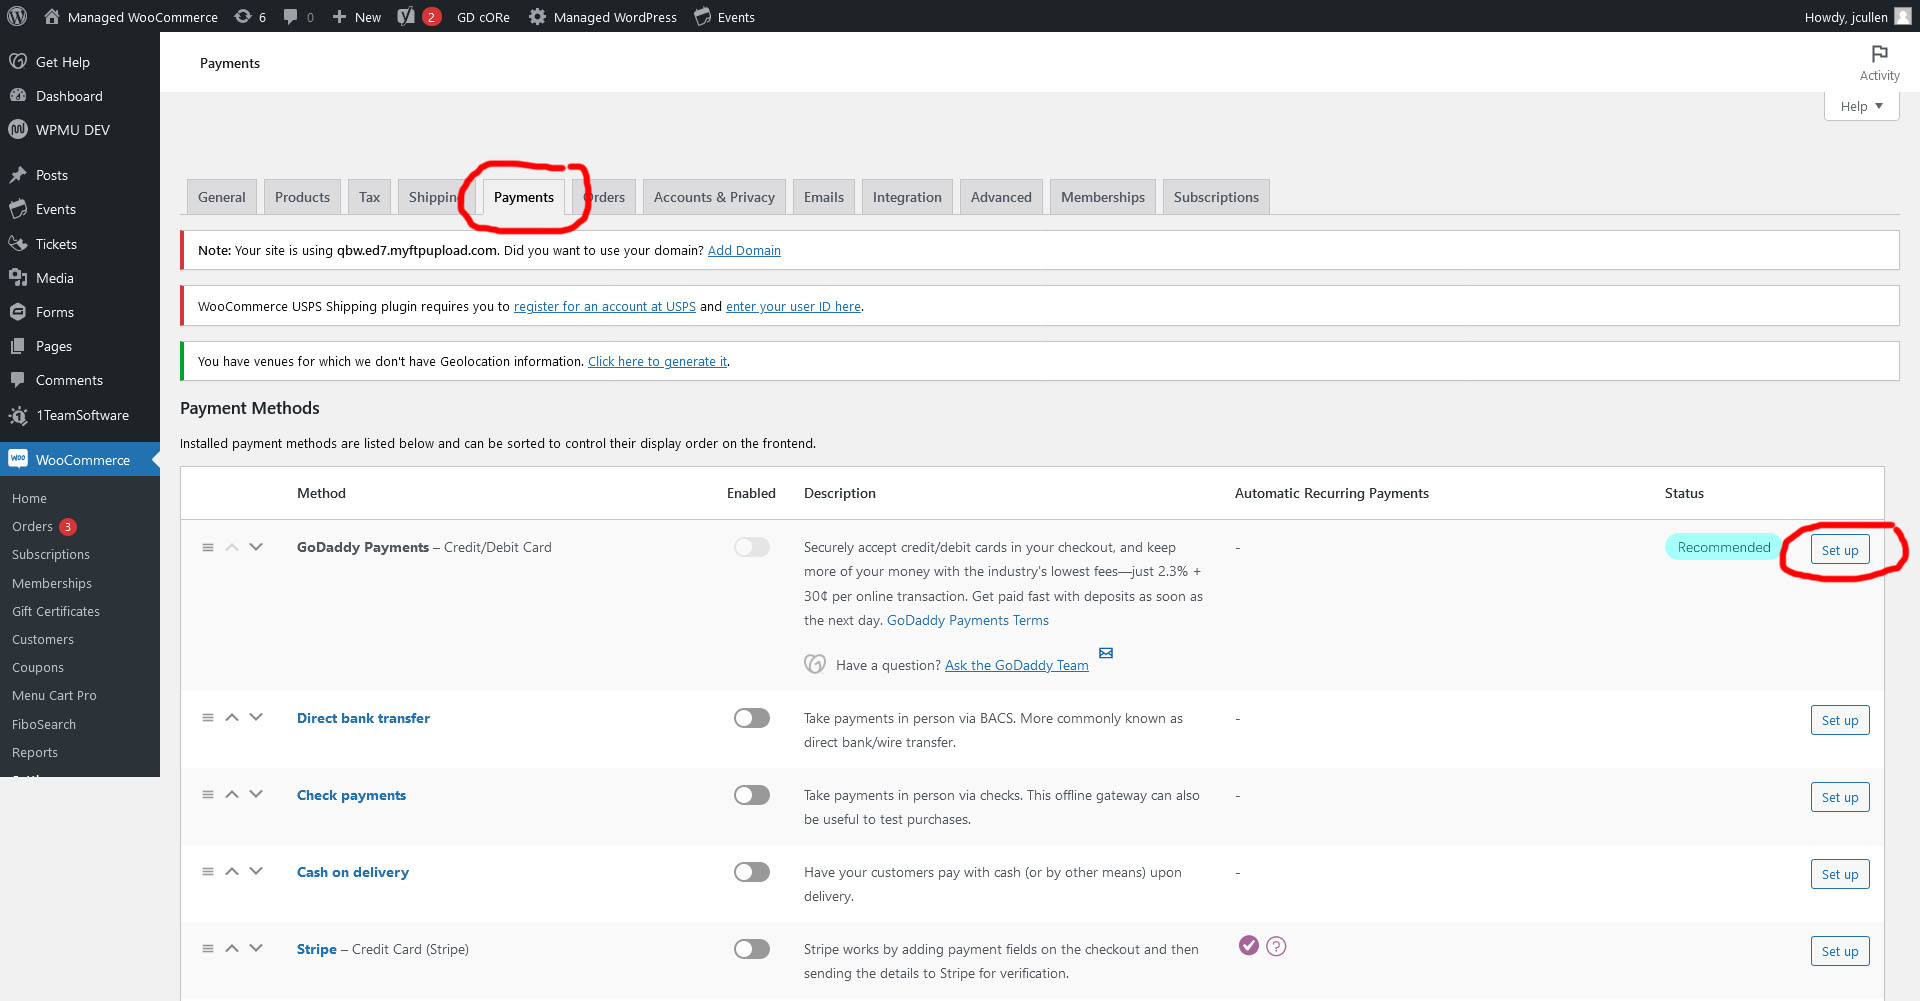
Go to: WooCommerce > Settings > Payments.
The Payments tab displays several payment options including the payment gateway selected by the customer.
Next click the Set up button next to the corresponding payment method.