Importing Posts
Published On: May 5, 2021/Last Updated May 5, 2021
The customer must provide a .xml file in order for us to import blog posts. To learn how to export blog posts from an existing WordPress site Click Here
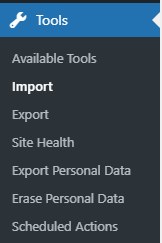
- In the WP Dashboard hover over “Tools” and click on “Import”
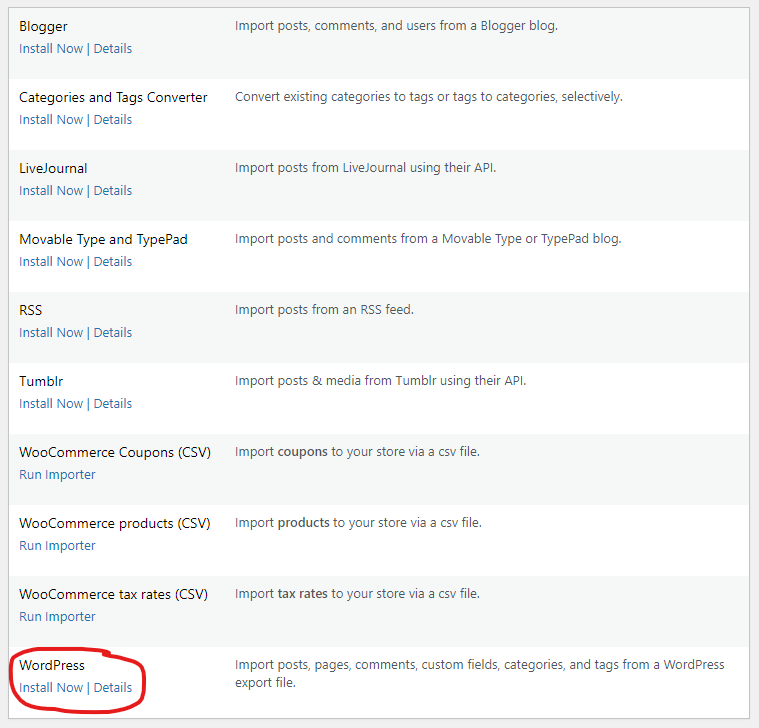
- At the bottom of the next page click on the “Install Now” link under WordPress. This will install the WordPress Importer plugin, if the plugin is already installed you will see “Run Importer” rather than install now.
- Click the Choose file button and locate the .xml file. Then click on the “Upload file and import” button.

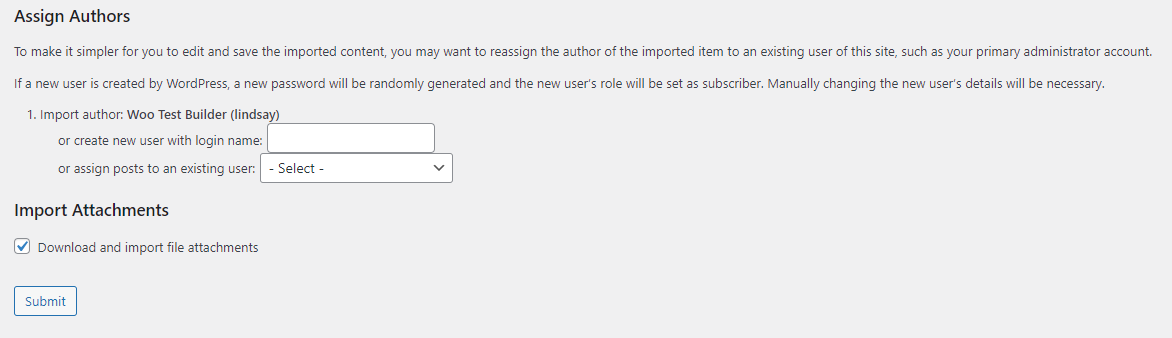
- Now you will be prompted to assign the author to the posts being imported. If you leave the default, it will auto assign to the primary Admin user on the site, otherwise you may choose a user from the dropdown of existing users or create a new user.
- Check the box to Import the attachments. This will ensure the images will transition over correctly. Then click the “Submit” button.
- This may take some time depending on how many blogs there are. Once the import is complete, you will get a list of any failed imports. Take note of these as you may need to manually move them over.
- Once the Import is complete, you should remove the WordPress Importer plugin, as you do not need it anymore and it is just taking up space on the site now. Head over to the plugins page and deactivate and delete the plugin.