How to set up a Google Analytics Account
Step 1: Login/SignUp
First you need to visit Google Analytics sign up.
You will be asked to login with your Google account. If you already have a Google or Gmail account, then you can use that to sign-in. Otherwise, you can go ahead and create a Google account for yourself.
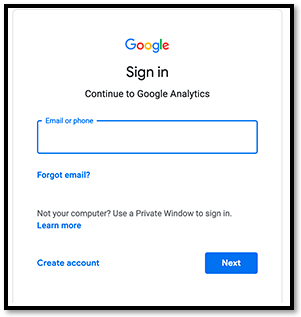
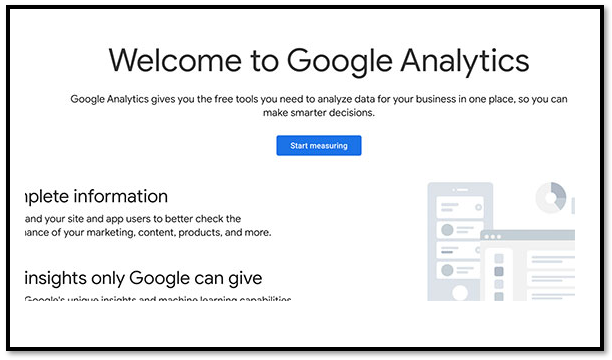
Step 2: Signup for Google Analytics
Once you sign-in with your Gmail account, you will be prompted to a screen like the one below. This is where you will signup for Google analytics with your Gmail account.
Step 3: Account Creation
Enter in a name for this Google Analytics account that you can easily identify. It can be your business name or anything else that helps you to recognize what this account is for.
You will want to choose what data you want to be shared with Google as well. Here is a breakdown of what each option includes: https://support.google.com/analytics/answer/1011397
Click Next when you are ready

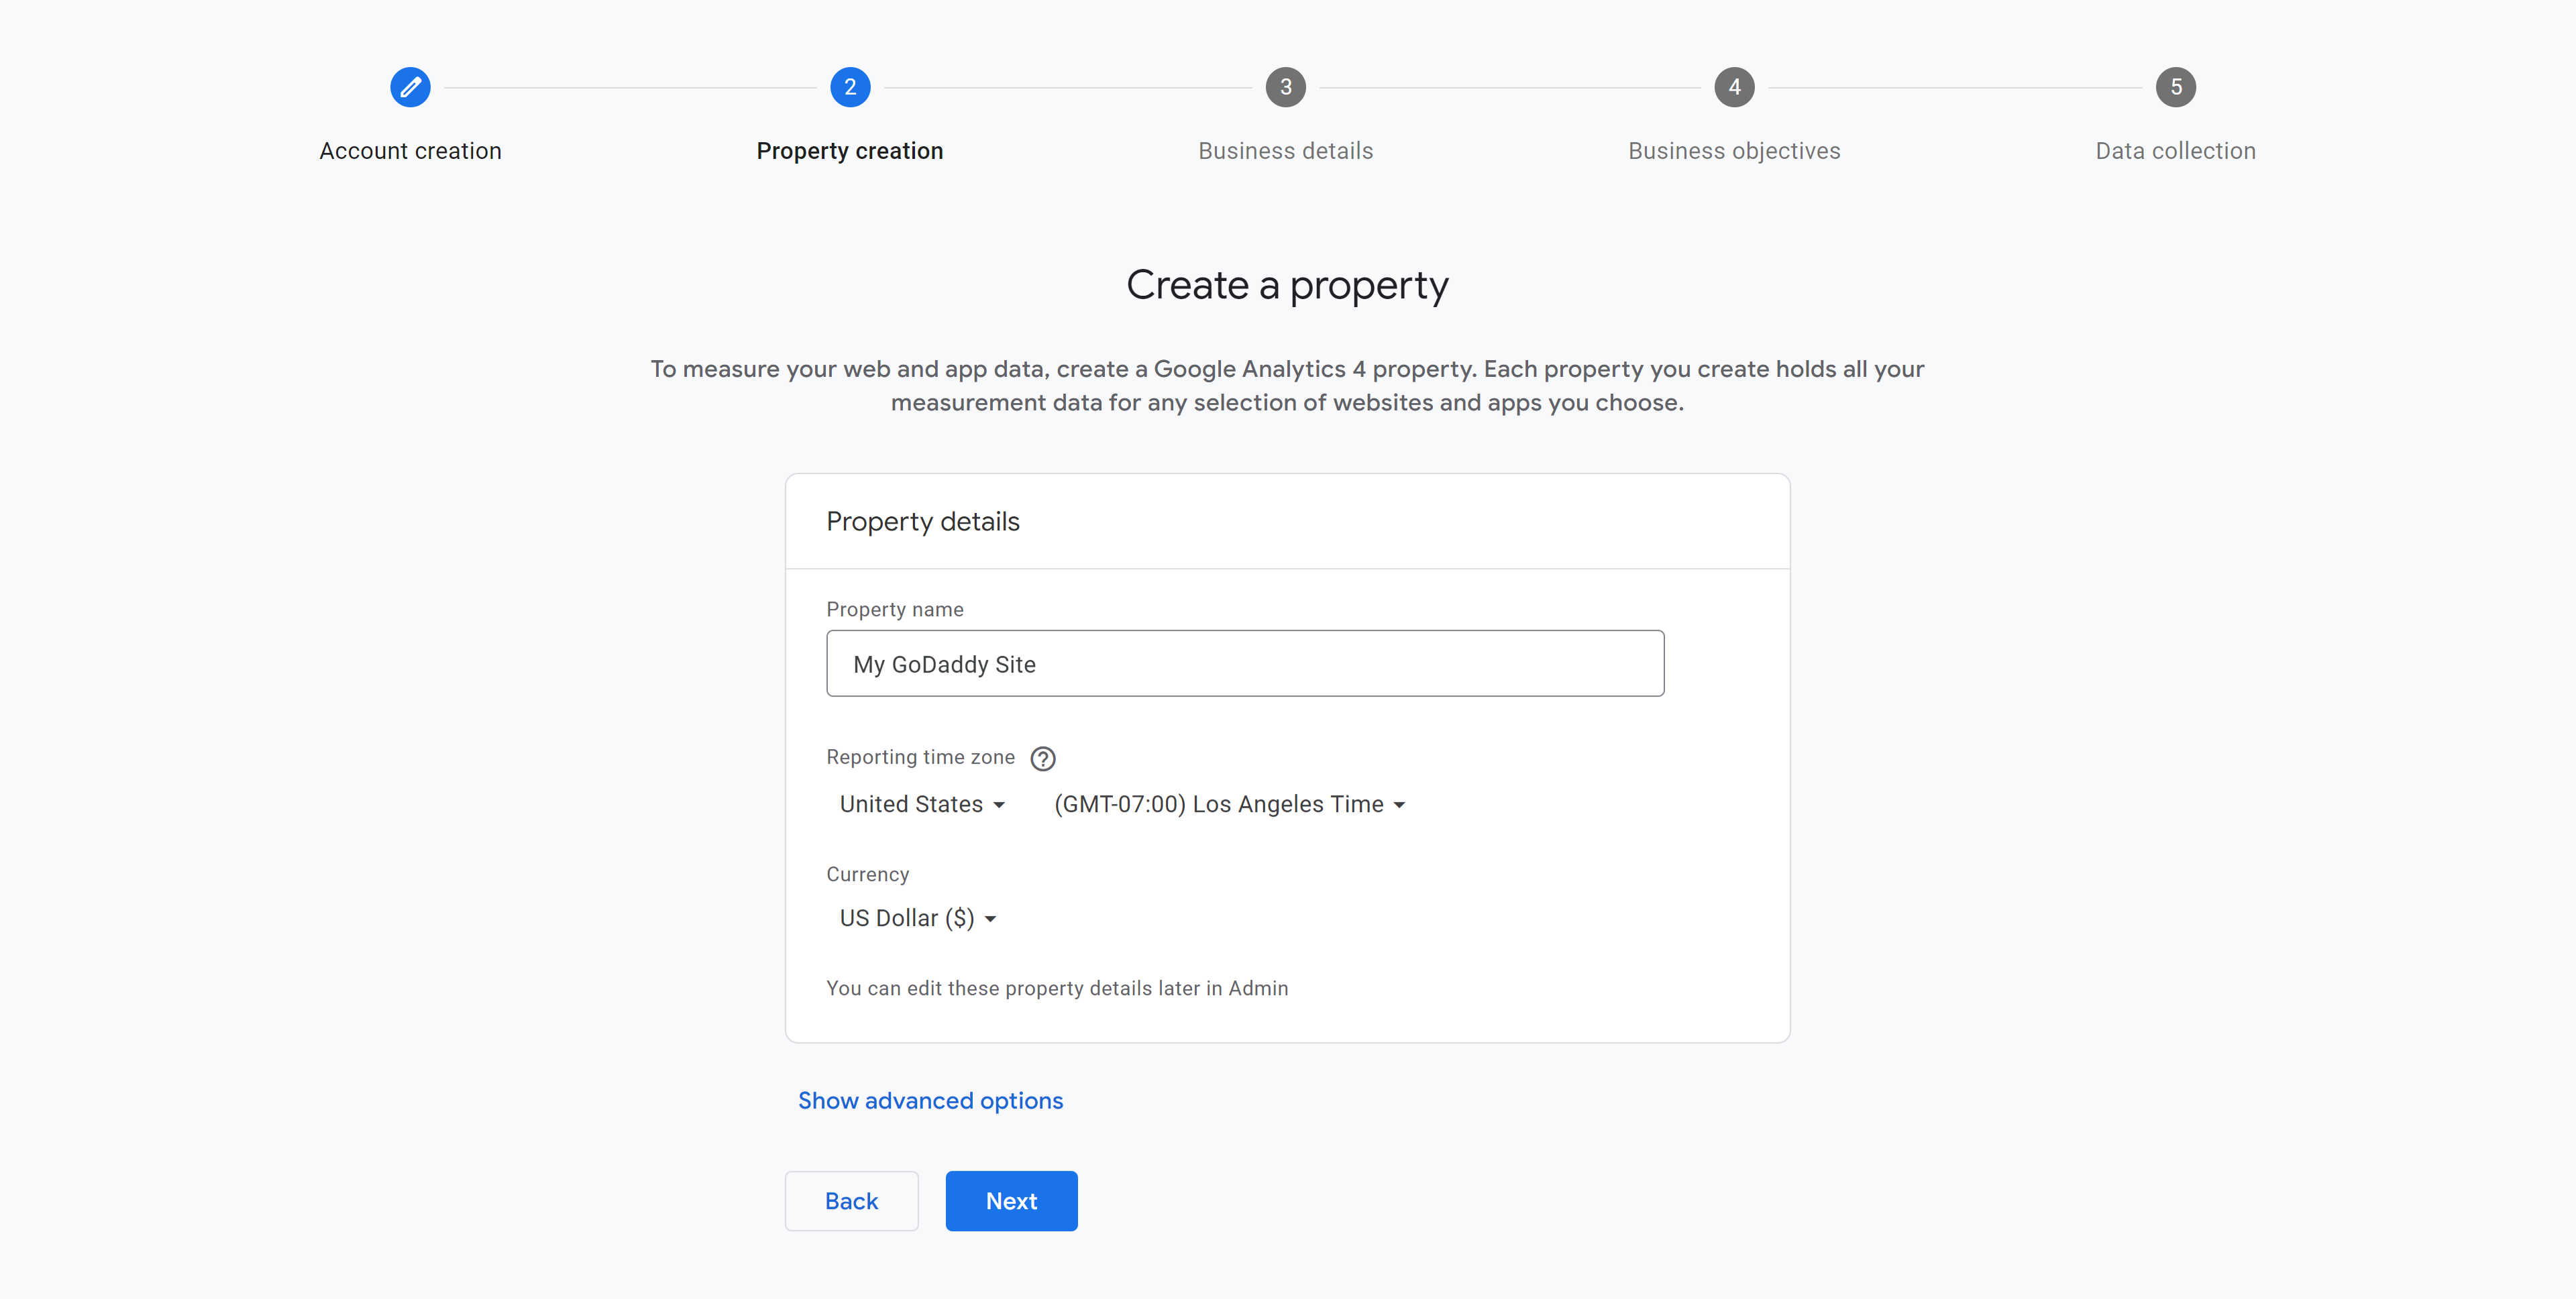
Step 4: Property Creation
On the next page you will be asked to create a property. Enter an easily identifiable name for your business, this is similar to the account name from the previous step.
Be sure to select your time zone and currency then click Next.
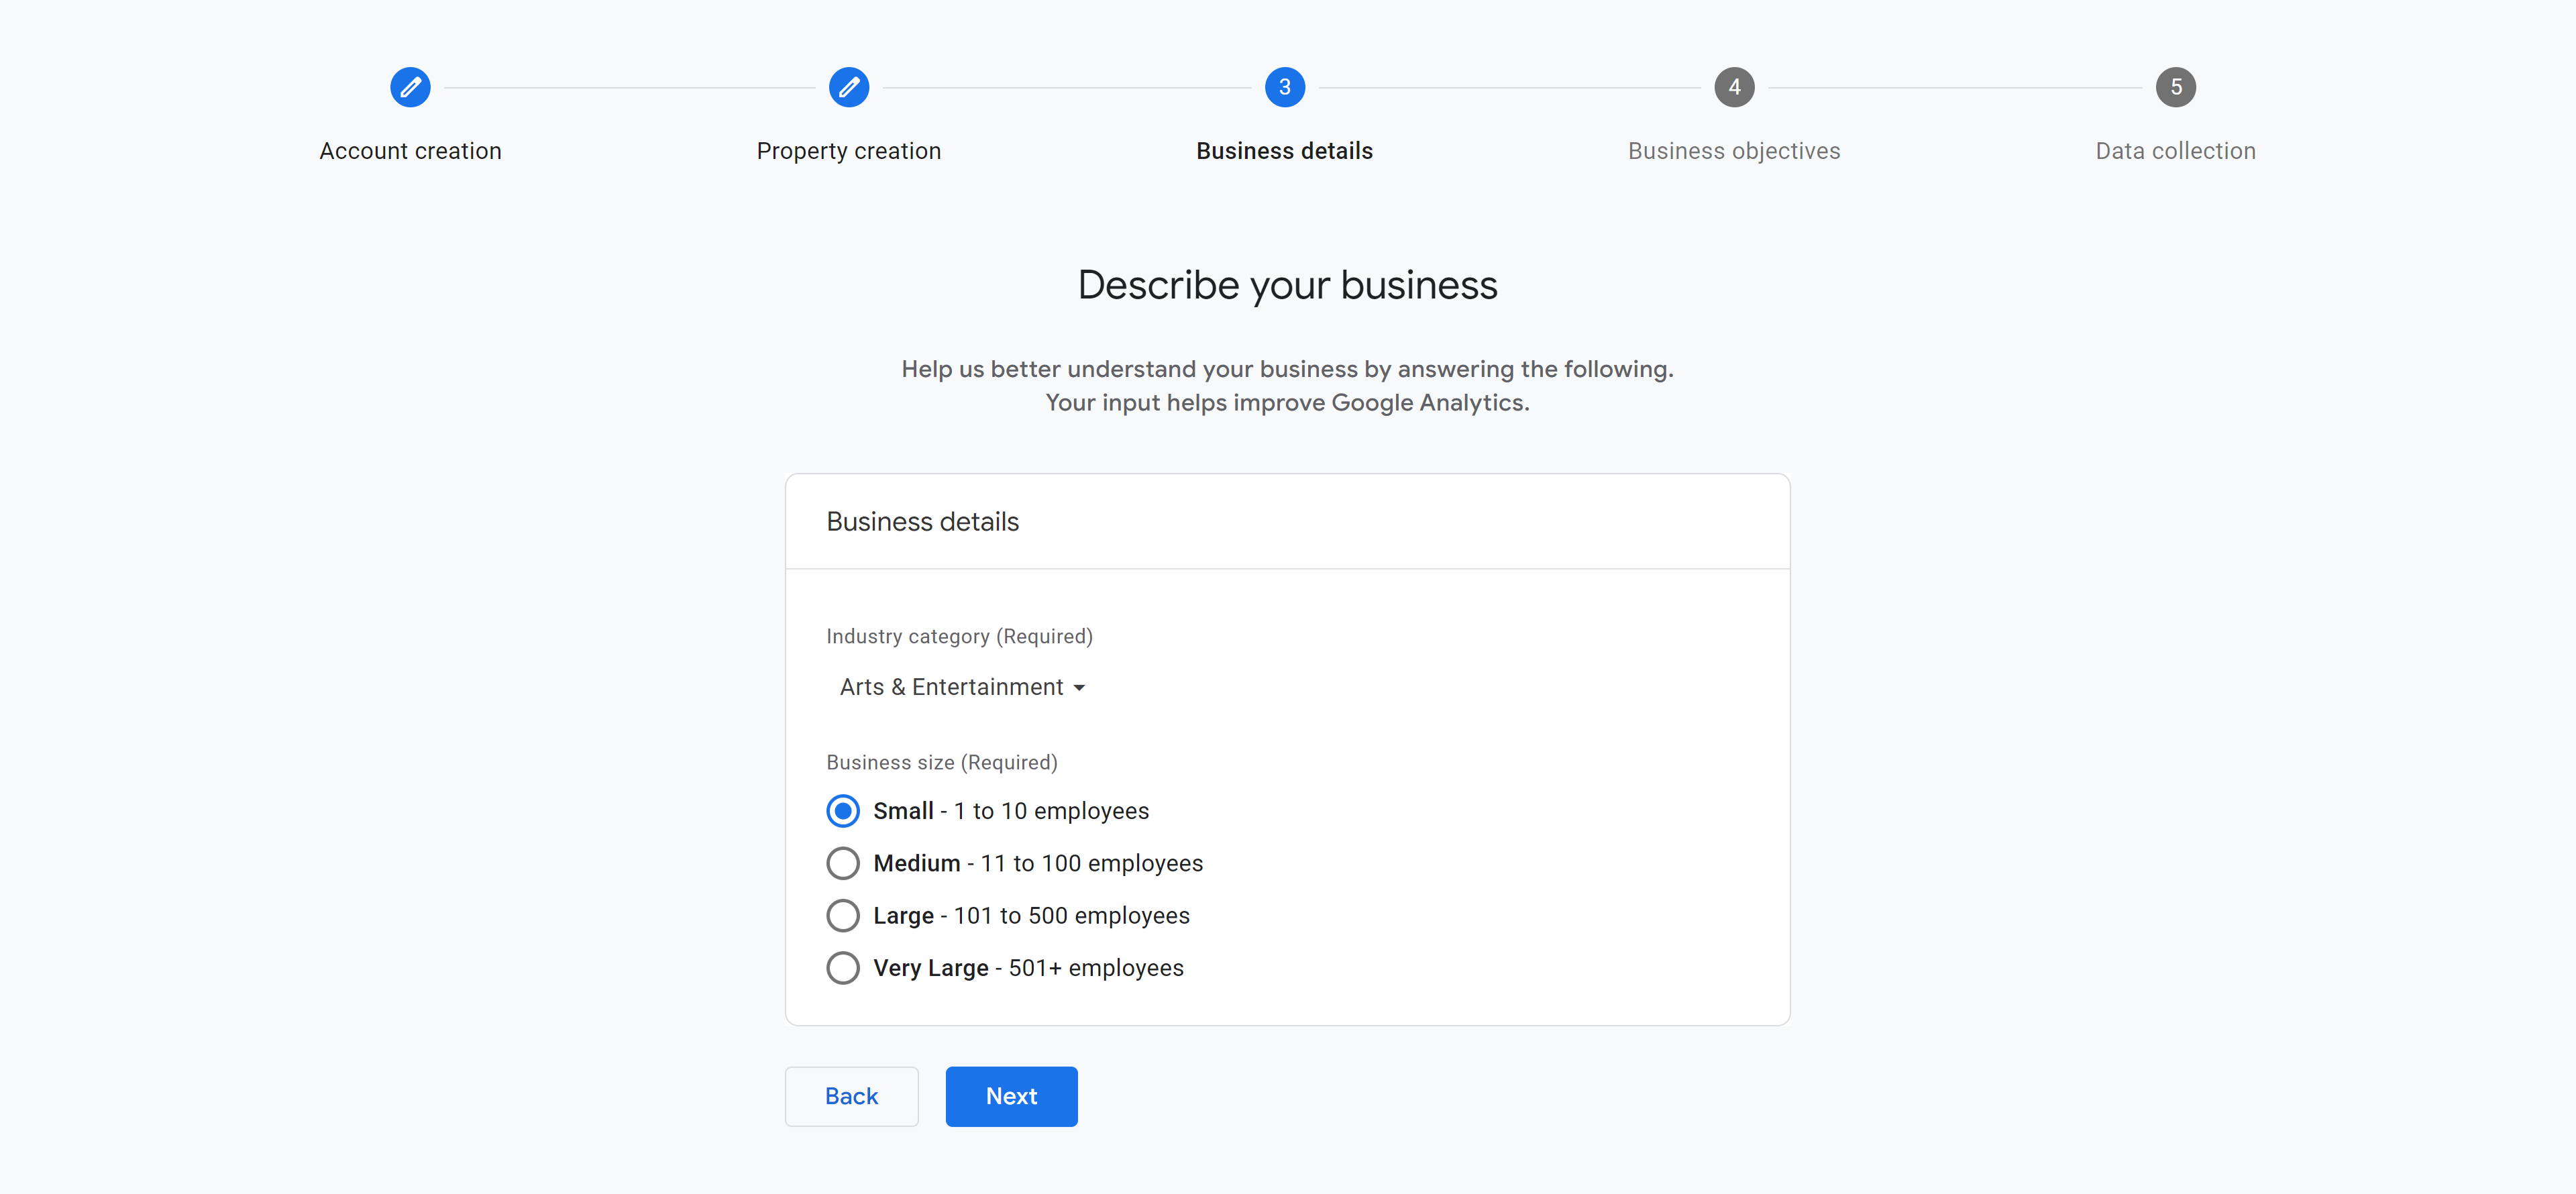
Step 5: Business Details
On this screen you should choose the industry that best matches your business as well as the current size of your business, then click Next.
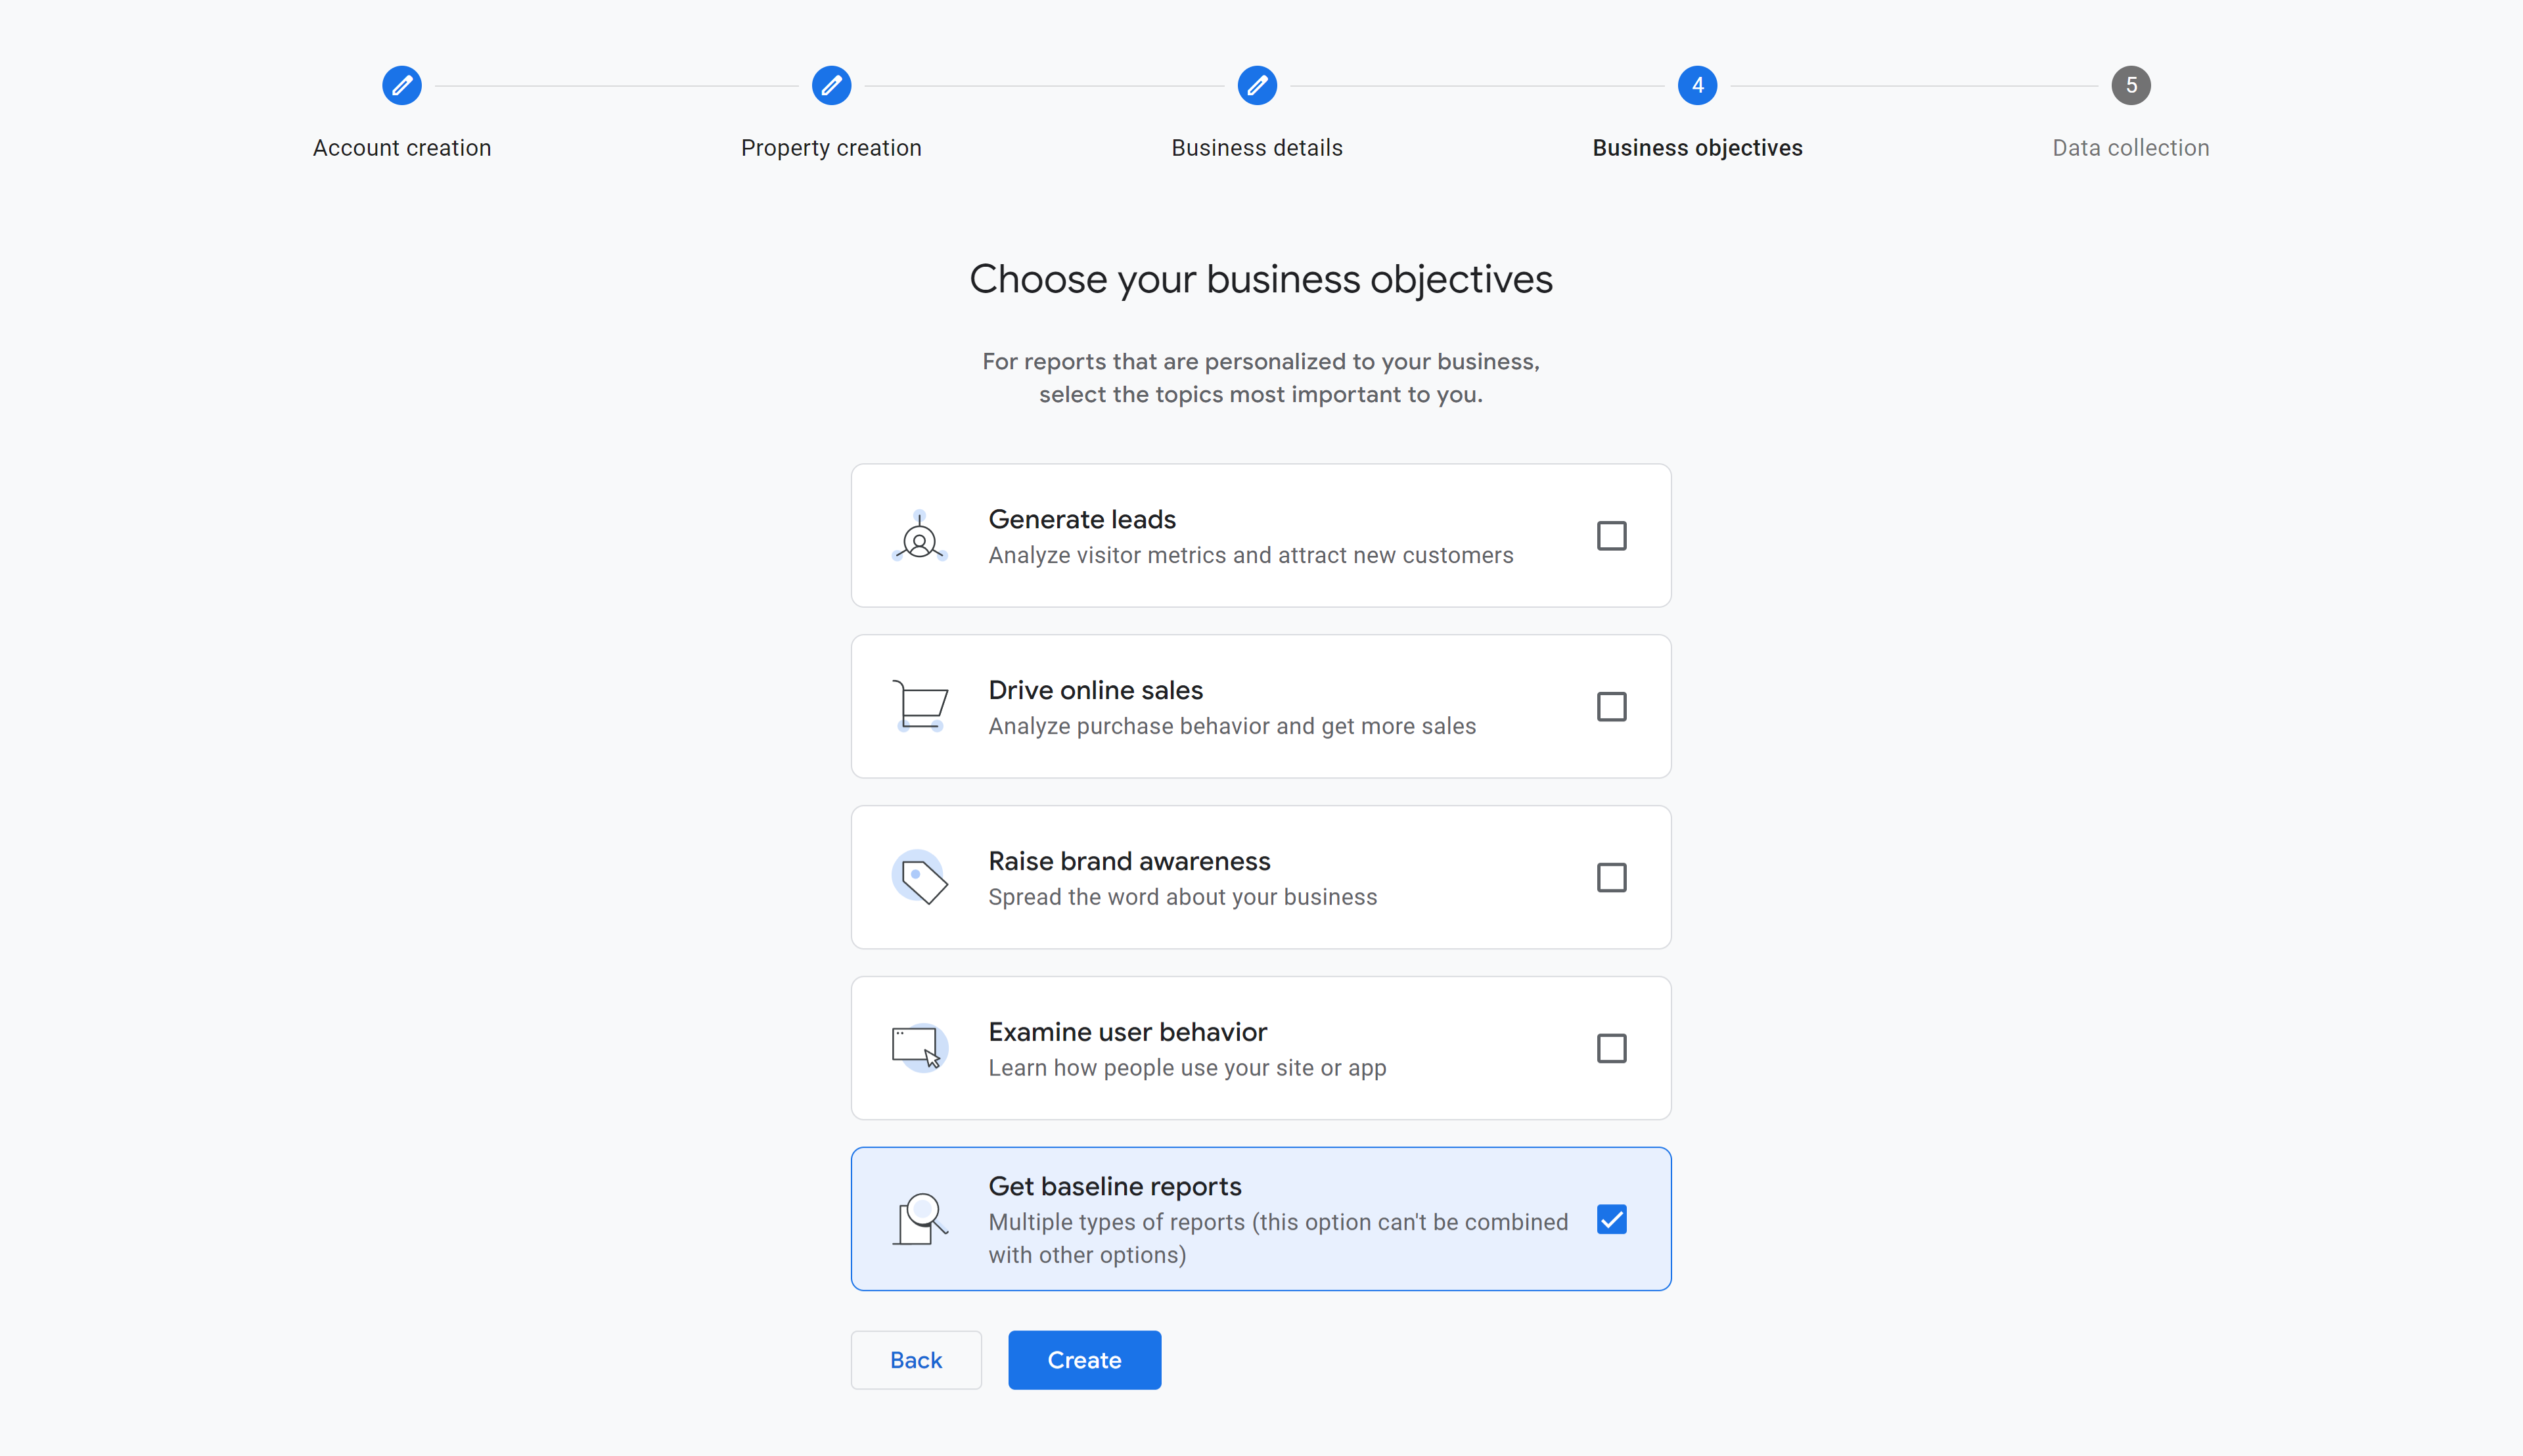
Step 6: Business Objectives
This screen is asking for the overall objective of your business.
For Example: If you are trying to sell a product on your site, you would want to choose “Drive online sales” to get a report catered specifically to selling products online.
You can choose more than one option here, but if you would like to just get baseline reports for each objective you can choose the last option “Get baseline reports”. Now click Create.
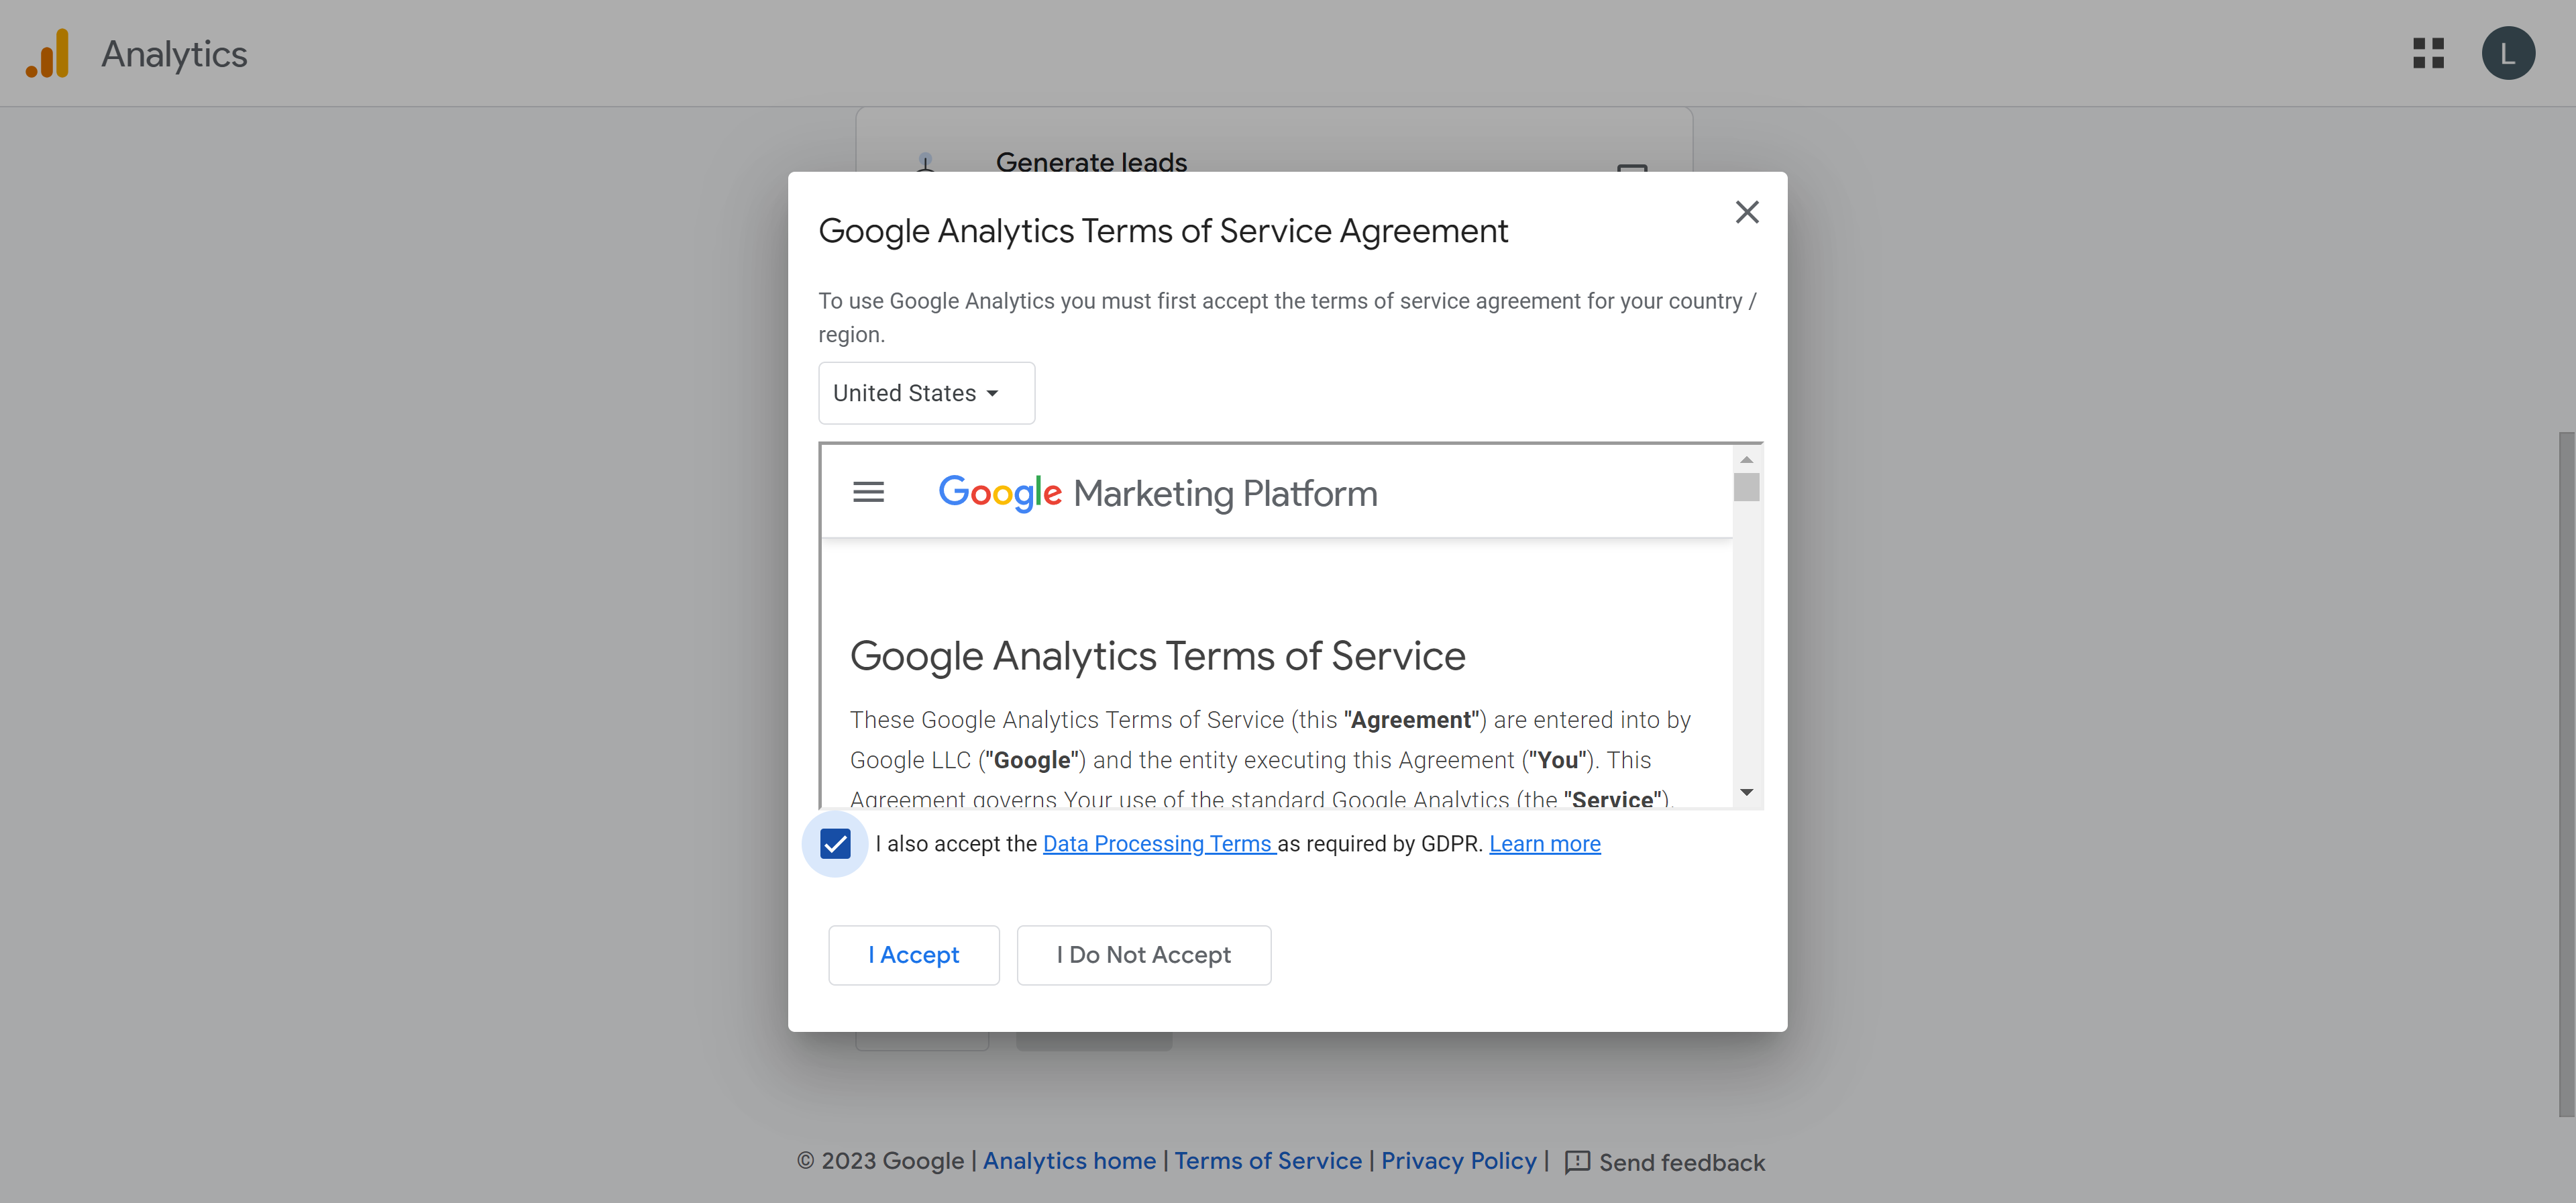
At this time, you will be prompted to agree to the Google Analytics TOS Agreement. Be sure to read through this and the Data Processing Terms then check the box and click I Accept.
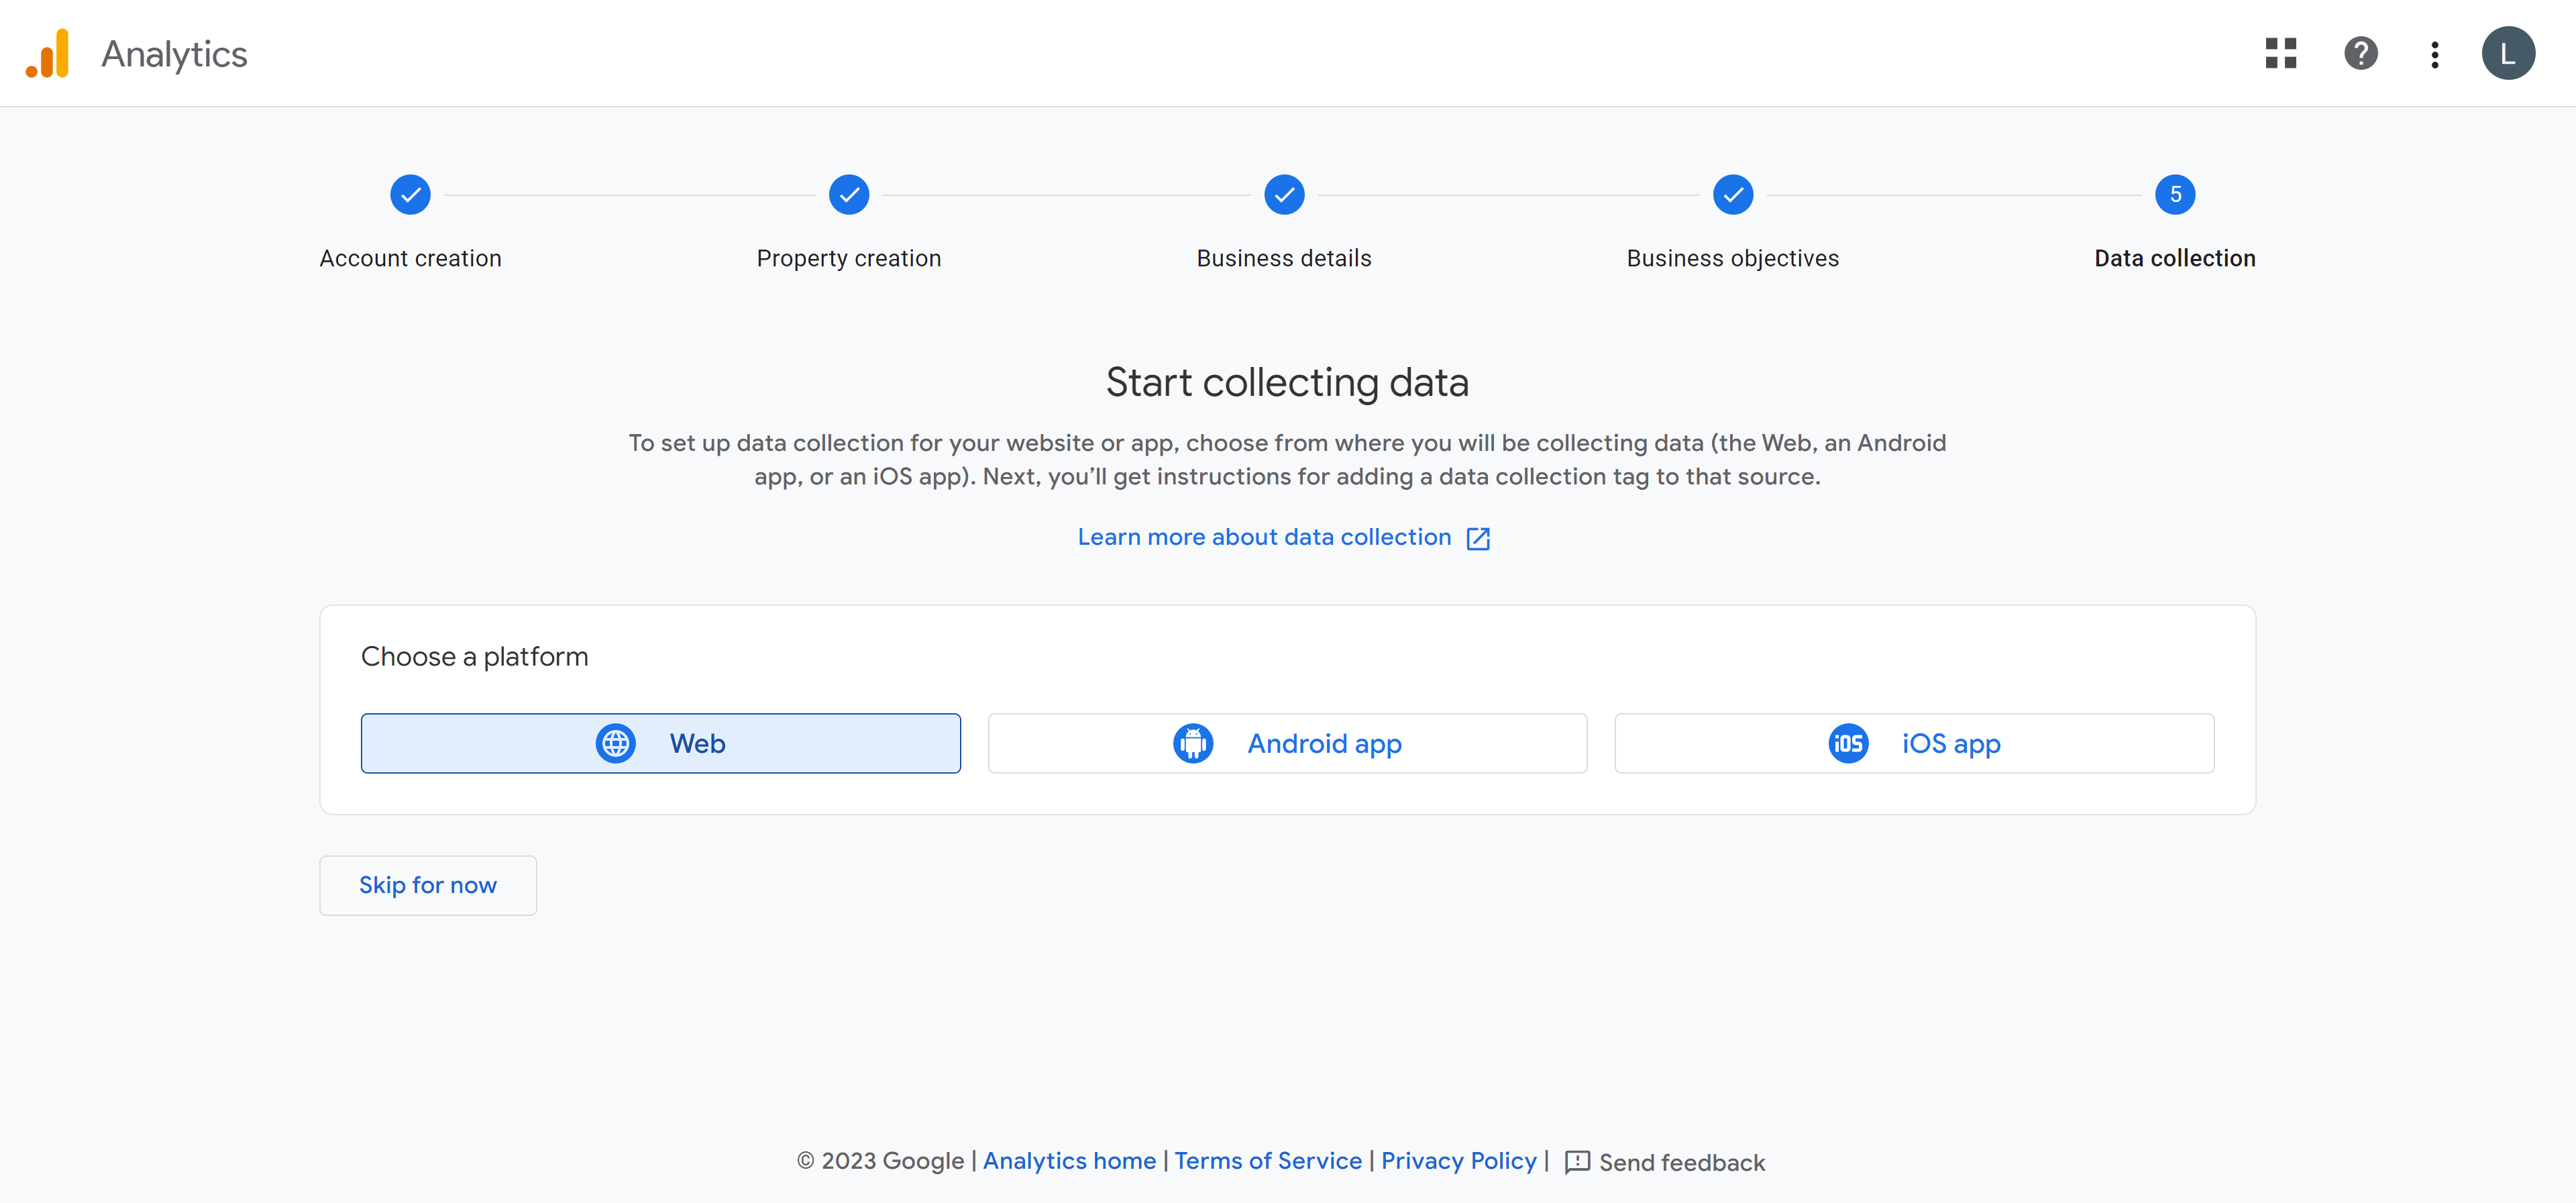
Step 7: Data Collection
On the next screen you will be given the option to choose your platform for the data collection. We will be choosing Web here as all of our sites are websites and not applications.
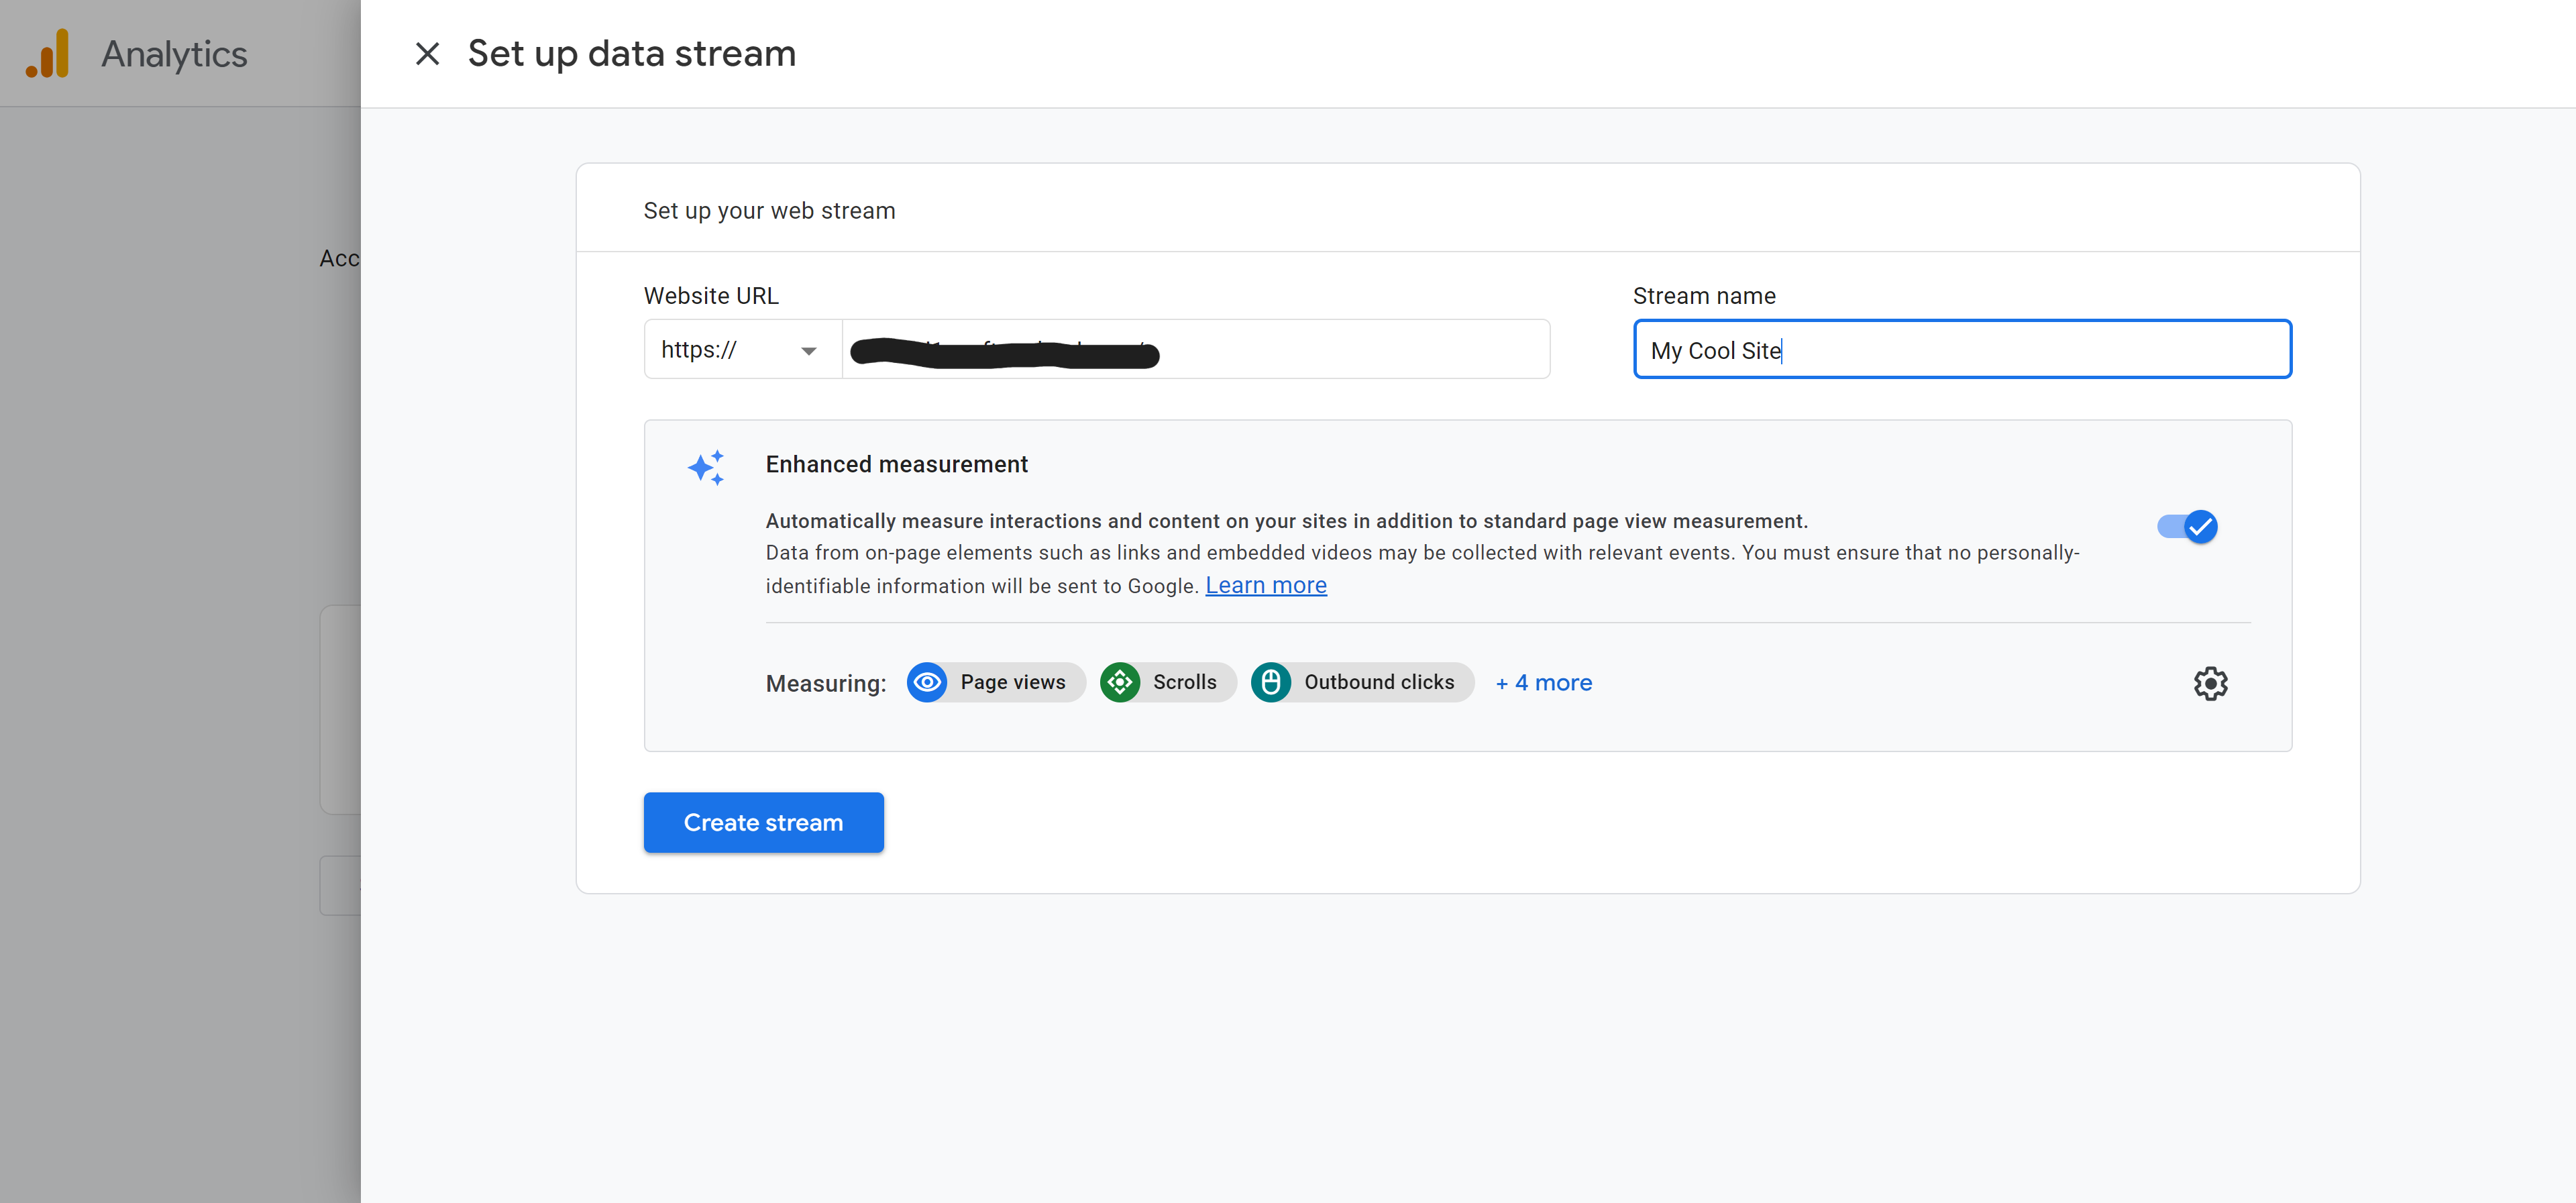
Step 8: Data Stream
On the screen you should enter the published domain in the URL field and then give your stream a name. The name should help you easily identify the website associated with this data stream.
Step 9: Install
This is the last step in the Google Analytics account. Be sure to click over to the Install Manually if you are not using the W+M platform and copy everything in the box with the code.
This code should not be altered in any way and should be provided to the builders as is.

If the customer wants to use one of our plugins, they will simply skip this last step and follow the login steps in the plugin on the WordPress Dashboard.