
How to Add Websites of the Week
Published On: July 25, 2023/Last Updated August 9, 2023
Adding websites of the week requires a few steps, along with a bit of research for each website. For each site you will open the corresponding Jira ticket, take screenshots and, research the site for the proper tags and taxonomies. Please follow the steps outlined below:
Websites of the Week are HIGH priority and should be completed by the assigned due date.
Add Website to WDSGallery:
- From the main Jira ticket you were assigned, open one of the Jira links listed under the Websites of the Week section.
- Open the preview link from Jira and take screenshots of the website
- Capture the Home, About & Contact pages plus any other pages you feel would be beneficial in the gallery.
- For stores also capture the Store page and Product page.
- FireShot is recommended for the screenshots but any method may be used
- Save the screenshots as jpg rather than png as the file size is about 1/3 the size
(this setting can be adjusted in the FireShot settings other tools may have different settings).
- Capture a screenshot of the mobile view of the Home page
- Inspect the page and select the largest iPhone or Android device and then capture a jpg of the mobile view
- Login to WDSGallery
- If you have not been given an account yet, please reach out to a B2 for account access.
- Go to the WDSGallery Dashboard > US Sites > Add New
- Add the Title
- This will be the full business name
- Add the Featured Image
- This will be the screenshot saved of the home page
- For Desktop View click Add File and upload the Home page screenshot
- For Mobile View click Add File and upload the Home page mobile screenshot
- For Page Gallery click Add File and upload all screenshots except the mobile screenshot
- Arrange the images in order of how they appear on the site if they are not uploaded in the correct order
- Site URL can be left blank as this is not used at this time
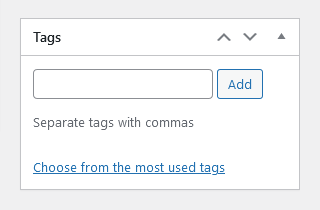
- Add appropriate Tags based on the website content/business information
- Review the website as well as the DCT for pertinent website information.
- You can also open up a similar site in the gallery to see what was used for similar tags
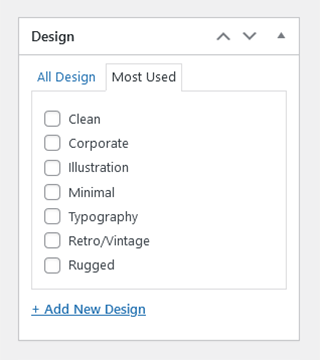
- Choose Design taxonomy based on the overall look of the site
- This is simply your interpretation of the site, multiple options can be selected.
- Do not add new Design options but you may recommend options to the B2 team.
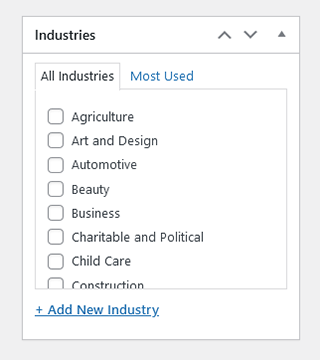
- Choose the appropriate Industry taxonomy based on your site research
- Industries are a global category that could contain a more specific type of business.
- For example, a Oncologist or Nutritionist would be listed under Health and Medical. Multiple Industries can be selected.
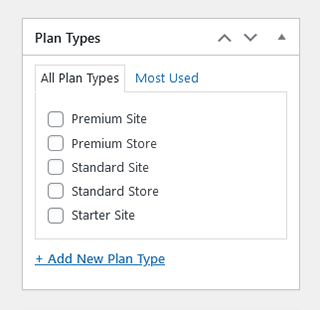
- Choose the Plan Type based on the plan type listed in the Jira ticket
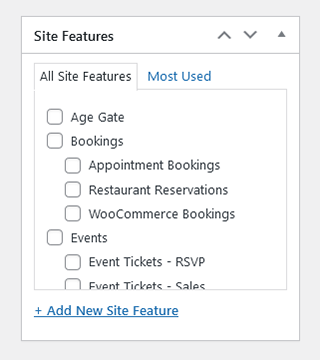
- Choose the Site Features used on the site
- A quick glance through the site should be adequate but you may also want to open the WP dashboard to review further features.
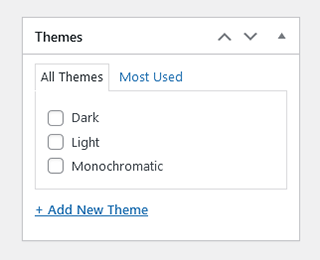
- Choose a Theme
- This is another item that would be based on your interpretation of the theme.
- Do not add new Themes. You may make new theme suggestions to a B2, however.
- W+M Themes may be ignored
- Click PublishOn the Jira Ticket be sure to close the Subtask as well as the main Jira ticket
- There are no tasks on the Subtask, this is simply how points are calculated
On the Jira Ticket be sure to close the Subtask as well as the main Jira ticket
(There are no tasks on the Subtask, this is simply how points are calculated)