Functionality Request Process
Below you will find the steps to address new functionality requests.
Submit Functionality Request
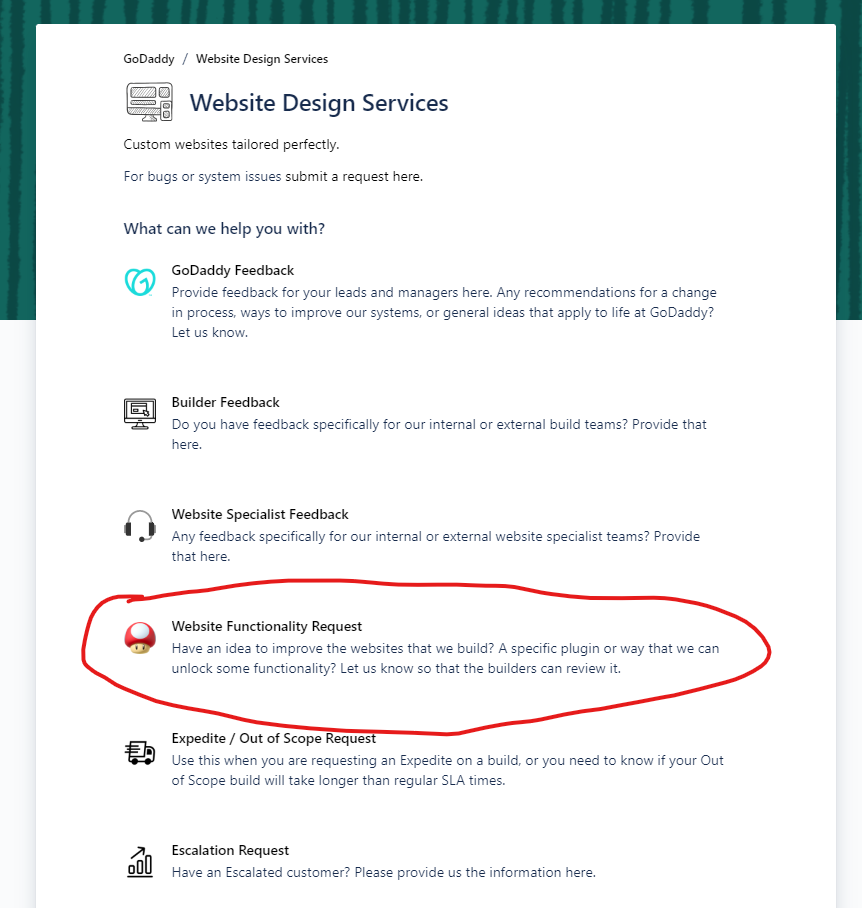
To submit a functionality request go to x.co/feedback
Choose Website Functionality Request from the list

Form Fields
Summary: This should be something that describes the functionality. For example: “Availability Calendar”
Desired Plan Type: Choose the plan type this plugin should be associated with.
Primary Functionality Type: This should be the overall type of functionality, so if the plugin adds information to a product, you would choose Products from the dropdown.
Functionality/Customization Desired Outcome: Be as detailed as possible about the desired outcome of the functionality request. Always consider the end goal when filling out this section.
Plugin Name: If you have found a plugin that you believe fits the end goal please paste the link to that plugin here.
Example Site URL: If there is an example site that has the desired functionality, paste the link here.
Shopper ID: If the functionality would benefit a specific customer, put the shopper ID here.
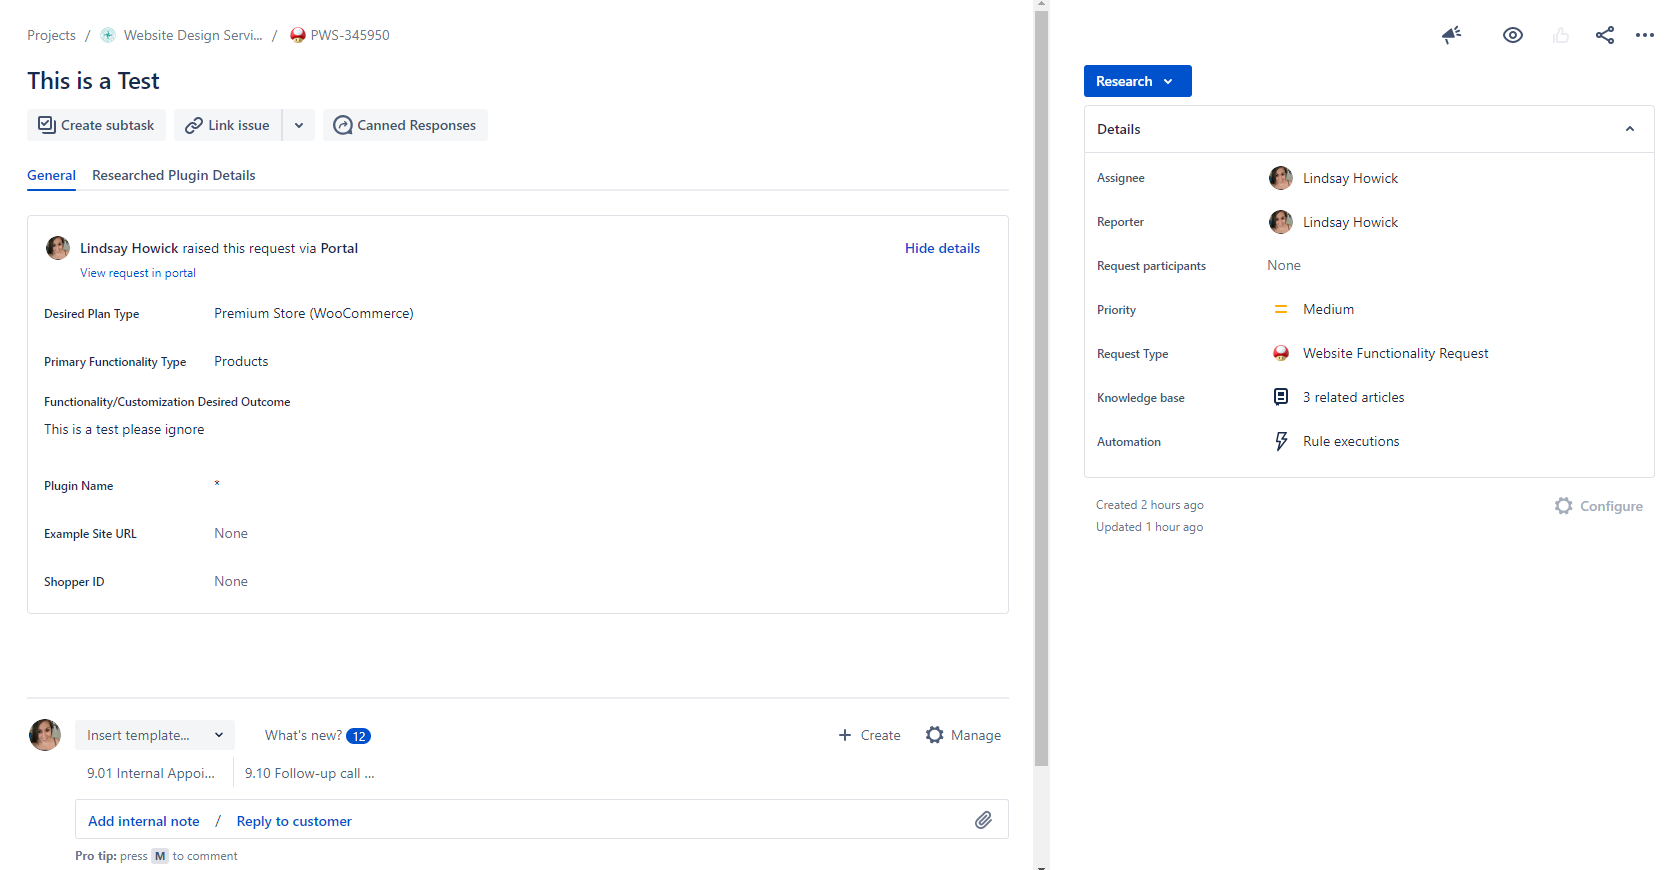
Once you submit the form you will get a screen that looks like this with the details of the submission.
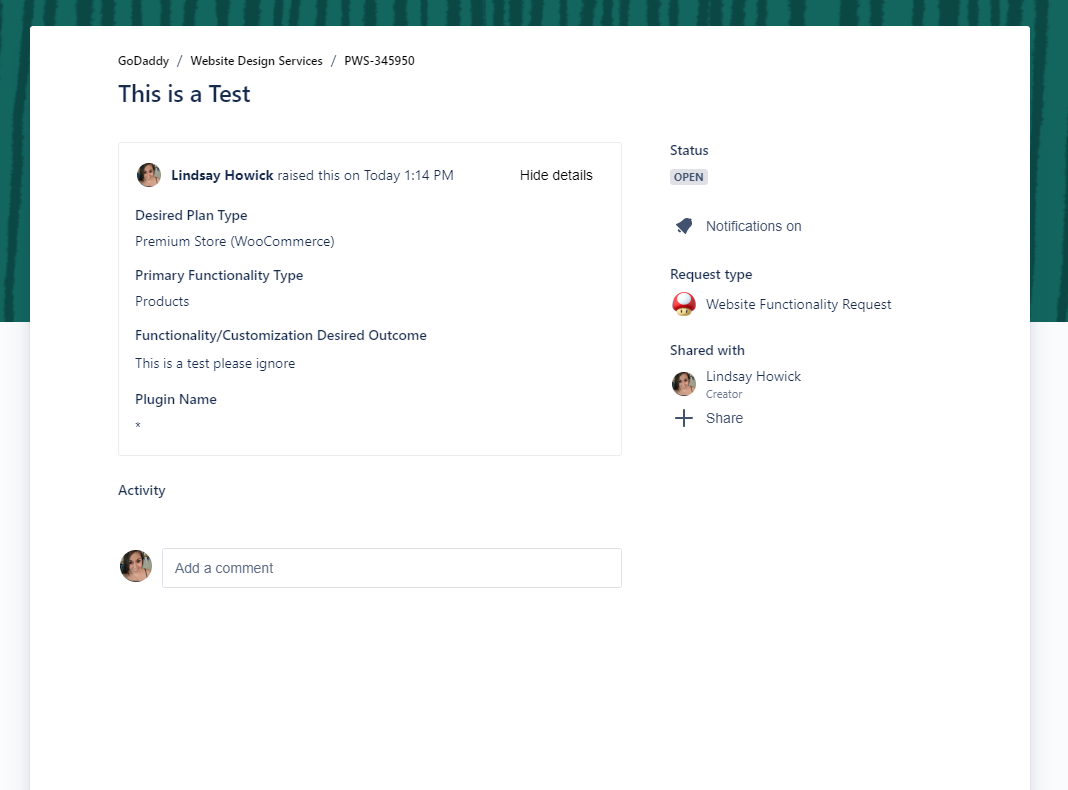
Once your request has been created, the Builder 2 team will review and respond within 24hrs.
New Functionality Request in Open Status
When a new functionality request is created it will appear in the “New Functionality Requests” bucket on the Website Builder Dashboard
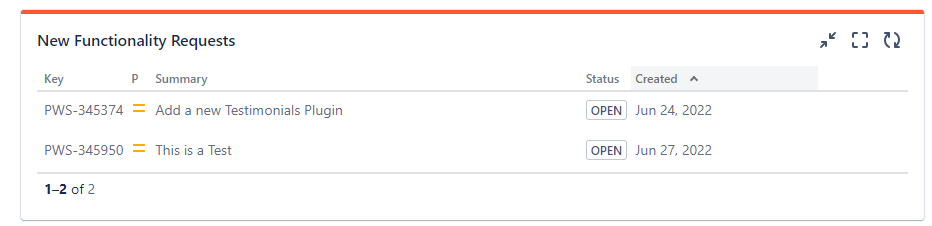
Click on the ticket’s Key to open the request.
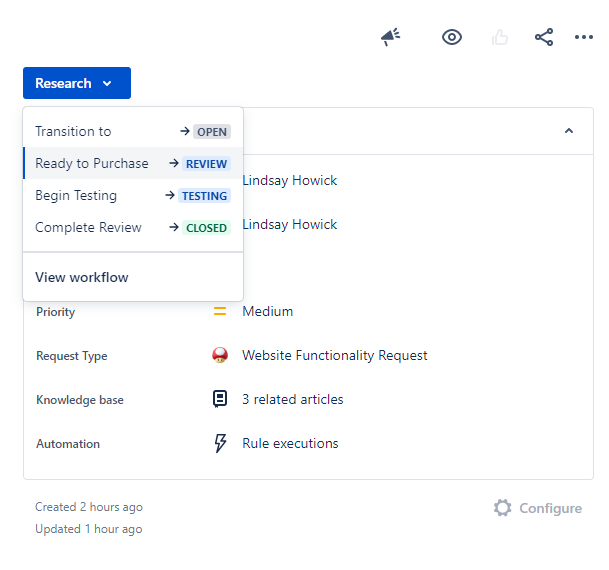
Move the ticket from Open to Research to assign the ticket to yourself

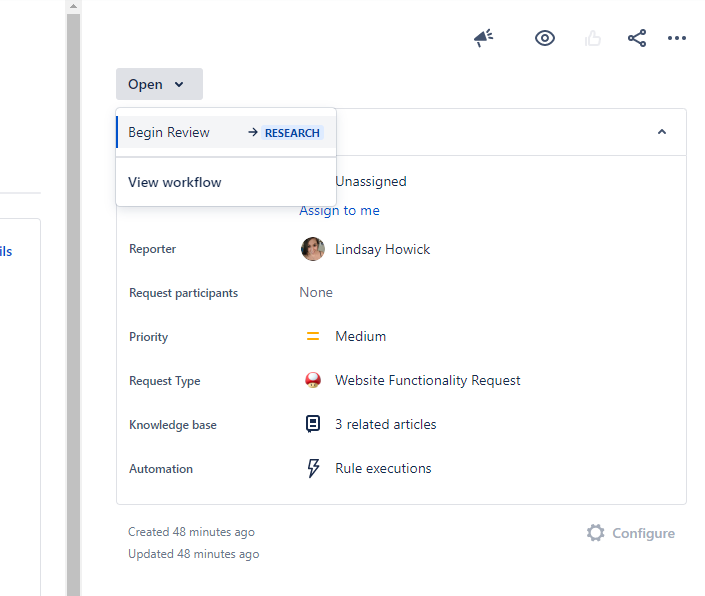
We are aiming to respond to all functionality requests within 24hrs of submission. Review the ticket to determine if the functionality request already exists, needs to be researched further or is obviously incompatible.
- If the requested feature is already available, provide the approved plugin details and Features Link in your response and close the Functionality Request ticket.
- If the request does not already exist, evaluate the request for compatibility. If the plugin has merit and warrants investigation, create a Special Project ticket project for further research and close the Functionality Request ticket.
- If the plugin clearly cannot be approved, provide the details for denial in your response and close ticket.
On the ticket make sure to put a “Respond to Customer” note in place with the following email template:
Hi [Reporter],

Thank you for your request. [Already Exists].[Link to Features Article]
Hi [Reporter],
Thank you for your request. [Special Project].[Special Ticket Project ID]Hi [Reporter],
Thank you for your request. [Deny].[Justification for denial]Be sure to swap out the [Reporter] with the agents name. These notes get emailed back to the rep who submitted the ticket.
Close Ticket after sending response to requesting agent.
Functionality Request Research
During the Research portion of the ticket you will just be looking over the request details to determine if testing is appropriate. Make sure the Functionality Request ticket has been Closed and a New Special Project ticket has been created before beginning research.
Proceed with Testing
- The request is a reasonable ask to add to WDS features
- The functionality has been requested by many customers and is a common request for WDS builds
- At least one free version of the plugin has been found and is actively being maintained by the developer OR there is a paid plugin available by a well known plugin dev like SkyVerge or WooCommerce for example.
Do Not Proceed with Testing
- Review Features to make sure the requested functionality is not already built into WordPress or is part of a currently approved plugin
- The request is a very single use case situation and would not benefit the department as a whole
- The request was specifically for a W+M (Proprietary platform with no plugins)
- The issue in the ticket should have been sent to BOTD for clarification or submitted in a care ticket to resolve the customer’s issue
- The functionality is a database driven or resource heavy plugin that would cause more harm than good to WDS builds (i.e. Buddy Press)
- The only viable plugin available requires an account based set up where a developer or unlimited license option is not available
- A free comparable and compatible version has not been found, and a paid plugin is required for any kind of testing (Please see next item to request that a Paid Plugin be purchased for testing)
Need Paid plugin in order to Test
If a paid plugin has been requested, no free comparable and compatible version exists, and the plugin is not available on WooCrack, please submit a request to have the plugin purchased in order to test.
Place an internal note on the ticket detailing the plugin you need in order to test.
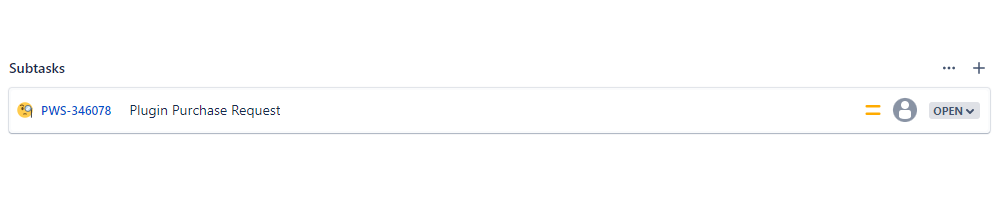
Move the ticket from Research to Review. A new subtask will be created for management to review and approve or deny plugin purchases.
On the parent make sure to put a “Respond to Customer” note in place with the following email template:
Hi [Reporter],

Good News! We have decided to move forward with your functionality request! However, we need to have the plugin purchased in order to begin testing. We have requested the purchase and will inform you when we have begun testing.
Be sure to swap out the [Reporter] with the agents name. These notes get emailed back to the rep who submitted the ticket.
Paid Plugin Request
This step is for the Build Team Managers only
Paid plugin requests will come in on the PWS US – Builder Manager dashboard under the widget titled “New Plugin Purchase Requests – Manager Review Needed”
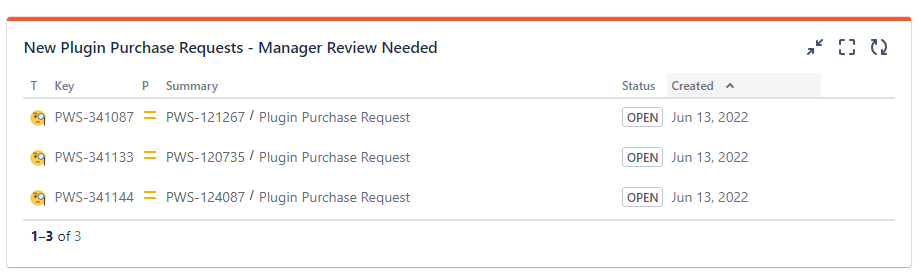
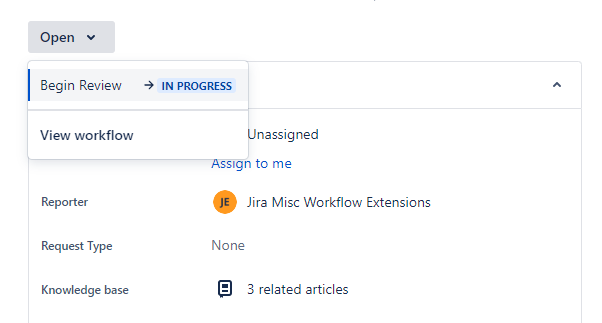
Like all tickets, move the ticket from Open to In Progress to begin the review.
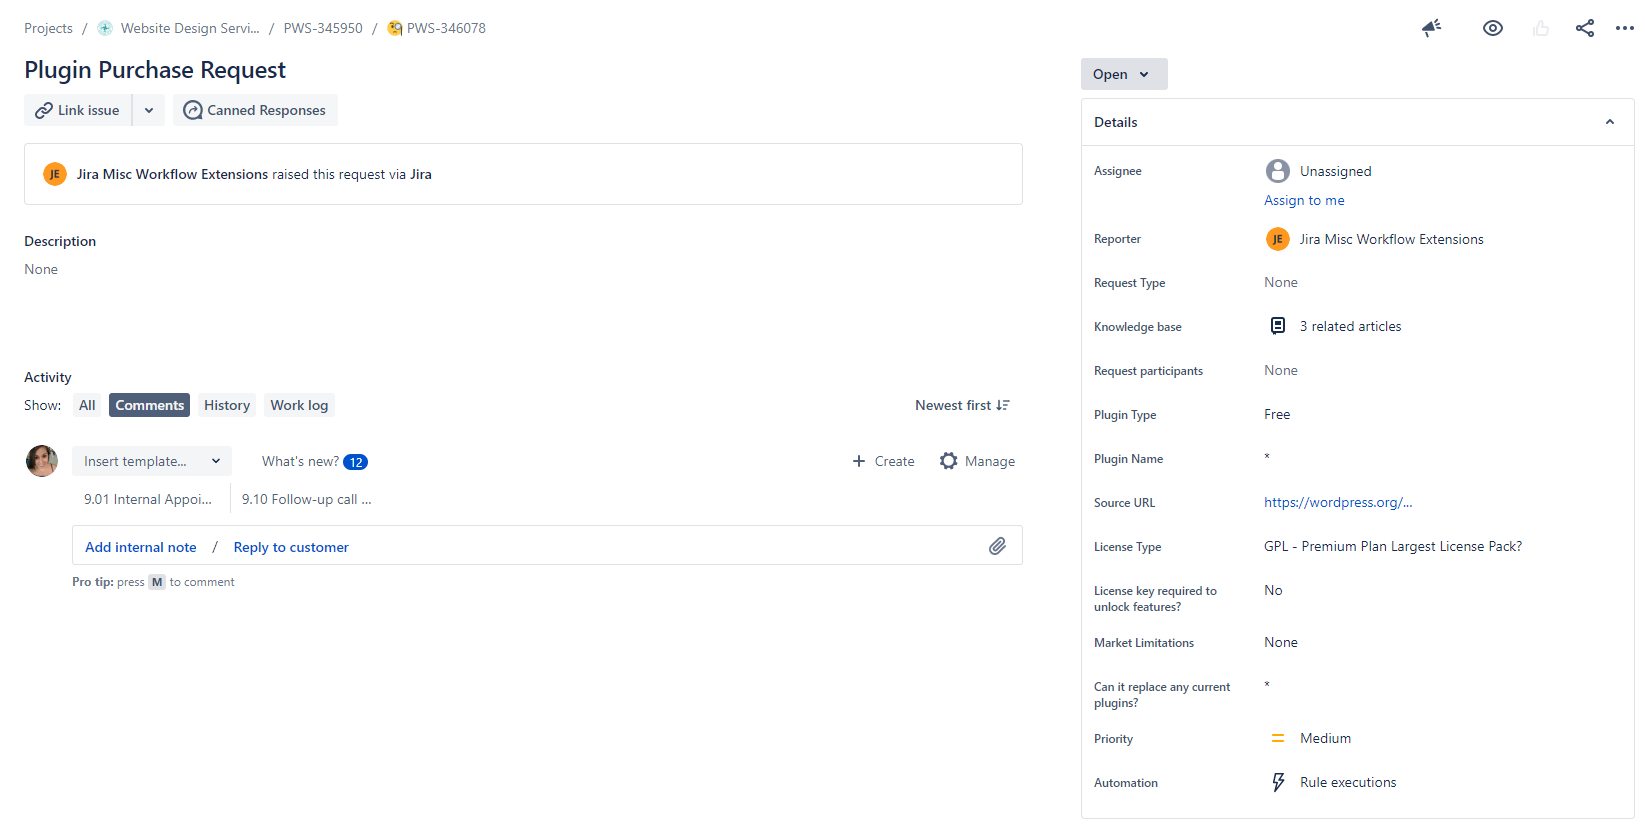
To view the request, open the parent ticket by clicking on the ticket in the breadcrumbs at the top
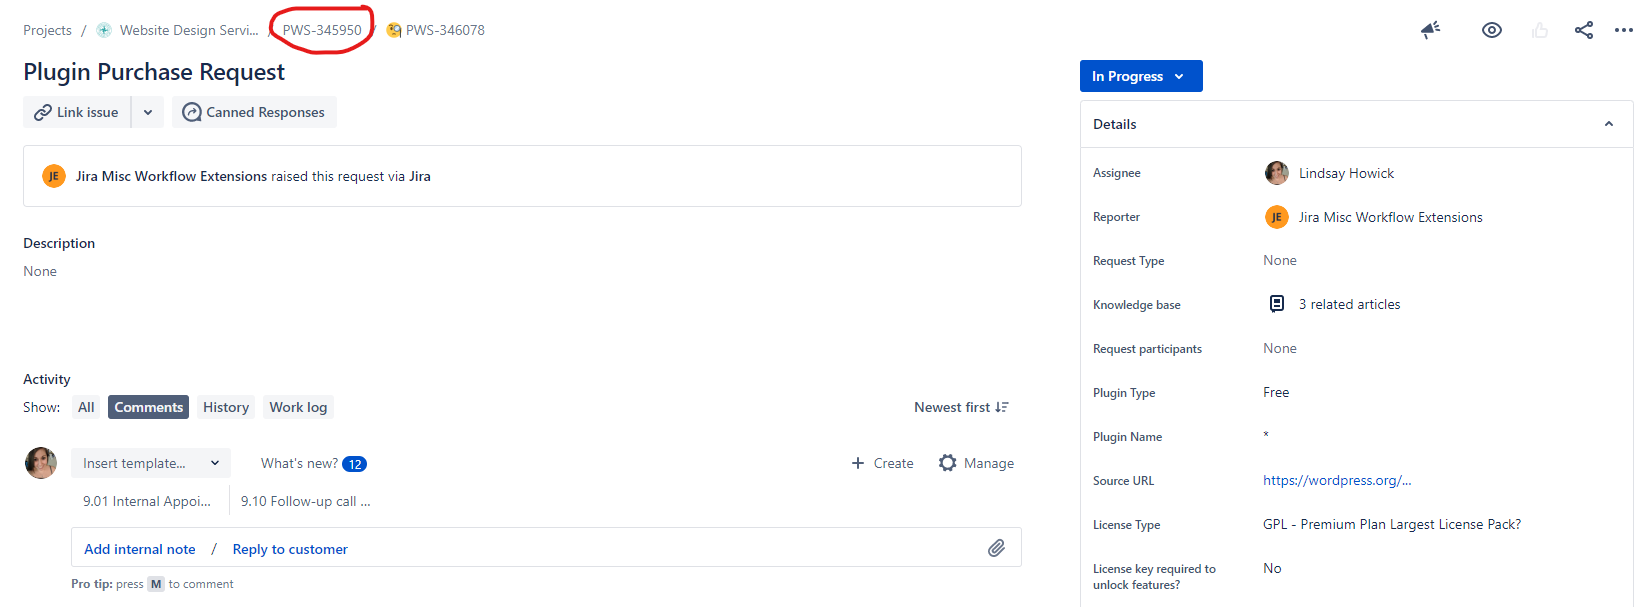
Review notes and determine if a purchase is justified.
Purchase Approved
- After purchase, add the credentials to the spreadsheet on the Builders SharePoint titled “Plugin Accounts” and Label it for Testing.
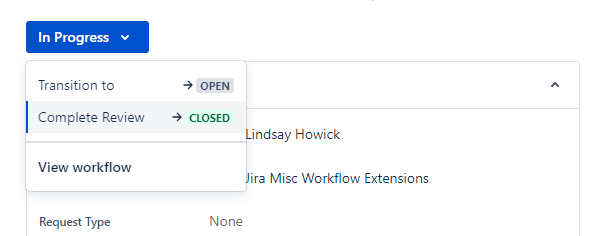
- Move the subtask from In Progress to Closed.
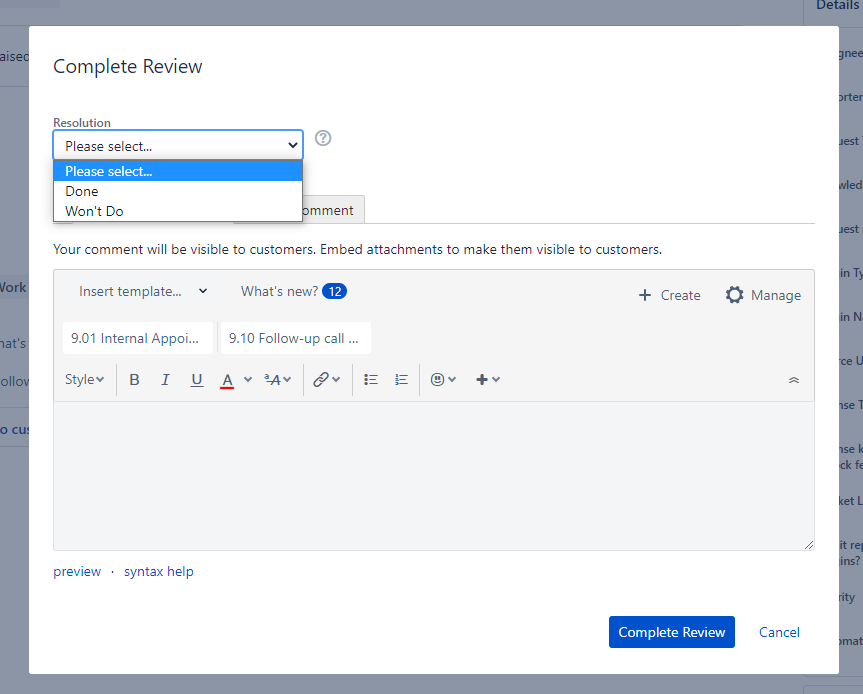
- In the pop up for Complete Review, choose Done from the Resolution drop down.
- Leave a note in the comment box about the approval and select Complete Review.
Purchase Denied
- Move the subtask from In Progress to Closed.
- In the pop up for Complete Review, choose Won’t Do from the Resolution drop down.
- Leave a note in the comment box about the denial and select Complete Review.
In either case the closed subtask will move the parent into the status “Testing”
Testing Plugins
If your request is in testing after a plugin purchase was denied, and there are no alternative plugins to achieve the end goal, please skip to the Denying Requests section.
For all other plugins, proceed with the below information.
On the ticket make sure to put a “Respond to Customer” note in place with the following email template:
Hi [Reporter],

Good News! We have decided to move forward with your functionality request and are now in the testing phase where we will make sure the plugin functions correctly on our platform and in combination with our current plugins. Once the testing has been completed, we will move the ticket forward and let you know what the outcome was.
NOTE: Be sure to swap out the [Reporter] with the agents name. These notes get emailed back to the rep who submitted the ticket.
Make sure that all of the following requirements are met before proceeding with testing:
- “Last Updated” is within 6 months
- “Active installs” is over 1,000
- “WordPress Version” and “Tested up to” matches our current MWP Version
- High Ratings are also recommended
Proceed with the plugin testing steps below:
- If the plugin is a paid plugin, you will have to log in to the account using the credentials listed on the spreadsheet on the Builders SharePoint titled “Plugin Accounts” in order to download the file.
- Before installing the plugin, make sure all the core plugins and any additional plugins are active and up to date. Be aware that the GLH score should be checked before and after installing the plugin.
- Install the plugin on your 3 letter MWP Hosting account with GD cORe (Please reach out to Builder leadership if you need help setting up your 3 letter for testing)
- Open this checklist – http://wdsdesigns.com/plugin-testing-checklist/, which can be found on the Builder 2-3 hub, and enter in all the information requested.
- If the plugin breaks any of our core plugins or the plugin itself is not working as advertised, this should be an automatic denial.
- Make sure all the functionality works as it should and achieves the end goal of the request. If it does not, you may continue to research other plugins or deny the request.
Implementing Approved Plugins
Free
After you have fully vetted and tested the plugin and deemed it is worthy of adding to WDS features, you will need to do two things:
- Add a plugin page to features with as much information as possible. Be sure to select the appropriate plan type, tags, and functionalities as all of these aid in the search feature.
- Add the worksheet information to the Functionality Form. Please work with Jason Cullen for any assistance with this.
Paid
If the plugin is a paid plugin that was approved, these first need to go to the Builder 3 team to add the plugin to the Vendor Package Builder or to GD cORe. This happens automatically when you submit the checklist form during testing.
After the Builder 3s have added the plugin, you may proceed with the following:
- Add a plugin page to features with as much information as possible. Be sure to select the appropriate plan type, tags, and functionalities as all of these aid in the search feature.
- Add the worksheet information to the Functionality Form. Please work with Jason Cullen for any assistance with this.
- When a paid plugin is officially added, go to the spreadsheet on the Builders SharePoint titled “Plugin Accounts” and Mark the plugin as Active.
Approving or Denying Requests
Approving
After all the documentation is in place for the new plugin, you can complete the request.
Move the ticket from Testing to Complete and chose Done from the Pop Up. Approved plugins will be announced in the Builder Newsletter. Create a new ticket for the newsletter content titled [Newsletter] Plugin-name – Approved and draft copy-writing for the newsletter.
Denying
If a request has been denied, move the ticket to Complete, and choose Won’t Do from the dropdown. Denied plugins will be reported in the Builder Newsletter. Create a new ticket for the newsletter content titled [Newsletter] Plugin-name – Denied and draft copy-writing for the newsletter.